How to use Harbor on DestinE Data Lake
Harbor Registry is an open-source container image registry designed to provide a centralized platform for managing and distributing container images securely and efficiently. As a potential user considering Harbor, you can benefit from its robust features that streamline container management and enhance security.
What we are going to cover
Prerequisites
No. 1 Account with DESP
You need to have an account with DESP. See How to create a DestinE Platform account
No. 2 Basic understanding of Linux and Docker
See article How to install and use Docker on Ubuntu 24.04
Access to Harbor on DestinE Data Lake
Harbor is available under this link: https://registry.central.data.destination-earth.eu
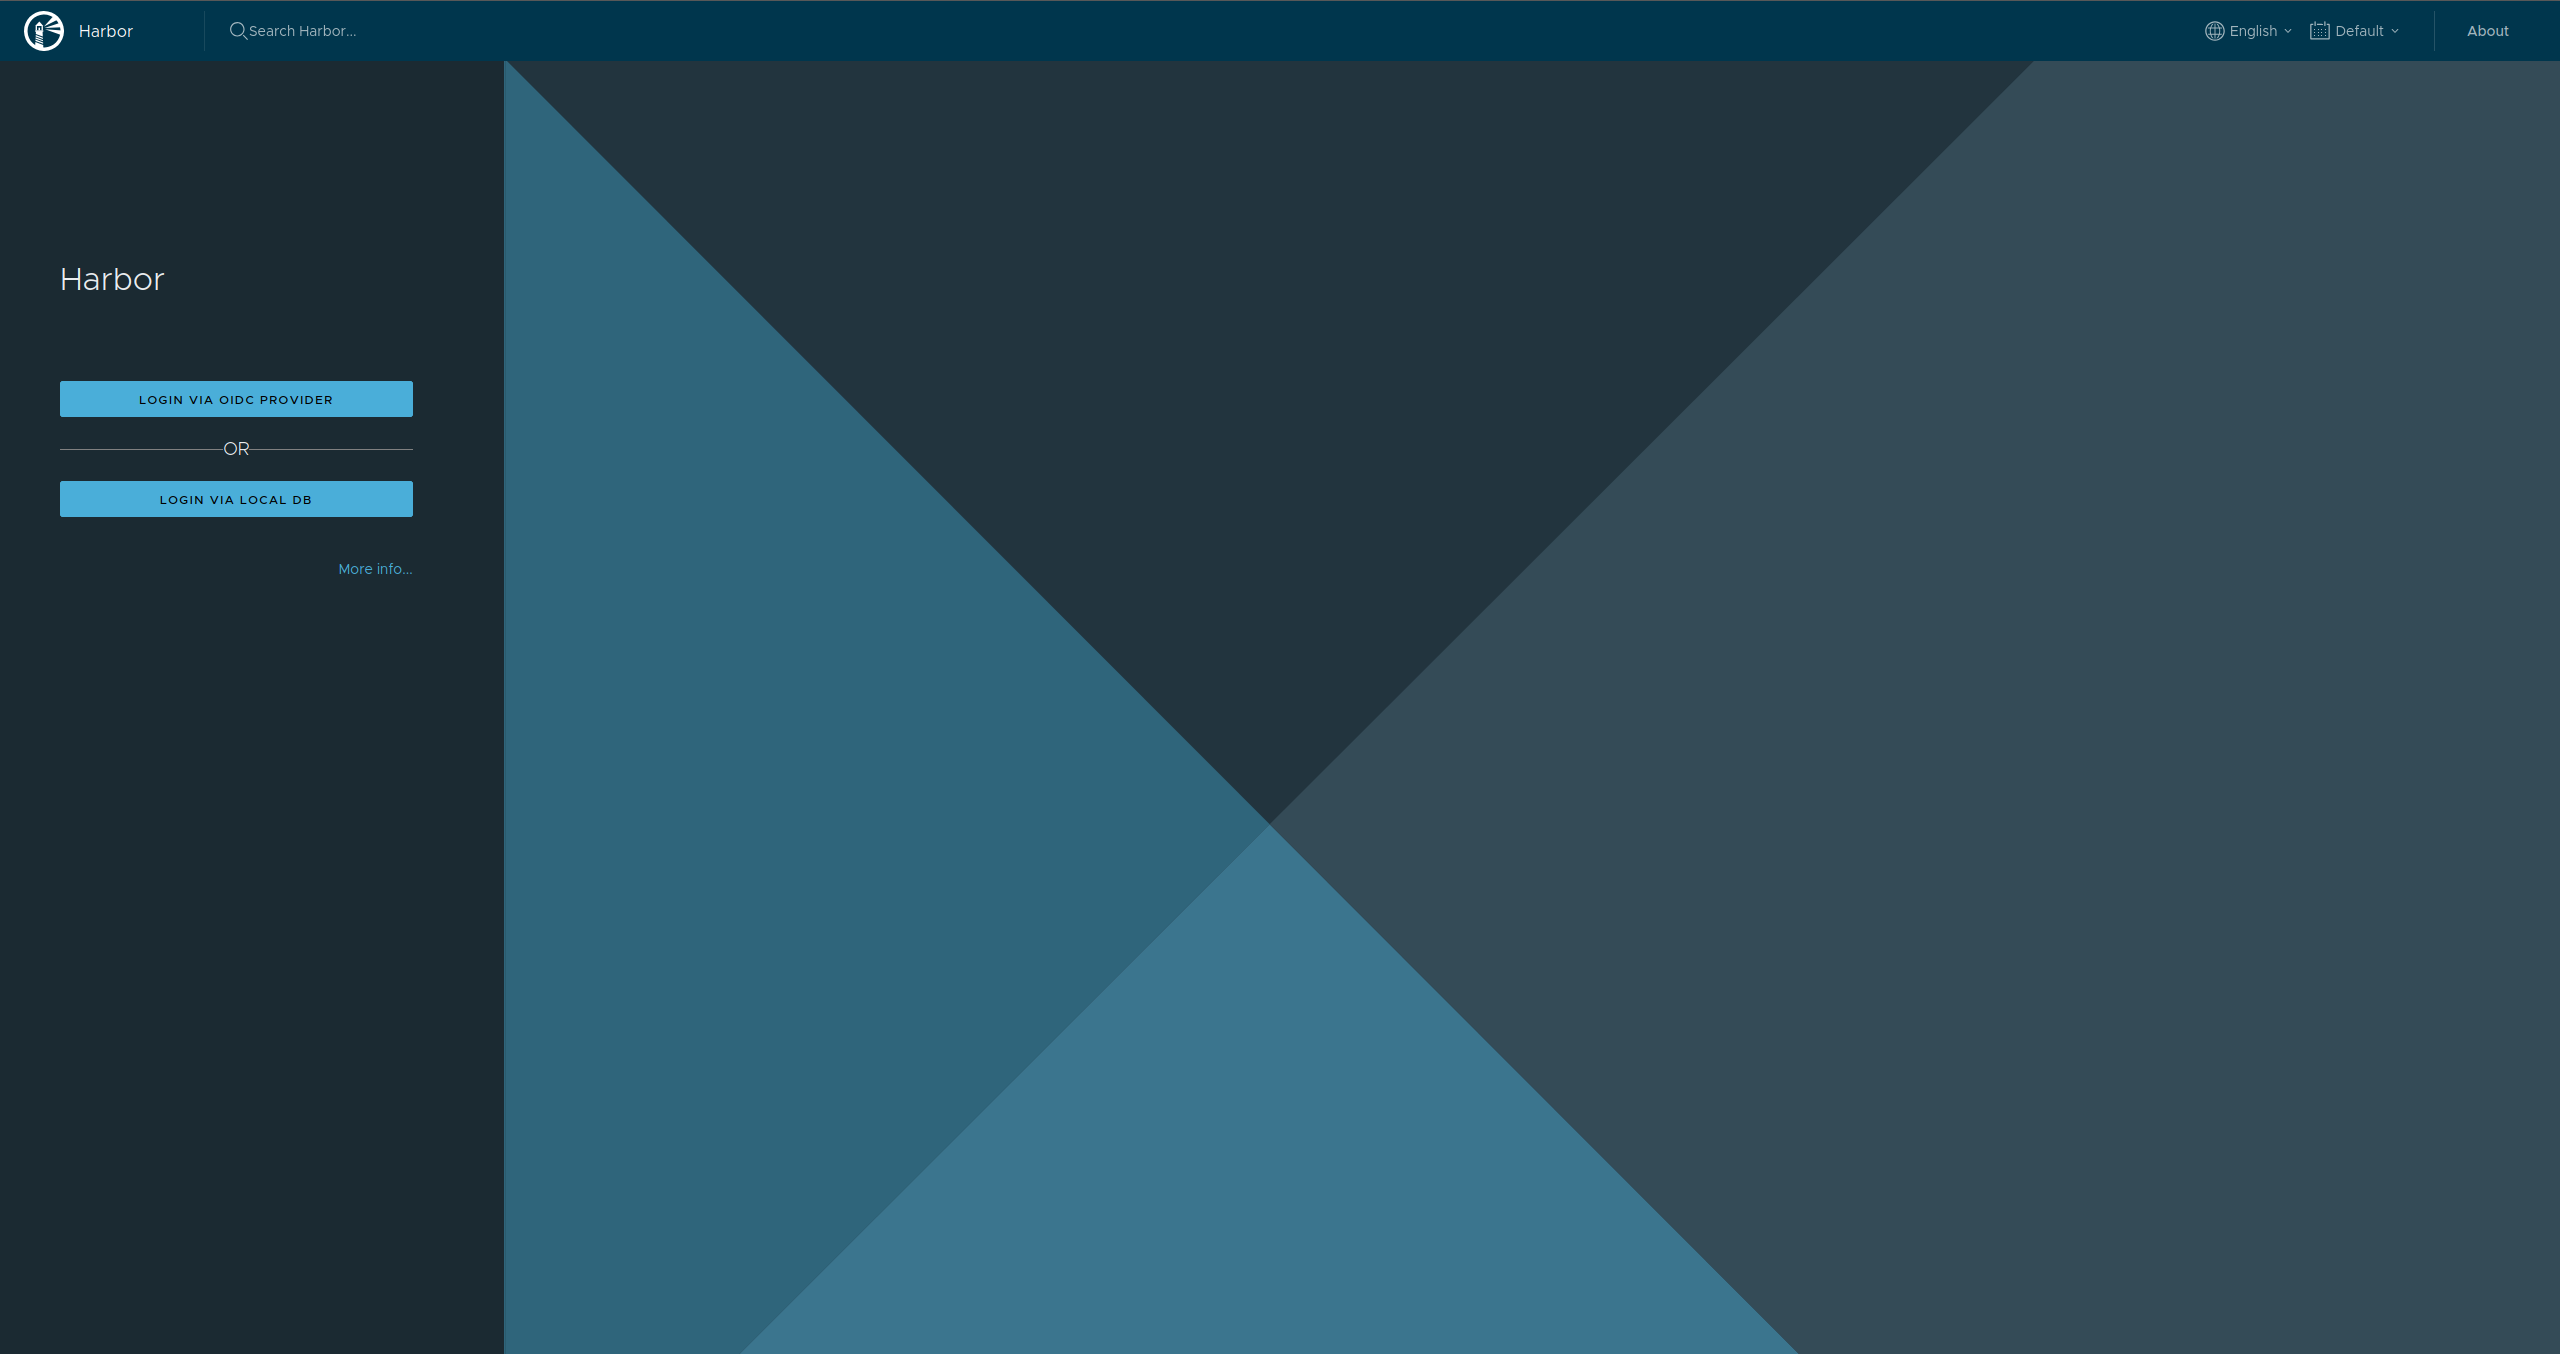
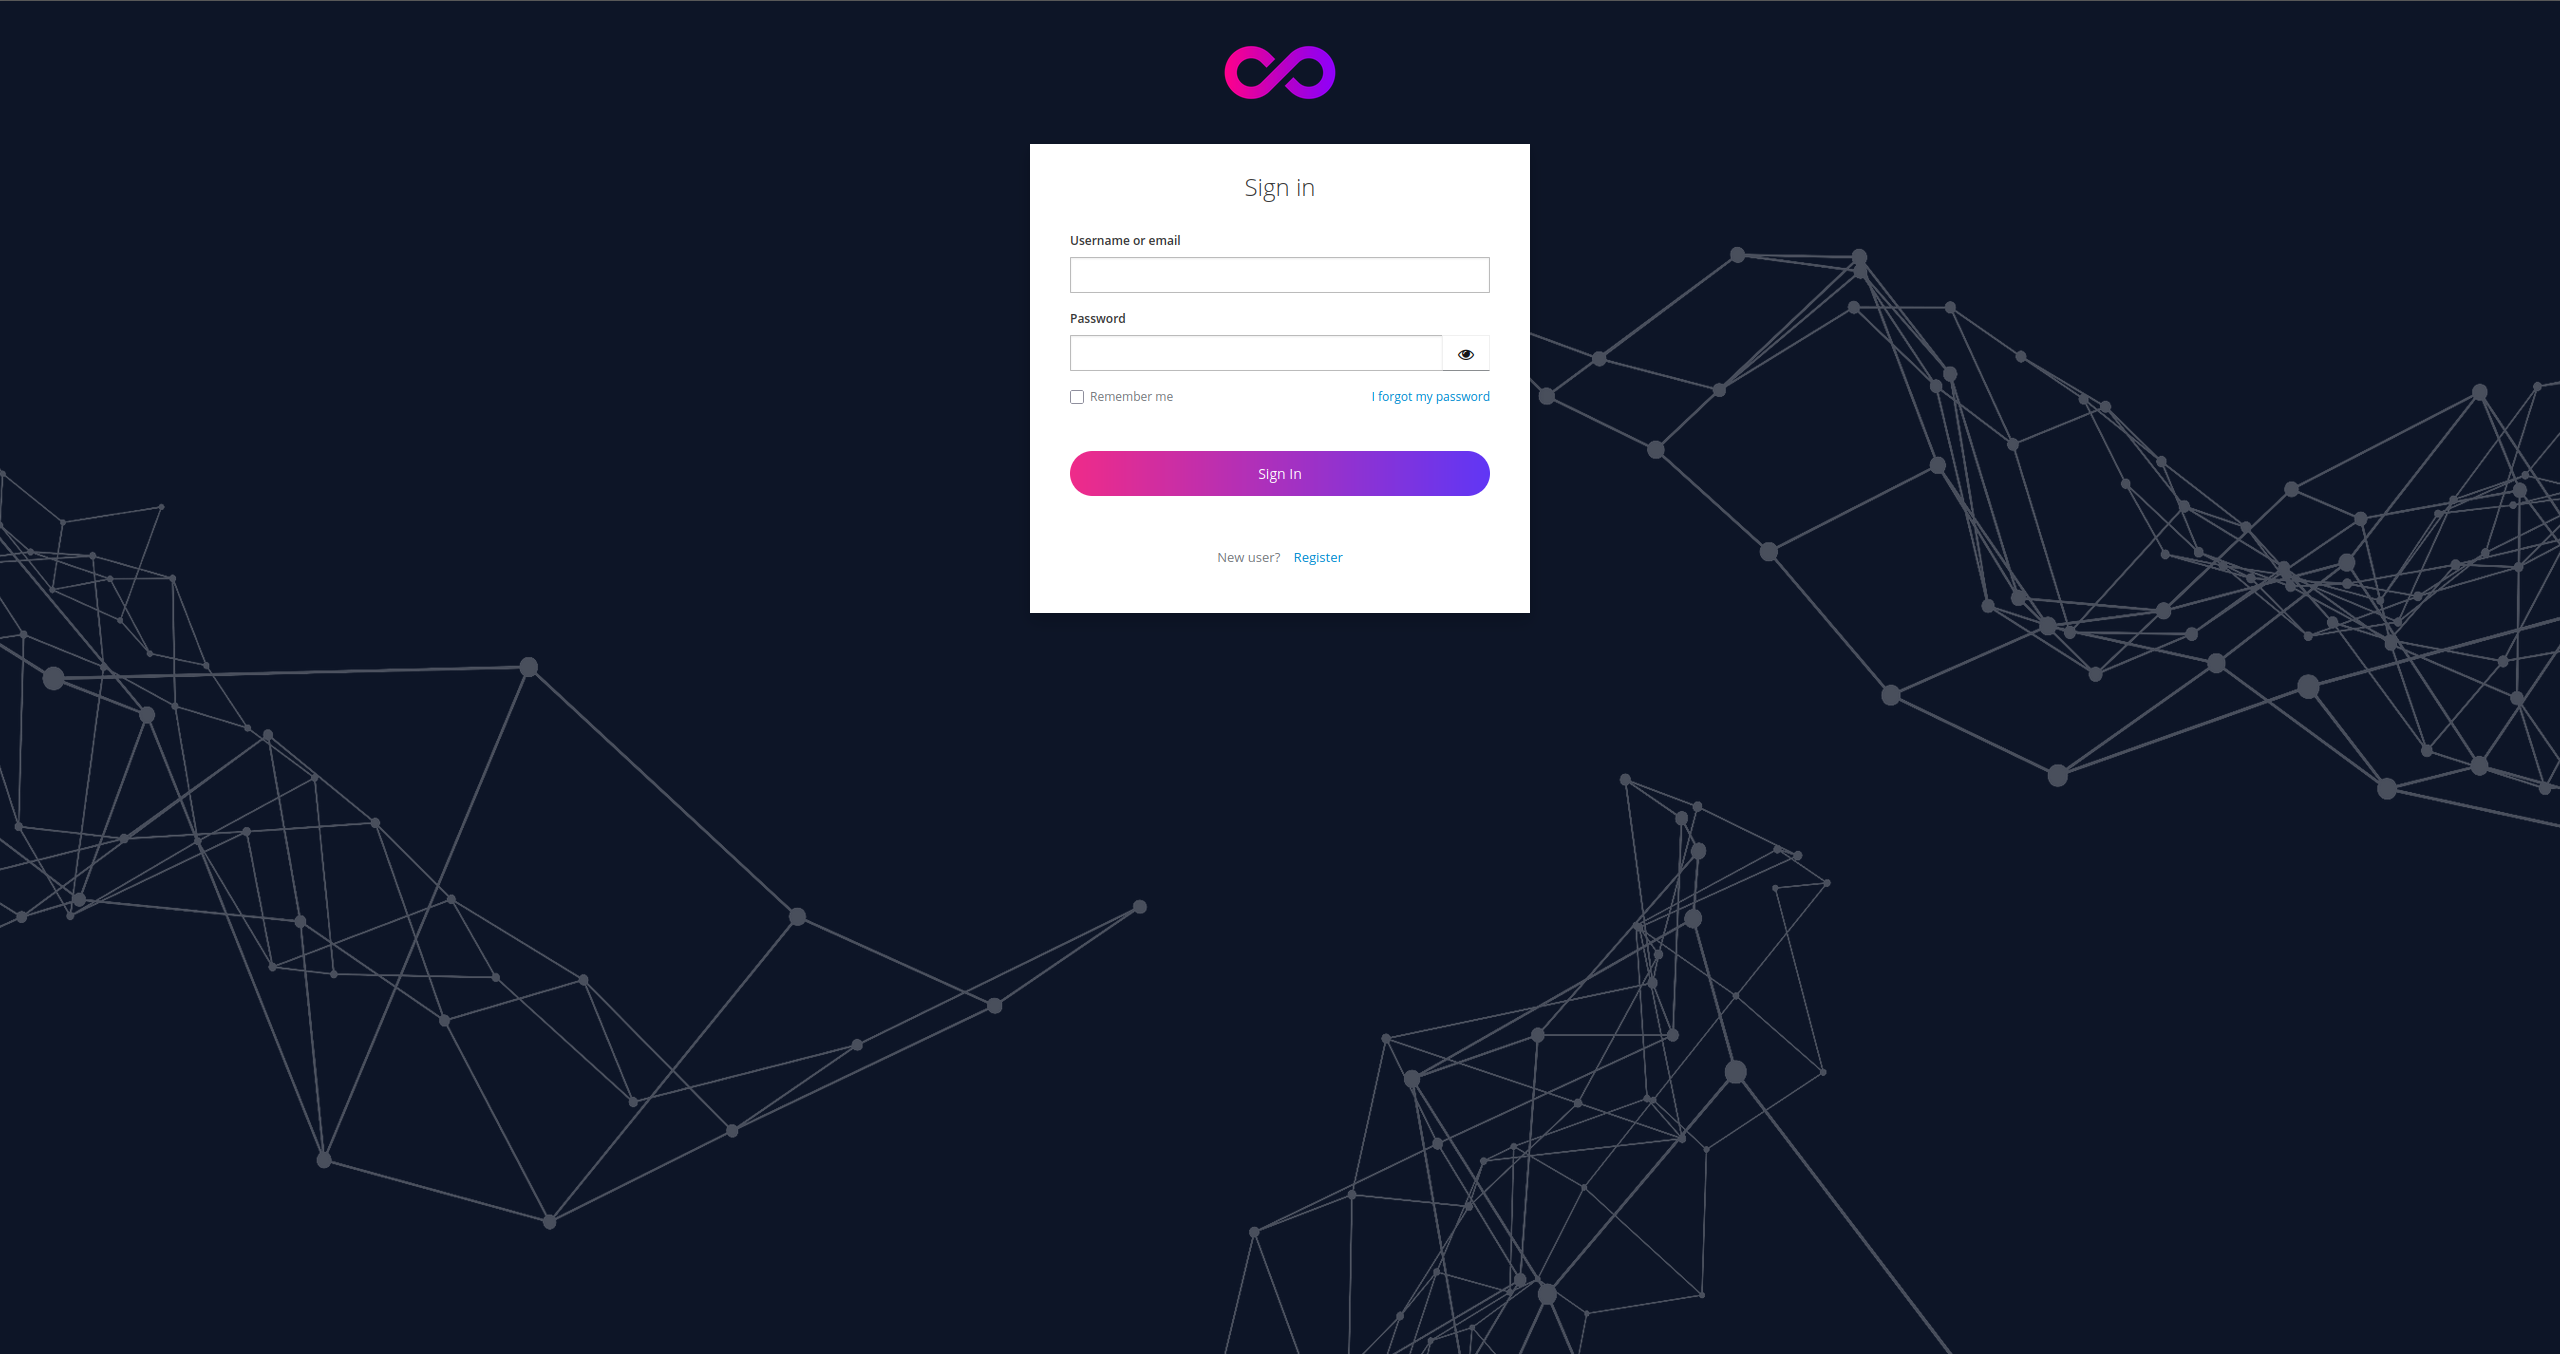
You need to sign in with your DESP account from Prerequisite No. 1:
Create a project in Harbor
When you log in to Harbor, you enter the projects section:
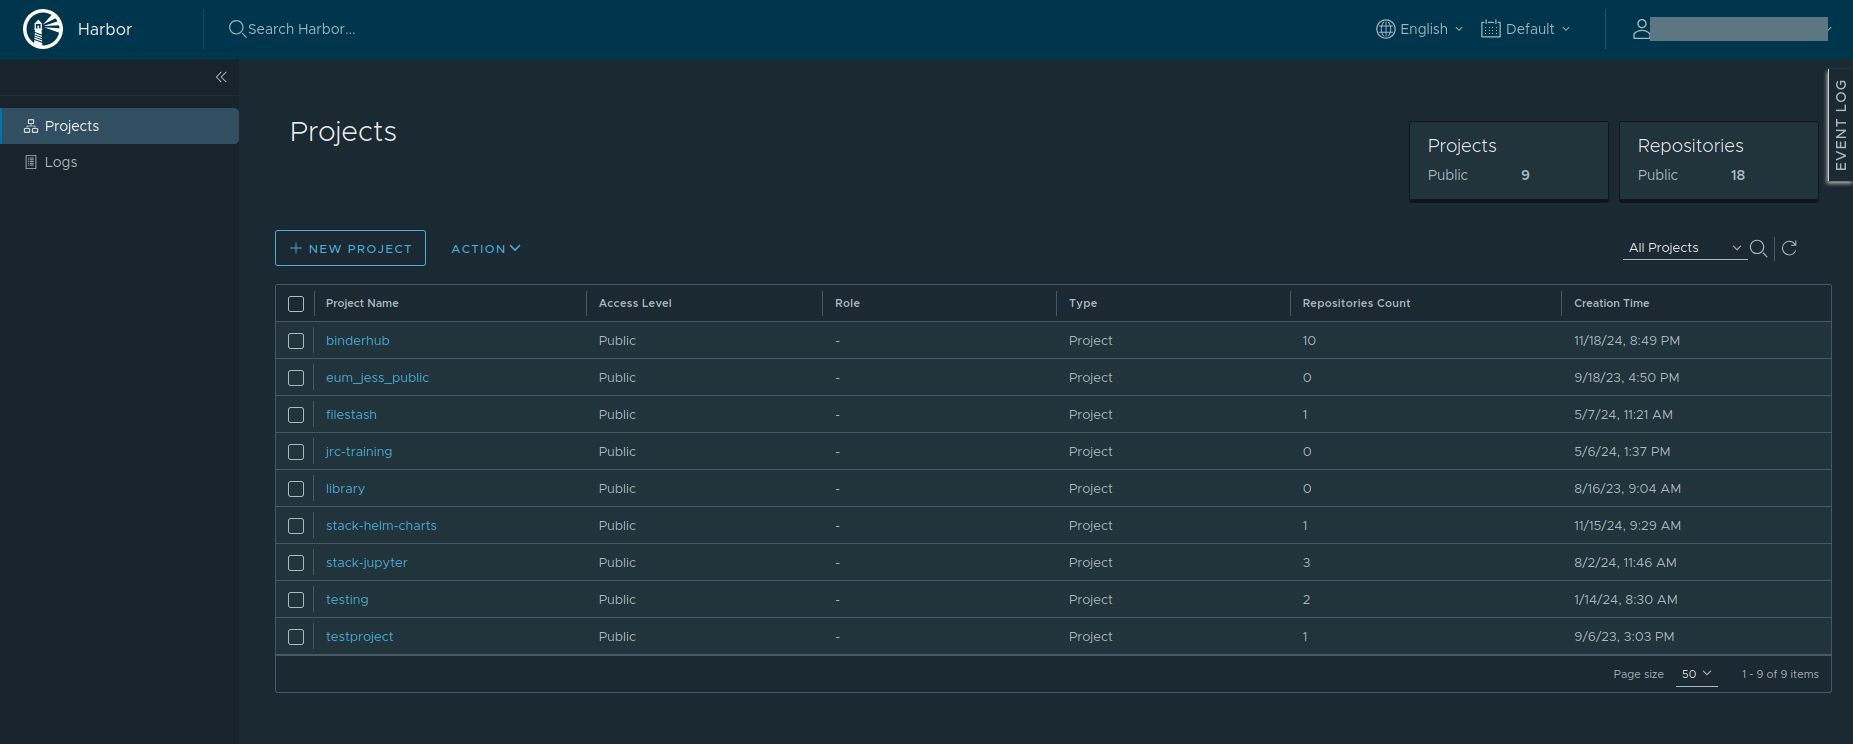
A project in Harbor is a separate space where containers can be placed. An image need to be placed in a scope of a project.
In this article, we will upload a public image that can be accessed by anyone. Create a new project or use already existing one; to create a new project, click on New Project button.
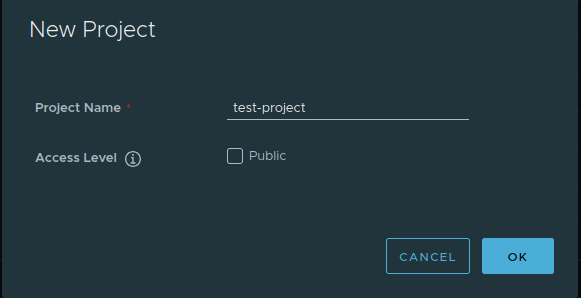
When a project is set to public, anyone has read permission to the repositories under this project and the user does not need to run command
docker login
before pulling images under this project.
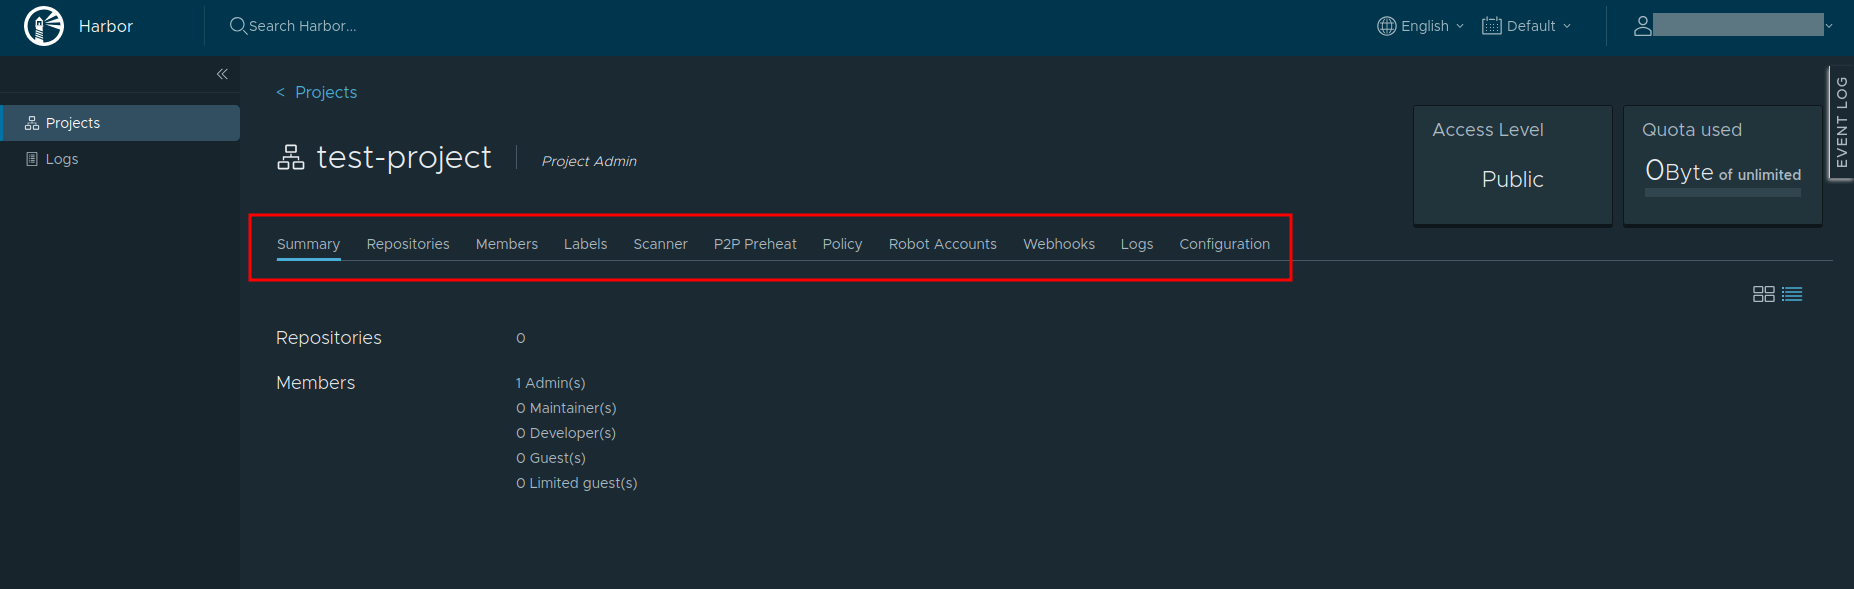
After the project is created, you can browse summary, repositories, helm charts, members labels, scanner, p2p preheat, policy, robot accounts, webhooks, logs, configuration.
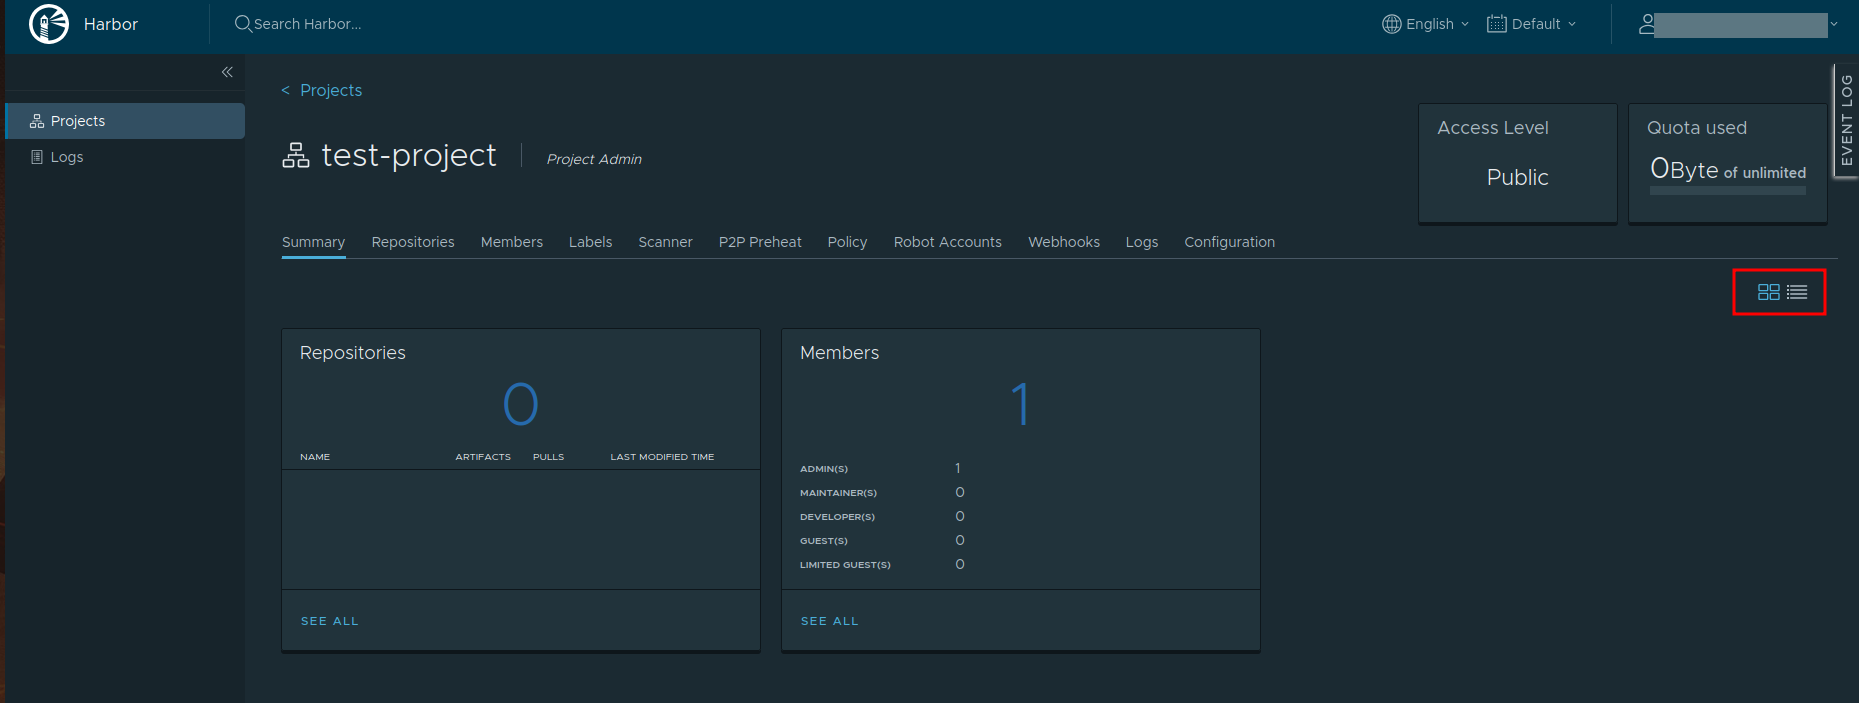
There are two views. To change view, please navigate here:
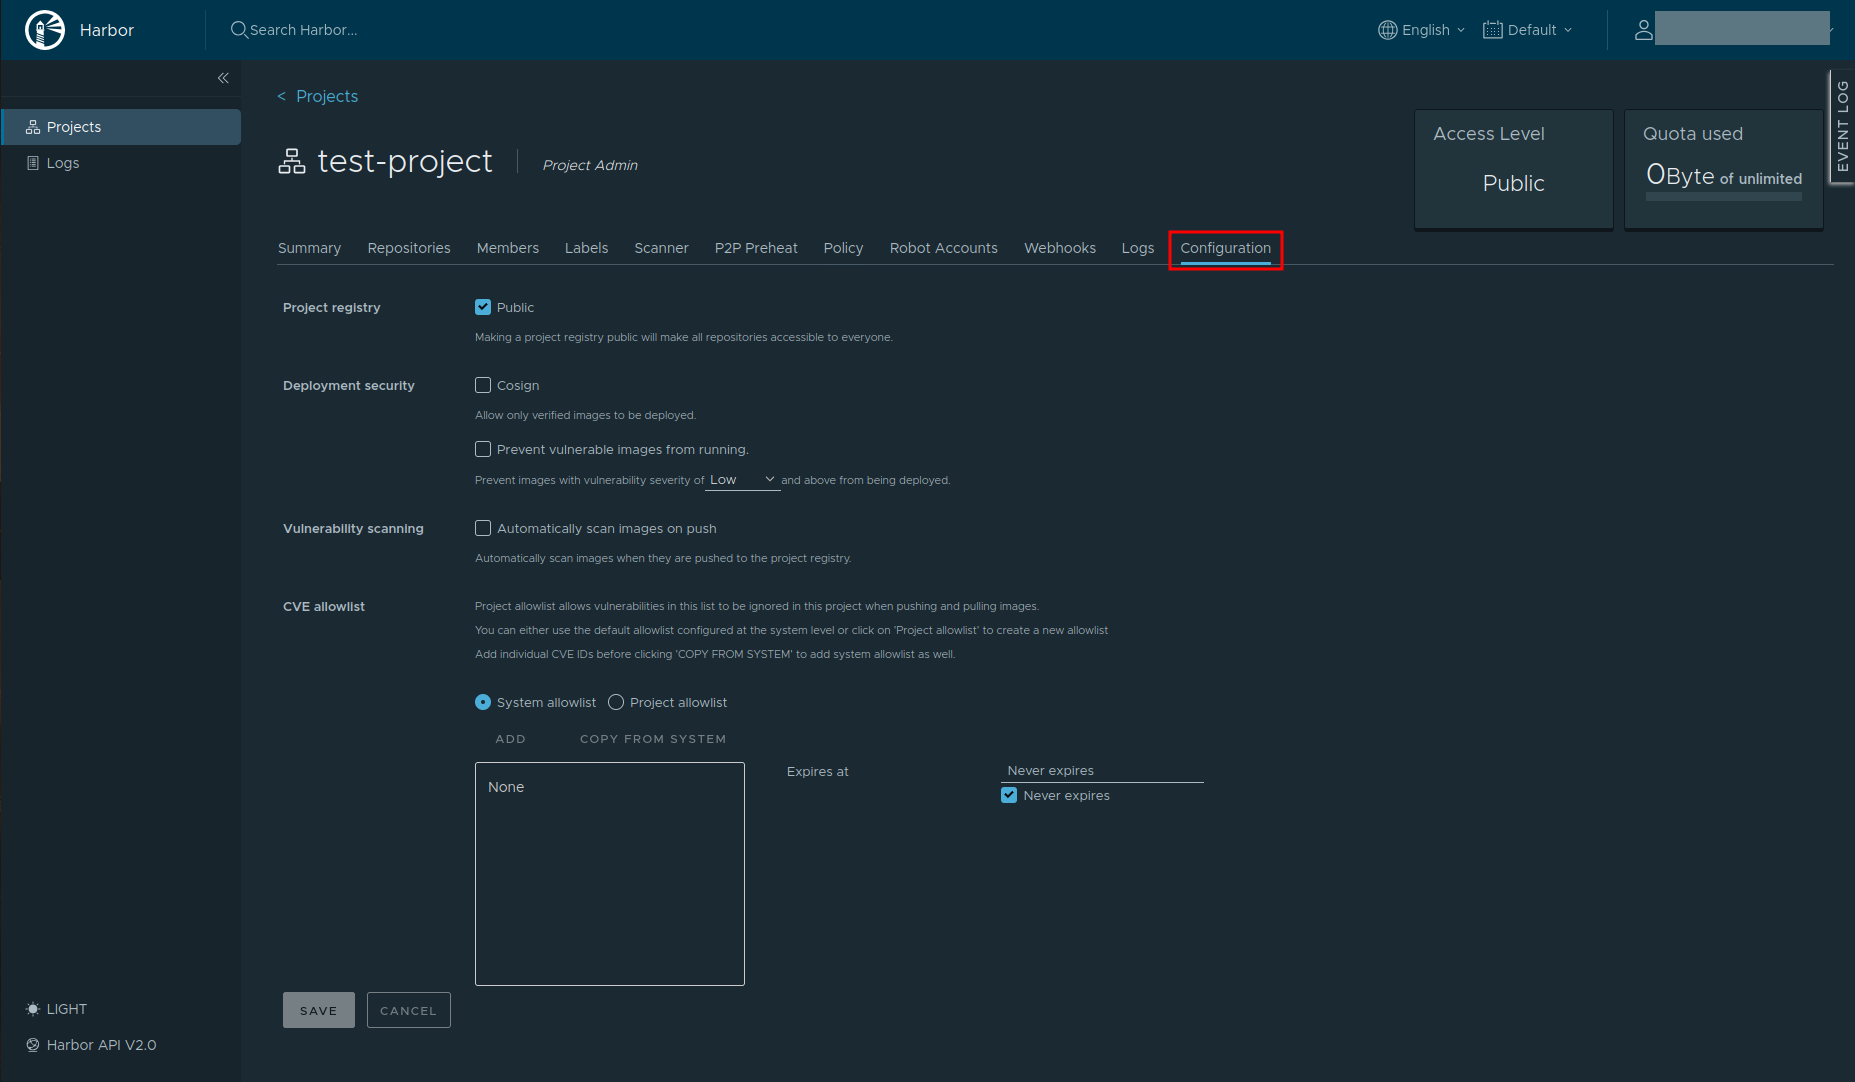
Project properties can be changed in a Configuration tab:
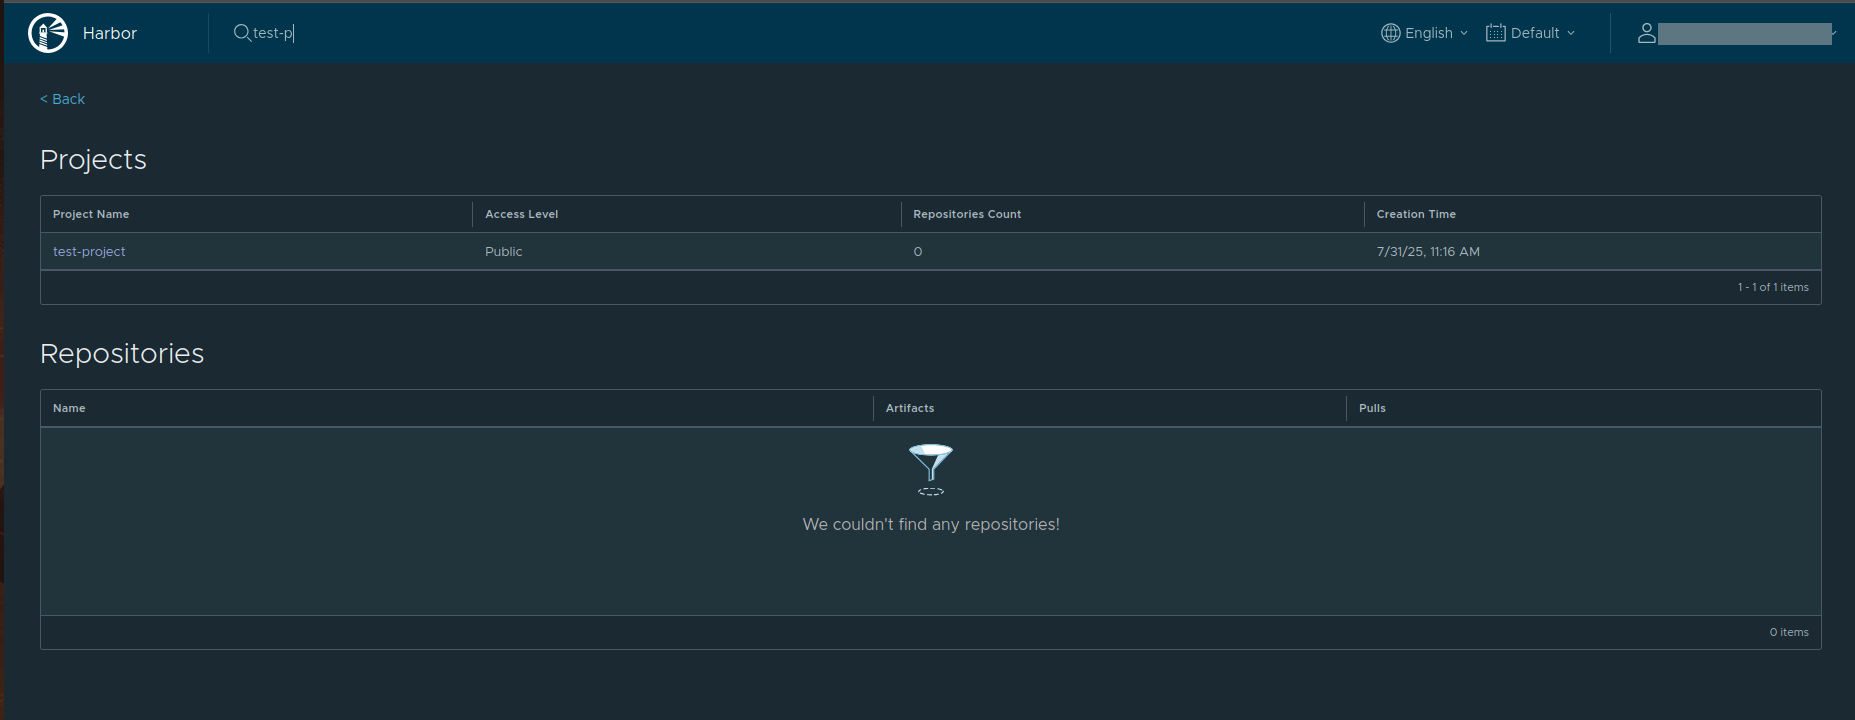
To search for specific projects or resources please use Search Harbor field:
Building the first image
Create a Dockerfile for our custom image:
nano Dockerfile
Its contents should be:
FROM alpine
CMD ["/bin/sh", "-c", "echo 'Hello Harbor!'"]
Login to harbor from docker:
docker login https://registry.central.data.destination-earth.eu
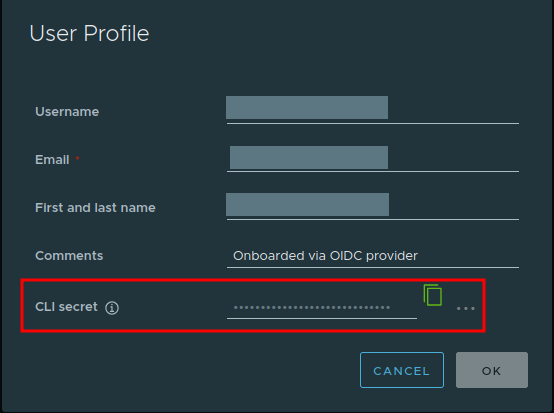
As password use your cli secret which can be obtained from user profile in the upper right corner:
Build the image
Run this command locally to build the image:
sudo docker build -t <name-of-your-image>:<name-tag> .
In our example, it will be:
sudo docker build -t hi-harbor:latest .
The above command creates Docker image from a Dockerfile in the current directory.
Part |
Meaning |
|---|---|
docker build |
Builds an image from a Dockerfile. |
-t hi-harbor:latest |
Tags the built image (name + tag). |
. |
Build context (current directory). |
Tagging an image
Before pushing an image you should tag it.
docker tag SOURCE_IMAGE[:TAG] registry.central.data.destination-earth.eu/<PROJECT NAME>/REPOSITORY[:TAG]
In test case it looks like that:
sudo docker tag hi-harbor:latest registry.central.data.destination-earth.eu/test-project/repository:latest
By executing this command, you create a new tag for the hi-harbor:latest image, preparing it to be pushed to the specified Docker registry under the given repository path. This is often a precursor to running a command like docker push to upload the image to a Docker registry.
Part |
Meaning |
|---|---|
hi-harbor:latest |
Source image (name + tag). |
registry.central.data.destination-earth.eu |
Target registry domain. |
/test-project/repository |
Target path (project/repository). |
:latest |
Target tag. |
Pushing an image
sudo docker push registry.central.data.destination-earth.eu/test-project/REPOSITORY[:TAG]
In our case it will be:
sudo docker push registry.central.data.destination-earth.eu/test-project/repository:latest
The above command uploads Docker image from your local Docker environment to a remote Docker registry – Harbor.
Part |
Meaning |
|---|---|
docker push |
Uploads the image to the registry. |
registry.central.data.destination-earth.eu |
Registry domain (target server). |
/test-project/REPOSITORY |
Path in the registry. |
test-project |
Project/namespace. |
REPOSITORY |
Repository name. |
[:TAG] |
Optional image tag; default is :latest. |
By running this command, Docker will look for a local image with the name registry.central.data.destination-earth.eu/test-project/REPOSITORY and the specified tag (or :latest if no tag is specified), and push it to the specified remote registry.
This command requires that you have the necessary permissions to push to the specified registry and repository. It also requires that you have authenticated with the registry.
This is what the output of a command should look like:
The push refers to repository [registry.central.data.destination-earth.eu/test-project/repository]
418dccb7d85a: Layer already exists
latest: digest: sha256:40591f949a28c51ed3ebc5d2c33fb21ba4f
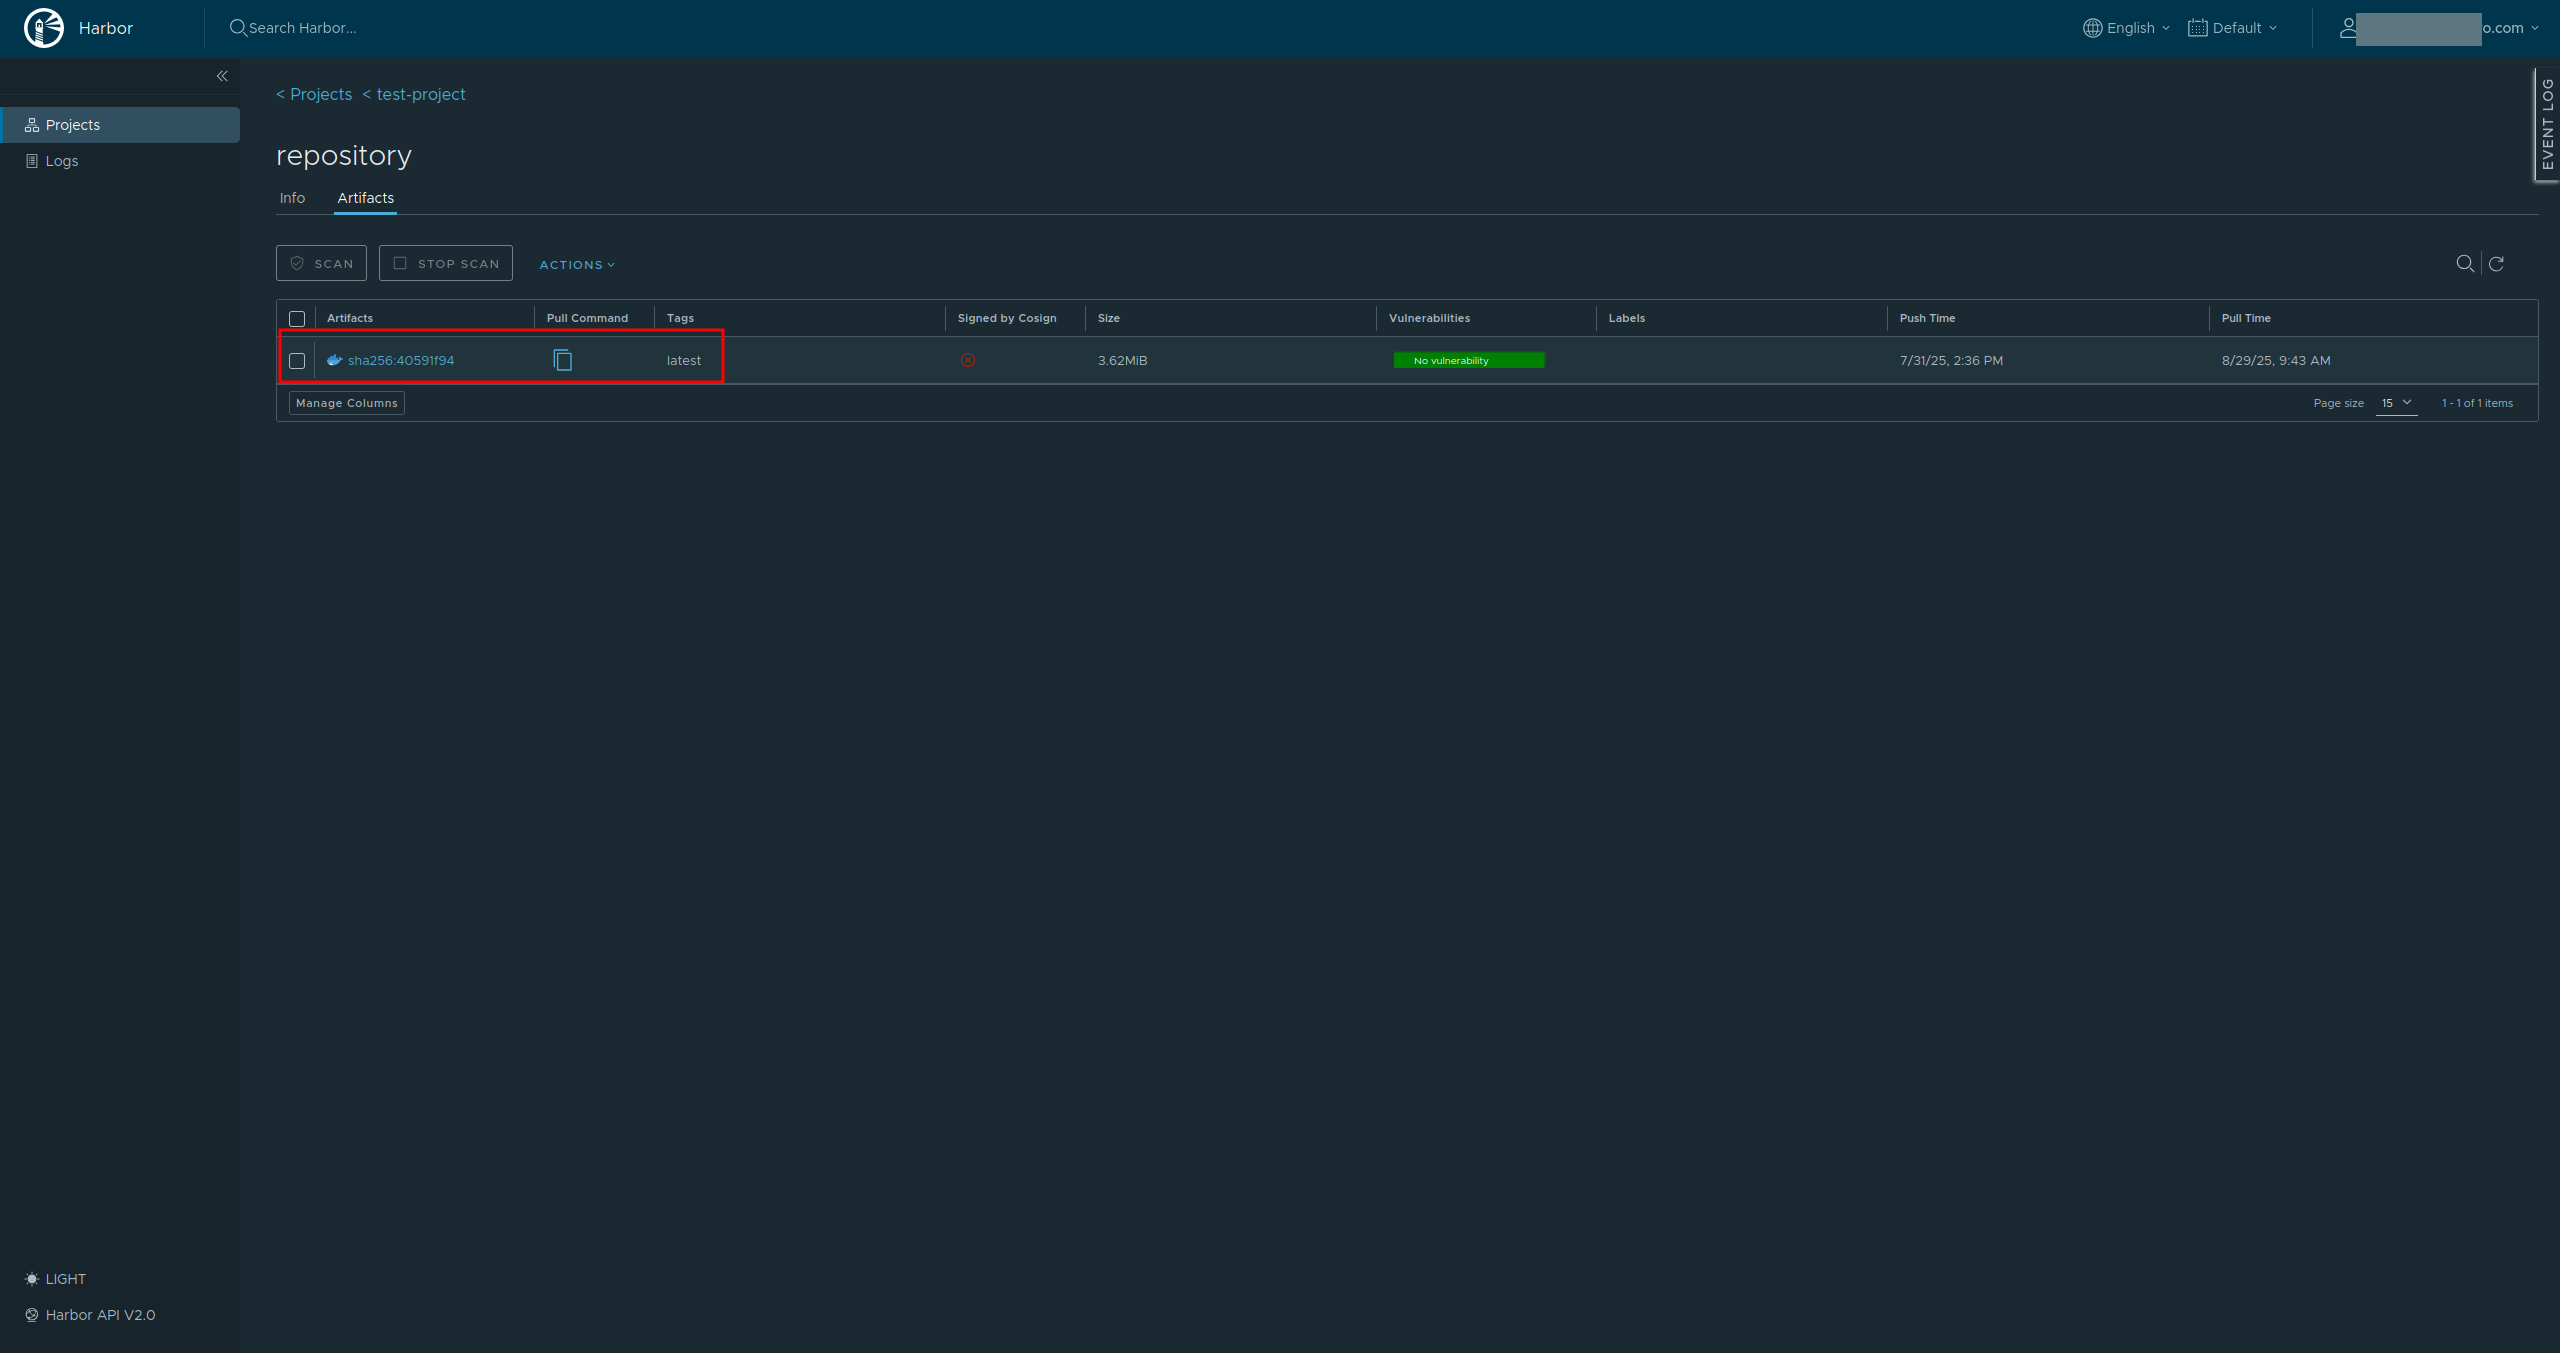
Our new image should be now visible in the repository:
Pulling an image
To pull an image, use this command:
sudo docker pull registry.central.data.destination-earth.eu/<PROJECT NAME>/repository:<TAG>
In our case the command will look like this:
sudo docker pull registry.central.data.destination-earth.eu/test-project/repository:latest
The output of that command is:
latest: Pulling from test-project/repository
Digest: sha256:40591f949a28c51ed3ebc5d2c33fb21ba4fb1be13bdc42d82f8701ef85bf91a7
Status: Image is up to date for registry.central.data.destination-earth.eu/test-project/repository:latest
registry.central.data.destination-earth.eu/test-project/repository:latest
By running this command, Docker will connect to the specified registry, locate the image test-project/repository with the latest tag, and download it to your local Docker environment, making it available for use.
You can also get direct command for pulling by going to Projects – > repositories – > your repository → artifacts – > your artifact – > and copying command from Tags section:
