How to request roles for JupyterHub on My DataLake Services
Stack services are hosted and pre-deployed applications and environments. There are four of them:
stack-dask
stack-jupyter
islet
hook
This guide shows how to request access and quota roles for the JupyterHub service on My DataLake Services — including how to modify or remove them.
You can run Python code in JupyterLab environment on Central or any of the bridge clouds. You will be able to interactively access satellite imagery, cloud-native functions, time-series analysis, machine learning on EO data, search through the EODATA catalog, and more.
Roles allow you to access different features of the Destination Earth cloud. This article explains how to request access and quota roles for the JupyterHub stack service.
What we are going to cover
Prerequisites
No. 1 Account
You need a profile on My DataLake Services: How to create a profile on My DataLake Services.
No. 2 Administrative privileges within a project
You must be a member of a project and have administrative privileges in it. That project must also be accepted by the My DataLake Services operator.
To create a project, see: How to create a project on My DataLake Services.
Alternatively, you can join an existing project and have its admin grant you privileges.
Choosing which role to request
Sign in to My DataLake Services: https://application.data.destination-earth.eu/
Navigate to Role requests:
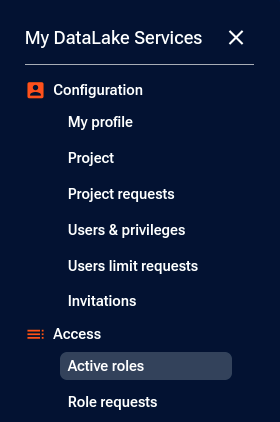
You will see a page similar to this:
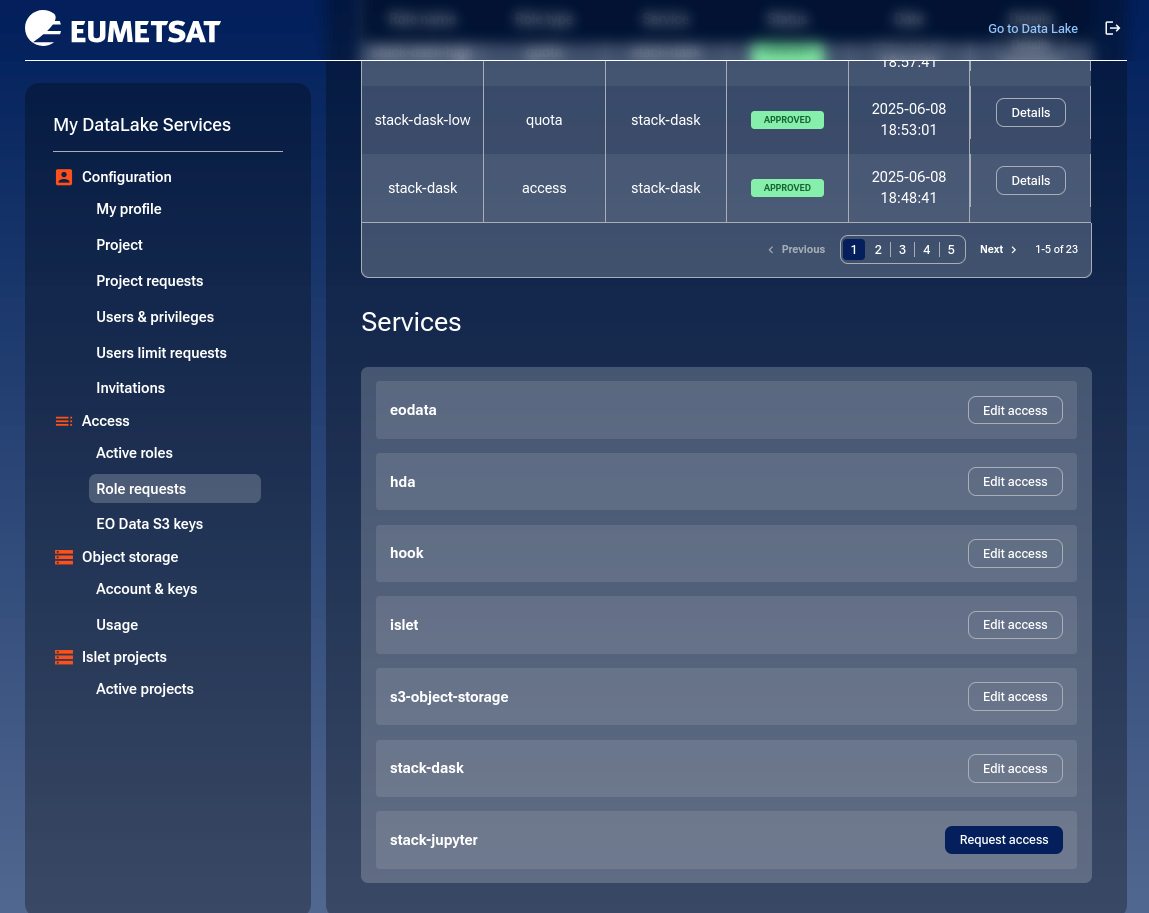
If you do not already have access to JupyterHub, click the Request access button for stack-jupyter.
You will arrive at a page with two required sections: Access roles and Quota roles.
Access roles
For the stack-jupyter service, there is only one access role:
- stack-jupyter
Access to Stack Jupyter Service (SaaS)
Click the Select role radio button.
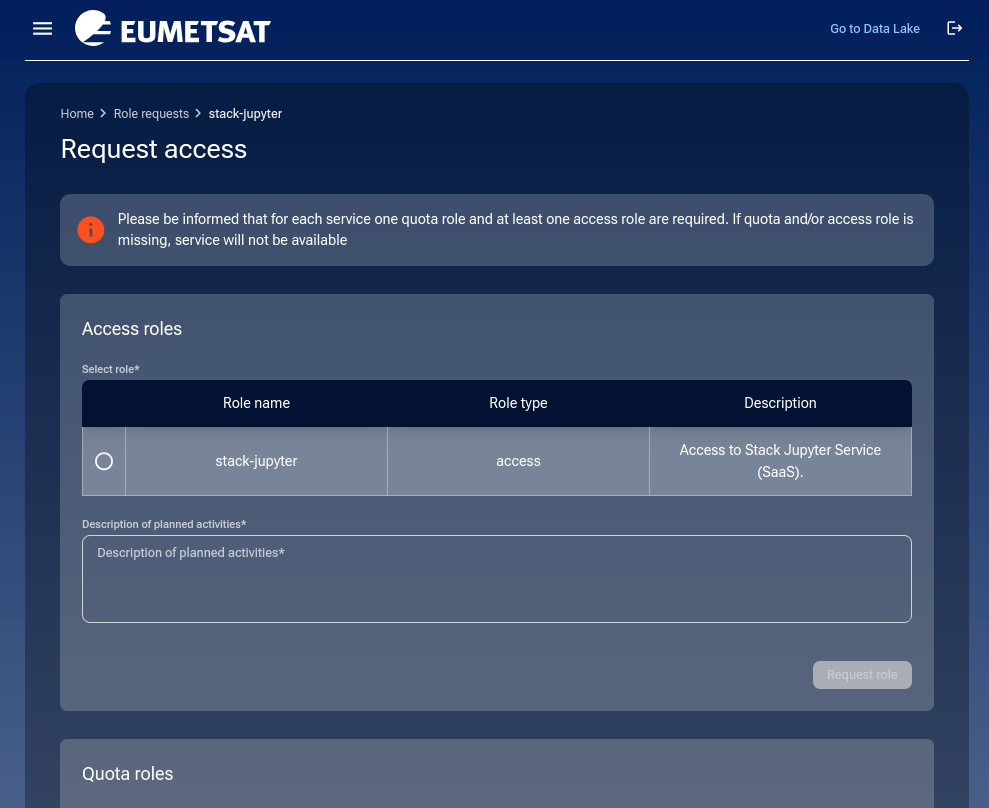
You must enter a justification in the Description of planned activities field.
Click the Request role button to continue.
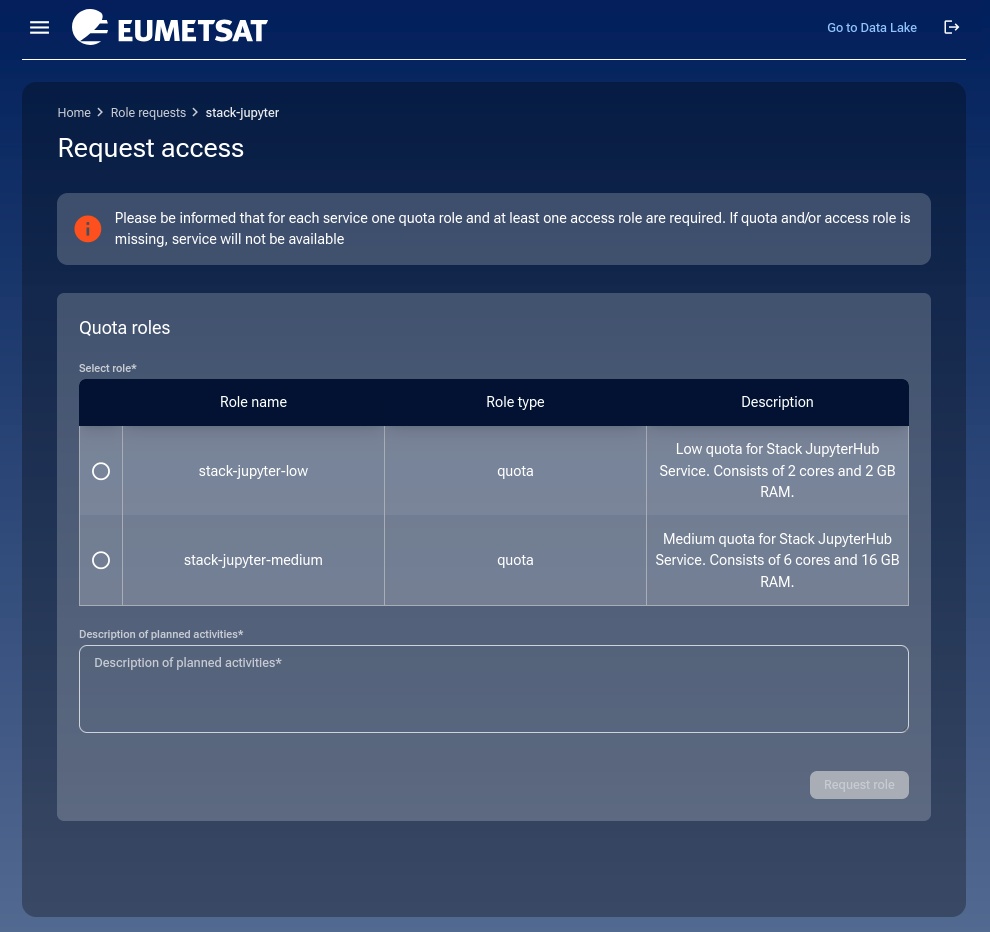
Quota roles
There are three quota roles for stack-jupyter:
- stack-jupyter-low
Low quota for Stack JupyterHub Service. Consists of 2 cores and 2 GB RAM.
- stack-jupyter-medium
Medium quota for Stack JupyterHub Service. Consists of 6 cores and 16 GB RAM.
- stack-jupyter-high
High quota for Stack JupyterHub Service. Consists of 12 cores and 32 GB RAM.
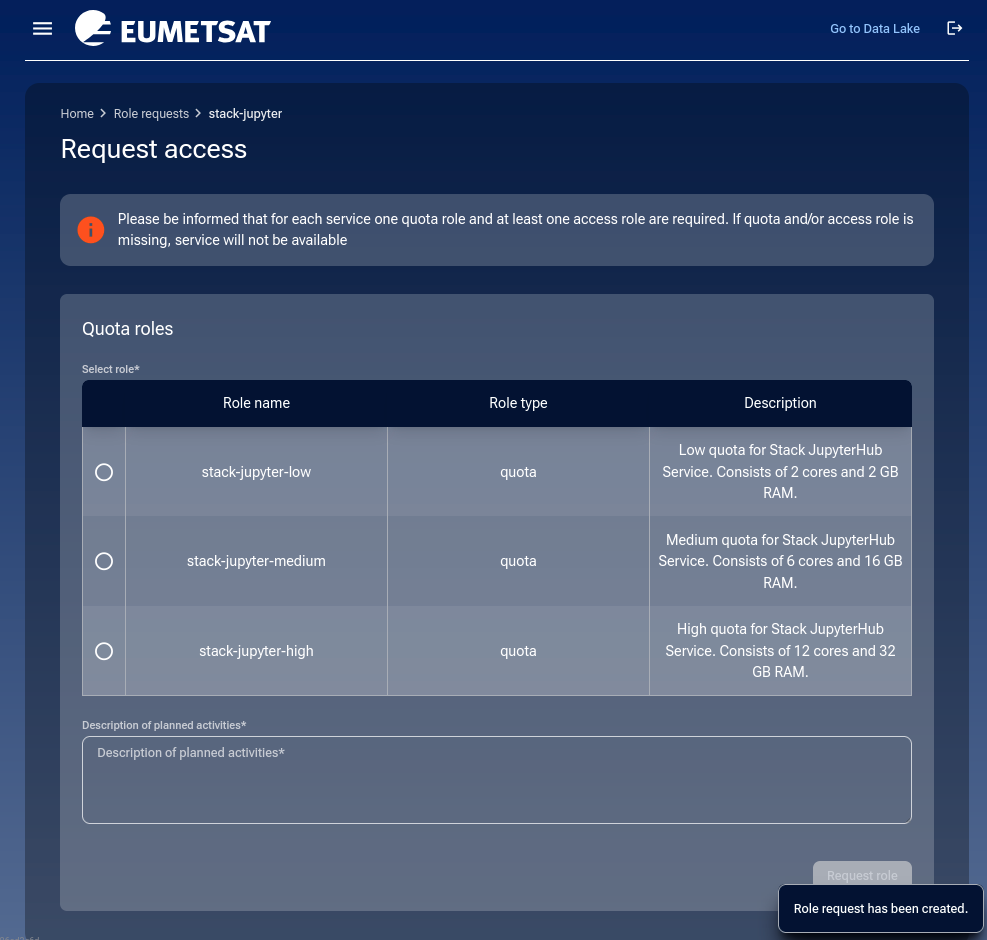
Select your desired quota role using the radio button, and again fill in the Description of planned activities field.
Click the Request role button to finalize.
Operator approval
Your submitted requests will now be reviewed by the DEDL operator.
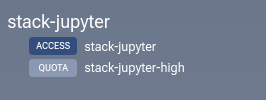
Viewing active roles
To check current active roles, go to Access → Active roles in the left-hand menu. Example where all available roles are active:

Viewing role requests
The Role requests menu item shows a full history of your requests. Below, both access and quota roles are approved:
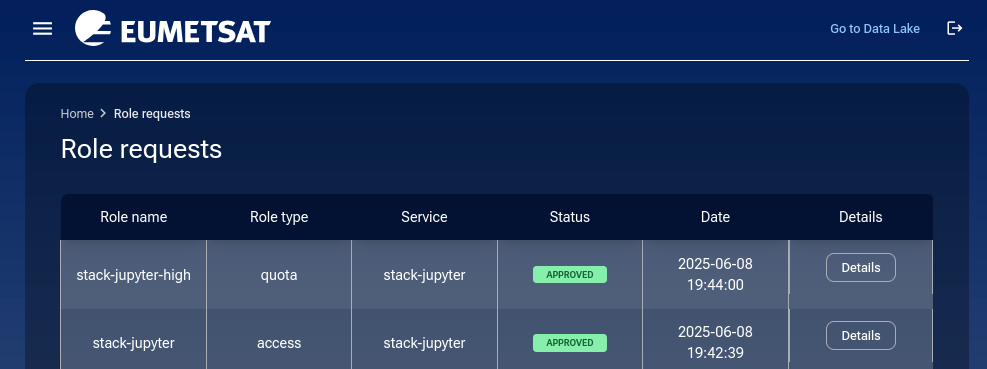
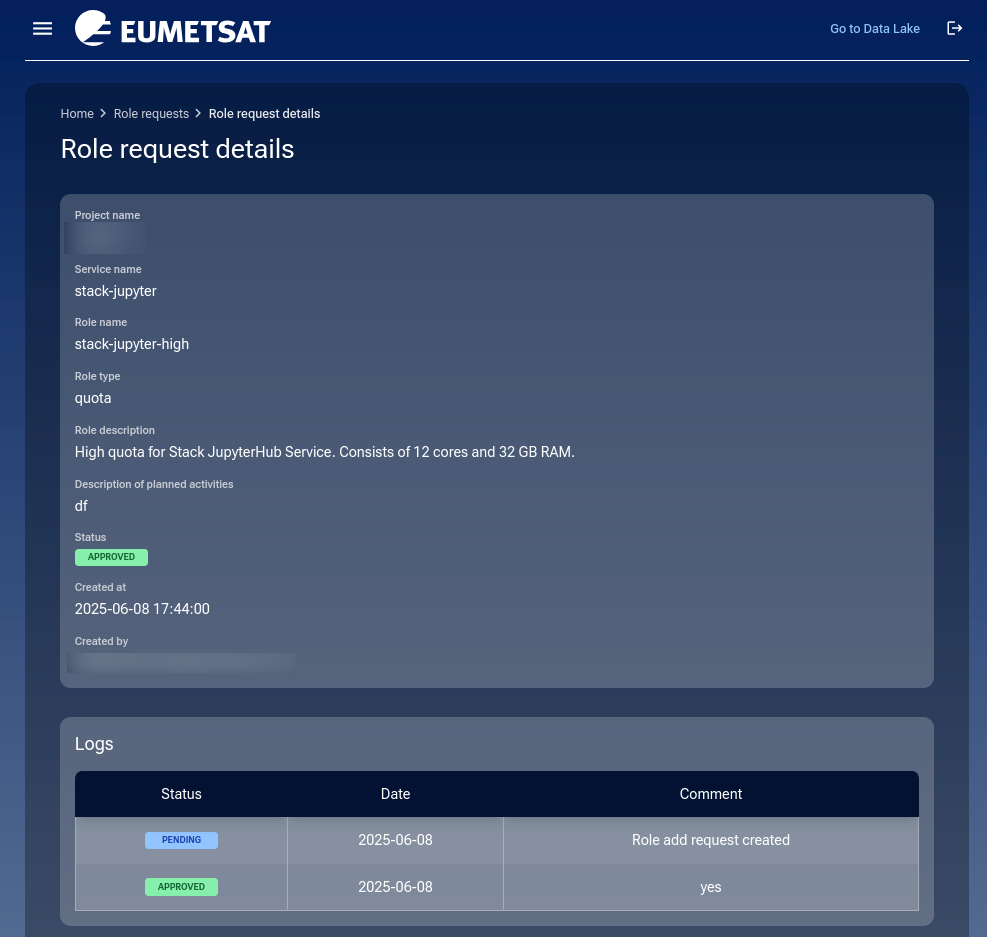
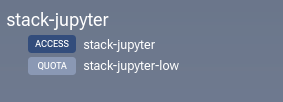
Click Details to view the exact details of a specific request, such as stack-jupyter:
Changing quota roles
It is not possible to change access roles (since there’s only one), but quota roles can be modified.
Suppose you currently have stack-jupyter-high.
To downgrade, click Role requests, then click Edit access in the row for stack-jupyter:

You can now choose a different quota role:
Choose from the other two roles — low or medium — by clicking the radio button.
Enter your justification under Description of planned activities. The Request role button becomes active. Click it.
A message will appear in the bottom right corner:
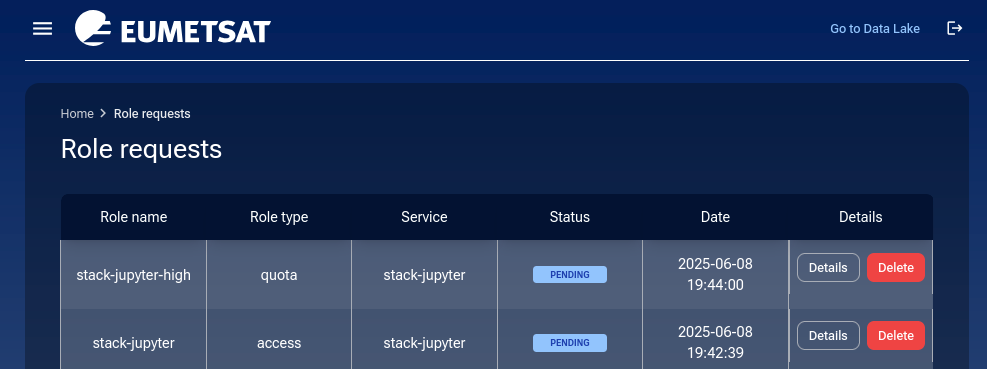
The new request will now appear as PENDING in your role request list:
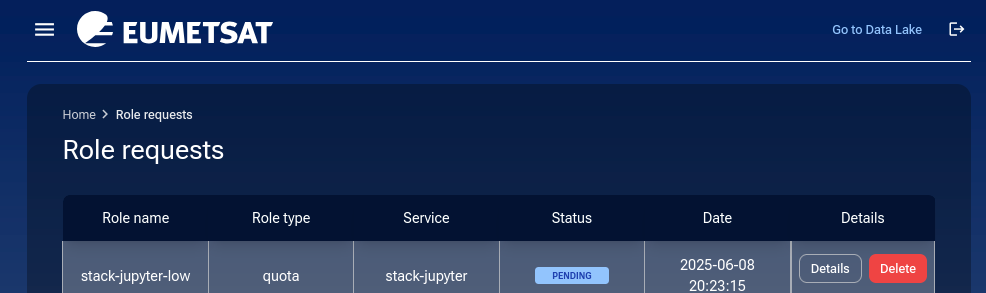
Managing pending requests
You have two options:
- Details
View metadata about the request.
- Delete
Remove the request before the operator sees it.
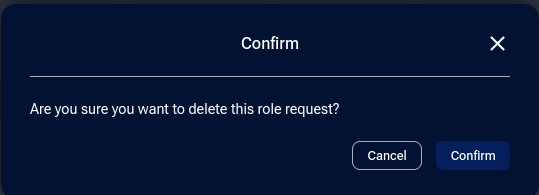
You will be prompted to cancel or confirm:
If confirmed, a success message appears:

The request may be marked as REJECTED. There are two reasons this might happen:
The user deleted the request
The operator rejected it manually
If rejected, click Details to see the operator’s message.
If approved, the request will be marked APPROVED:
Go to Active roles to confirm your updated quota role:
Email notifications
You’ll receive an email for every status change:

Use your email client’s search function to track changes related to stack-jupyter.
How to remove access to a service
There is currently no self-service option to revoke access to a service. To remove access, contact Support.
Likewise, to delete your My DataLake Services account, contact the same support team.
Troubleshooting assigned roles
Various issues may occur when accessing services.
Incorrect role assigned
If your role does not include quota, you may see this error:
Request failed with status code 403
Response text: Missing quota role
Quota or limit exceeded
If your assigned resources have been exceeded, see the FAQ: HDA quotas exceeded
Next steps
Explore the JupyterHub usage guide to get started.
Invite colleagues to your project: How to invite a user to a project on My DataLake Services
Manage user roles and permissions: How to manage users within a project on My DataLake Services
You should now have full access to the JupyterHub environment with the quota you selected.
See status page for Destination Earth Data Lake Jupyter services.