How to request roles for Islet service on My DataLake Services
The Islet Service is a cloud computing service based on OpenStack that provides users with Infrastructure-as-a-Service (IaaS) solutions. It enables you to:
manage and deploy virtualized compute, network and storage resources;
manage virtual resources (for example, Virtual Machines or Object Storage) using OpenStack Horizon GUI or CLI;
create and manage your own Virtual Machines (VMs); and
use and create Kubernetes clusters.
What we are going to cover
Roles in My DataLake Services
My DataLake Services uses two role types for Islet:
Access role Grants permission to use the Islet service.
Quota role Grants a predefined compute quota on the underlying OpenStack infrastructure.
Note
Do not confuse the two different “project” concepts:
A My DataLake Services project is an application-level project that must be approved by the operator.
An OpenStack project (tenant) is where you later use quotas and resources in Horizon.
In this article, you request Islet roles in My DataLake Services. In the next article, you will use those roles to create OpenStack projects.
In this article, you will learn how to submit role requests for the islet service.
Prerequisites
No. 1 Account
You need a profile on My DataLake Services:
You also need a valid account with access to the OpenStack Horizon interface for your environment:
DEDL CENTRAL: https://cloud.central.data.destination-earth.eu/project/
DEDL EUMETSAT: https://cloud.eumetsat.data.destination-earth.eu/project/
DEDL MARENOSTRUM: https://cloud.marenostrum.data.destination-earth.eu/project/
DEDL LUMI: https://cloud.lumi.data.destination-earth.eu/project/
DEDL LEONARDO: https://cloud.leonardo.data.destination-earth.eu/project/
No. 2 Administrative privileges within a project
You must be a member of a My DataLake Services project and have administrative privileges in it. The project must be accepted by an operator of My DataLake Services.
To learn how to create a project, see:
Alternatively, you can join an existing project and its admin can grant you admin privileges.
No. 3 Islet documentation
Before requesting roles, review the Islet documentation:
For background on users, projects, quotas and flavors in OpenStack, see:
Tip
Before requesting Islet roles, ensure that:
your My DataLake Services project is approved;
you are a project admin; and
you reviewed the Islet service documentation.
At a glance
Requesting Islet roles follows this flow:
Open Role requests in My DataLake Services.
Choose the target Islet endpoint (islet-central or islet-eumetsat).
Request the islet-access role.
Request one quota role (islet-low, islet-medium, or islet-high).
Wait for operator approval.
Verify your roles under Active roles.
Choosing which role to request
Sign in to My DataLake Services:
In the left menu, open Role requests.
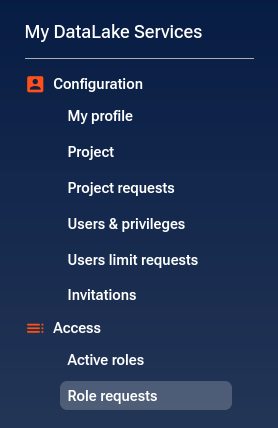
You will see a list of services. Services that are already approved show Edit access. Services that you can still request show Request access.
In this example, these services are already approved:
hda, hook, islet-central
Other services can still be requested using Request access.
Request roles for a specific Islet endpoint
In this example, you will request roles for islet-eumetsat.
On the Role requests page, find islet-eumetsat and click Request access.
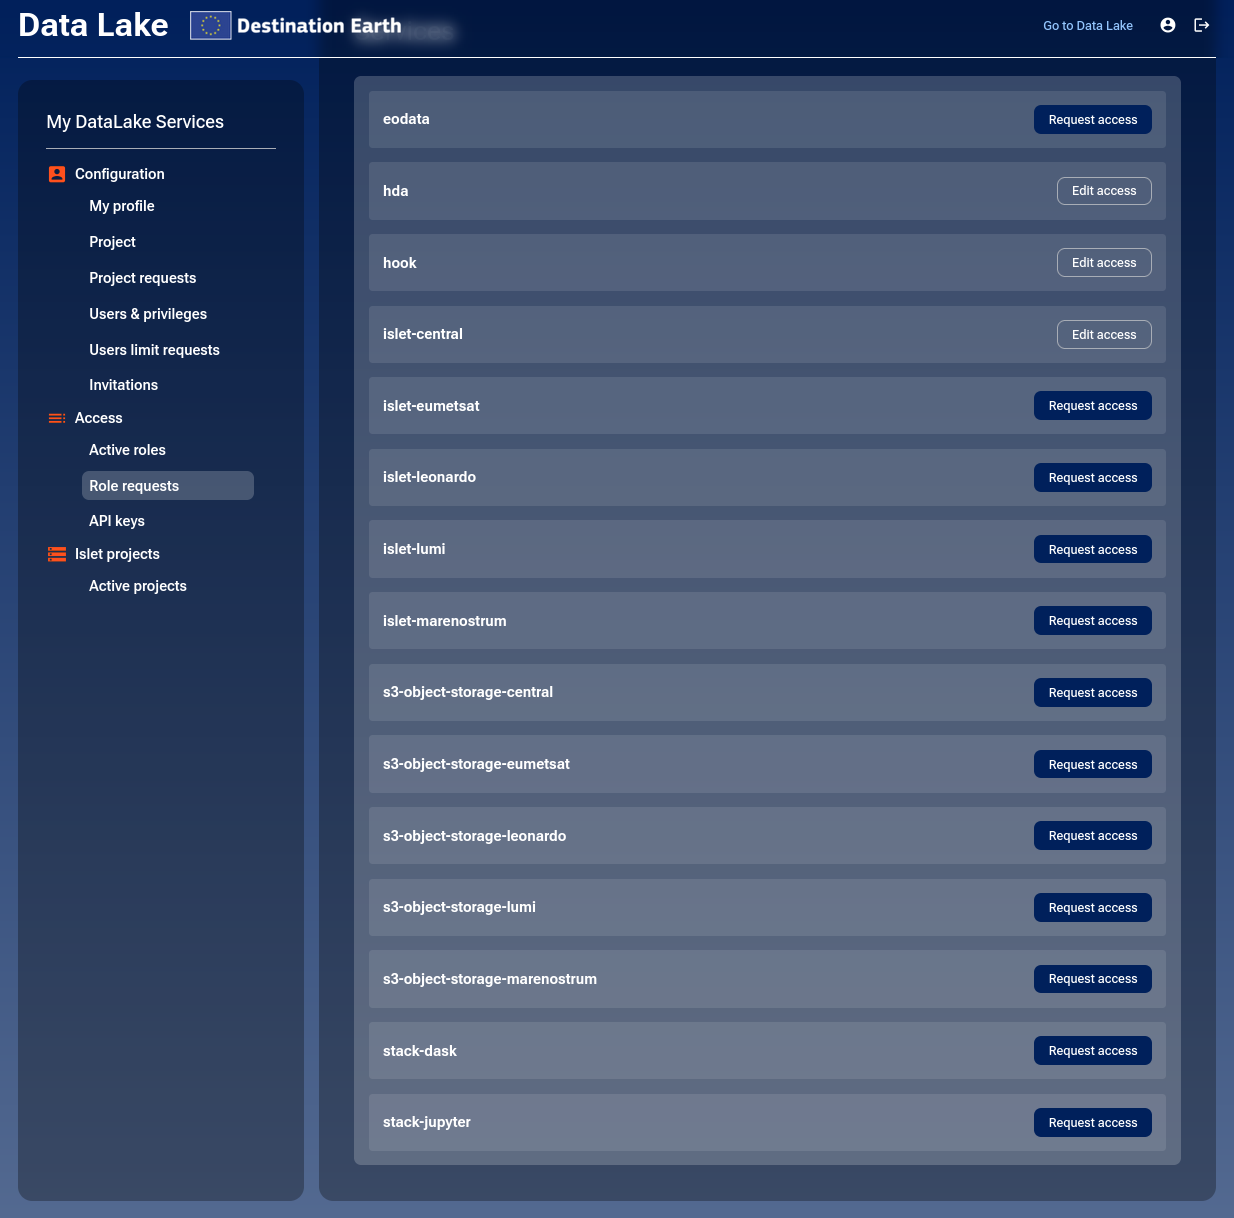
You are redirected to the Request access page with two sections:
Access roles
Quota roles
You must submit both requests.
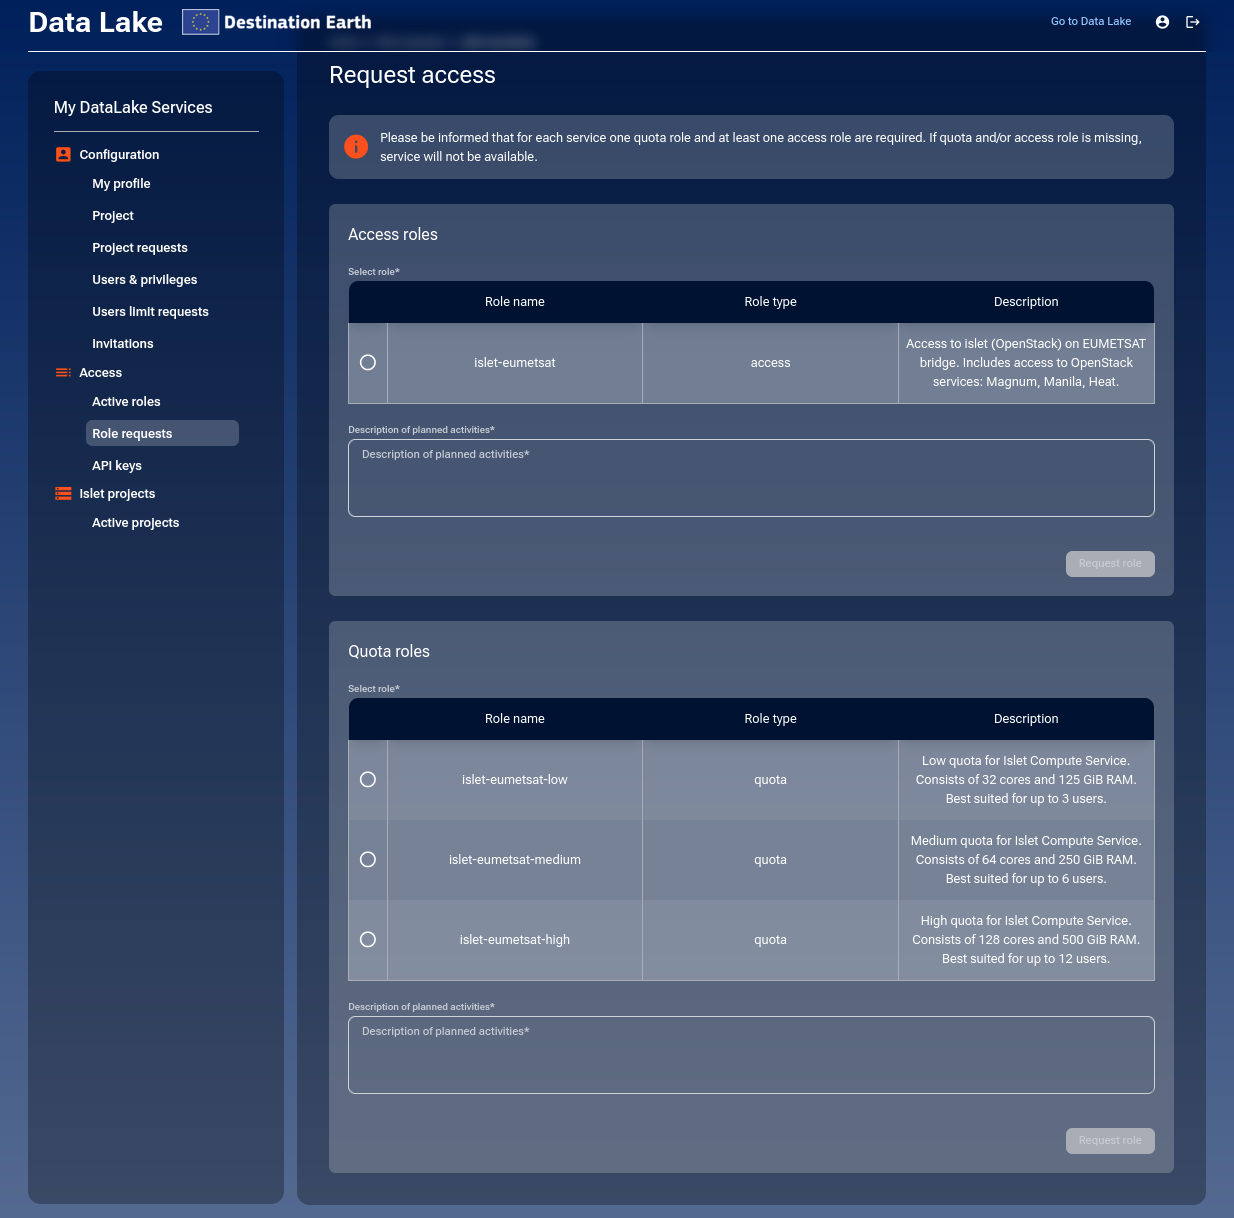
Access roles
For islet-eumetsat, there is one access role.
In the Select role column, select the islet-access role.
Fill in Description of planned activities (mandatory).
Keep the description short but specific. For example:
workload type (VMs, Kubernetes, or both),
estimated number of users,
expected duration,
expected peak usage.
Click Request role.
After submitting the access role, continue with requesting a quota role.
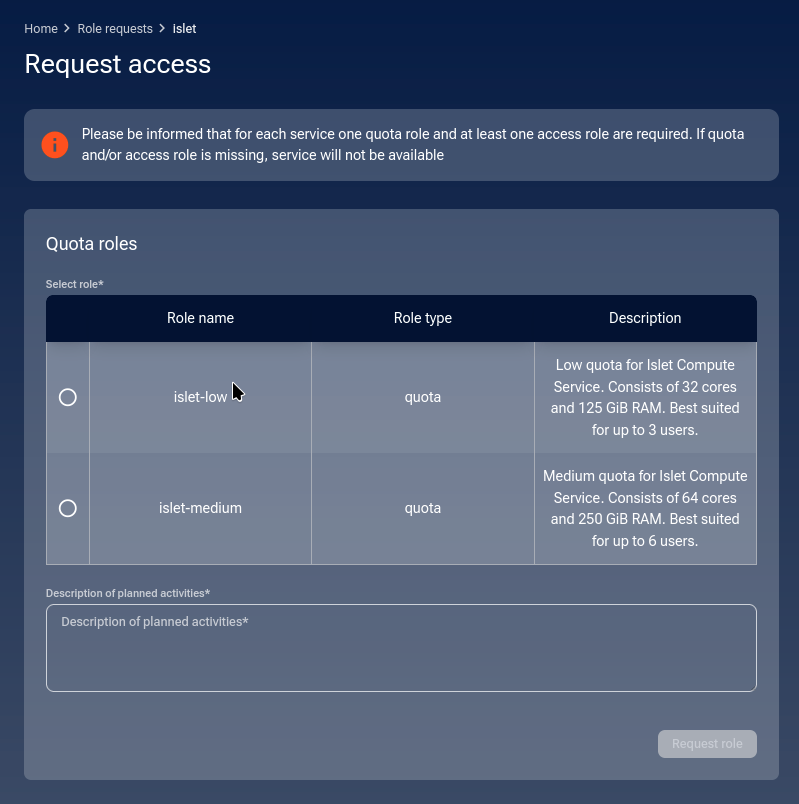
Quota roles
Quota roles define the compute resources you can use for the Islet service. Choose one quota based on the expected size of your team and workload.
Role |
Resources |
Recommended for |
|---|---|---|
islet-low |
32 cores, 125 GiB RAM |
Up to 3 users |
islet-medium |
64 cores, 250 GiB RAM |
Up to 6 users |
islet-high |
128 cores, 500 GiB RAM |
Up to 12 users |
In the Quota roles section, select one quota role.
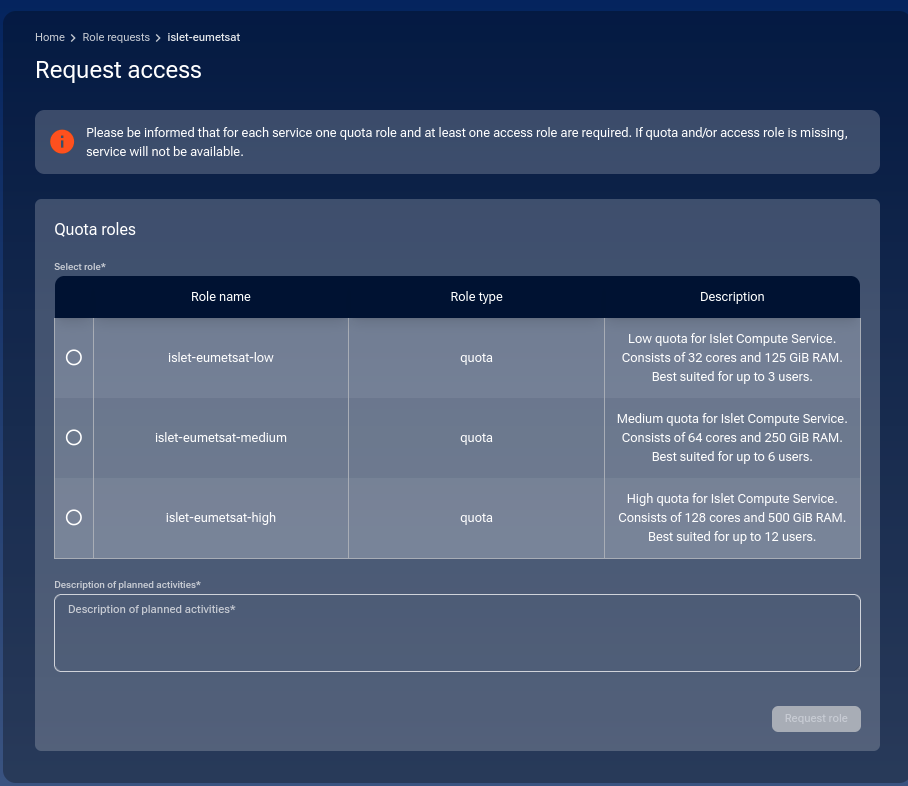
Fill in Description of planned activities (mandatory).
Click Request role.
You are returned to the role request list where you can track the status.
List of pending role requests
After submitting requests, you will see them listed under Role requests. In this example, the latest two requests are for the islet service.
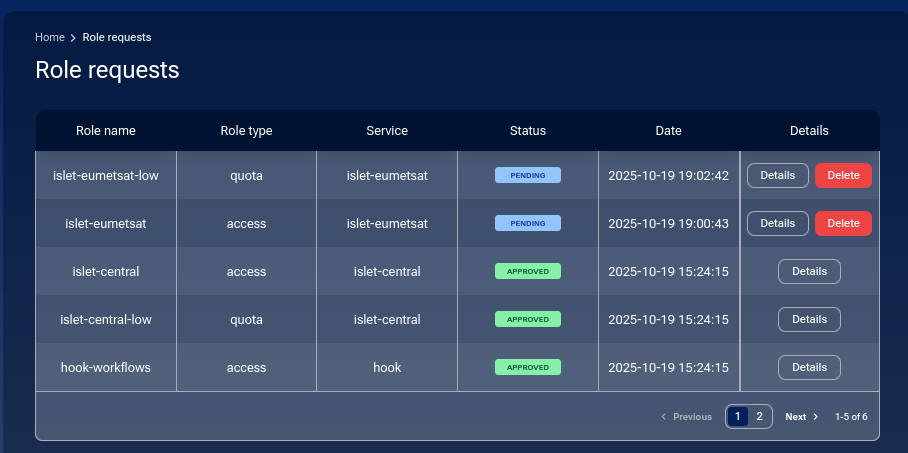
The Details and Delete buttons are explained later in this article.
Operator approval
Role approvals are processed manually by DEDL operators. After approval, your roles appear under Active roles.
Note
Processing may take up to 1–2 business days.
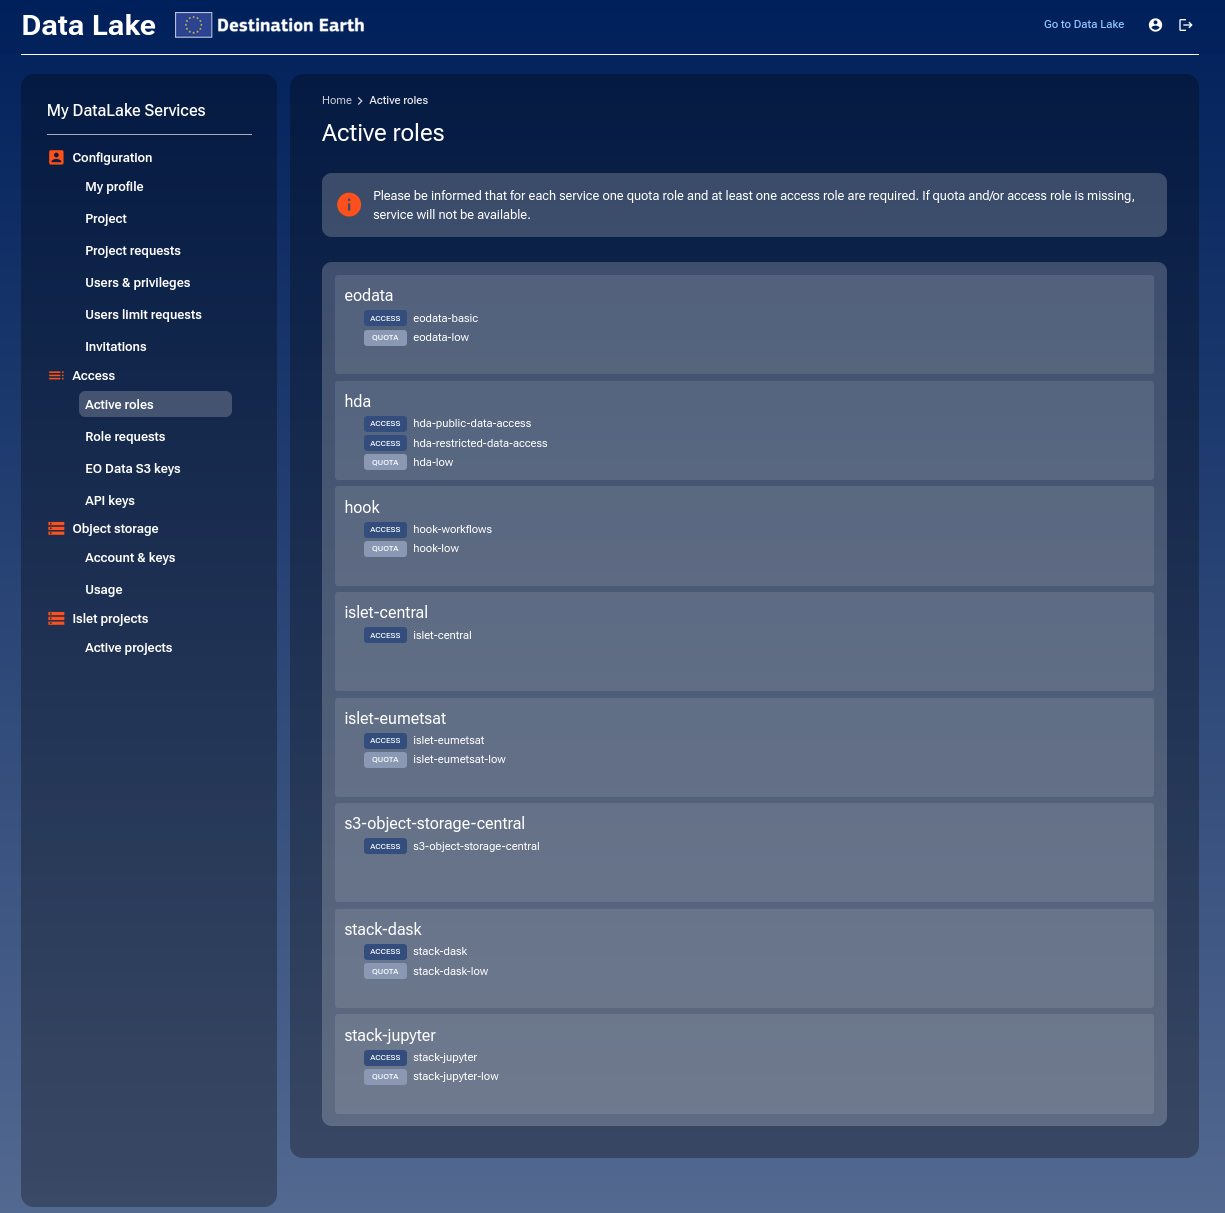
List active roles
To verify approved roles:
Open Access -> Active roles from the left menu.
Confirm that your Islet roles are listed as active.
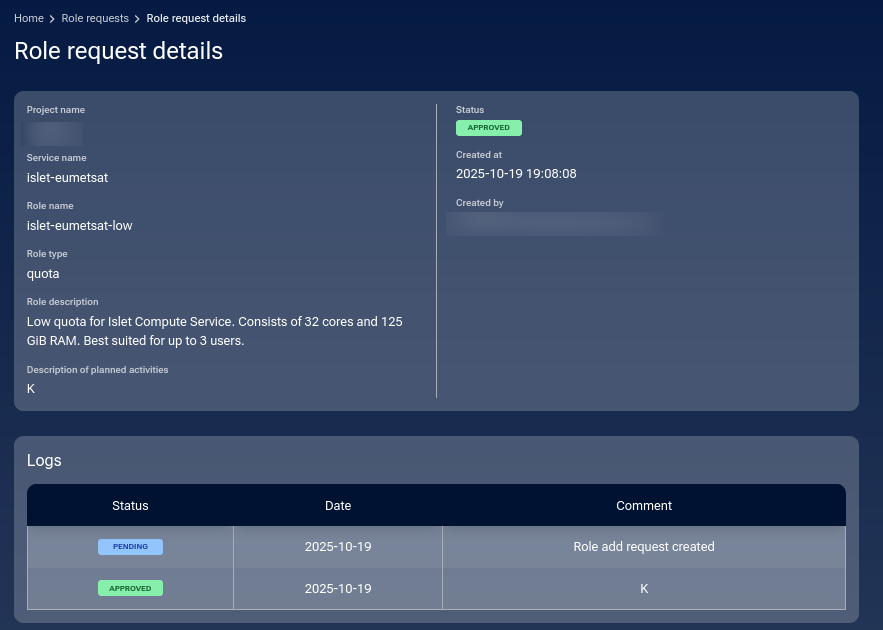
History of role requests
The Role requests page also shows your request history.
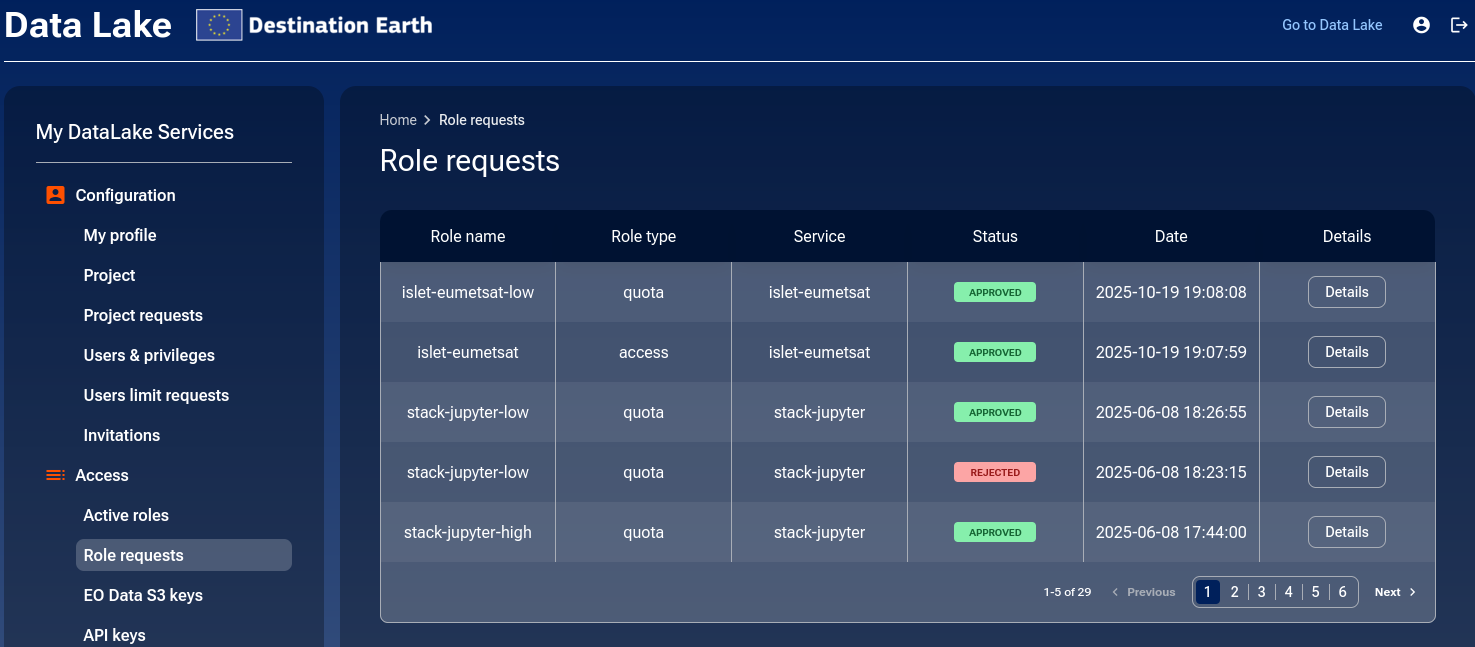
To see full details of a request, click Details.
How to change roles for Islet service
You can change a role only if multiple roles are available for that role type.
For Islet, there is only one access role, so you cannot change it.
Islet provides three quota roles, so you can request a quota change.
Example: change quota from islet-high to islet-low.
Open Role requests and locate the Islet service row.
Click Edit access for islet.

In Quota roles, select a different quota role (for example islet-low).
Enter Description of planned activities and click Request role.
A confirmation message appears in the bottom right corner.

A new request appears as PENDING.

You now have two options:
- Details
Shows the request details and status.
- Delete
Cancels the request before it is reviewed by the operator.
You can cancel or confirm:

If you confirm, a message appears:
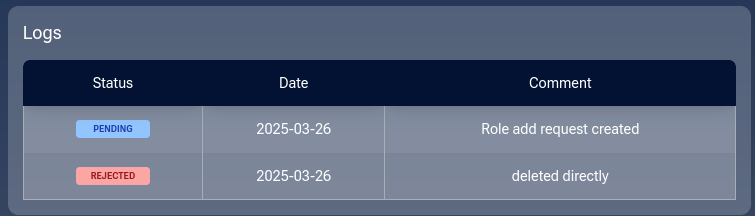
The request becomes REJECTED with the reason deleted directly.

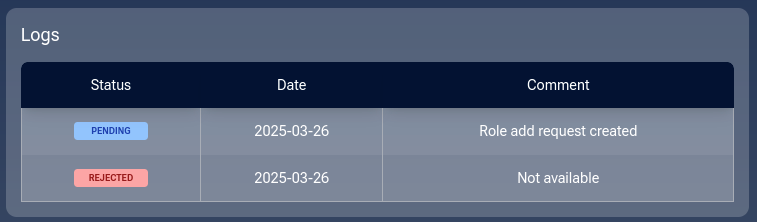
If not deleted by the user, the operator will review the request.
If approved, the request becomes APPROVED:

Verify the quota change under Active roles:

If rejected, open Details to read the operator message.
How to remove access to a service on My DataLake Services
Warning
Once approved, a service cannot be removed through the GUI. Contact support for removal requests.
Once you are approved for access to a service, there is no option within My DataLake Services to remove that service yourself. Contact Support to request changes.
Similarly, if you want to stop being an owner of a My DataLake Services account, ask the same support team to delete it for you.
What to do next
Now that your roles are defined, you can create one or more OpenStack projects:
Also of interest:
In case of problems, see status page for Destination Earth Data Lake Islet services.