How to create a project on My DataLake Services
This article walks you through the step-by-step process of creating a project on My DataLake Services — the gateway to accessing DestinE’s advanced big data analytics and edge computing capabilities. You’ll learn how to submit your project request, choose appropriate services, and configure access for your team.
What we are going to cover
Prerequisites
No. 1 Registered account
You need to have an account registered on My DataLake Services: How to create a profile on My DataLake Services
No. 2 Understanding projects in DEDL
See article What is a Project in My DataLake Services.
No. 3 Project types in DestinE
Article Project types in My DataLake Services explains in depth six different types of DestinE projects so that you can prepare all entries in advance.
No. 4 How to install services
While creating My DataLake Services project (as described further on in this article), you will be offered to install one or more of the four available Edge services. Study these specialized articles before committing yourself:
How to submit request for hook service
How to submit request for stack-jupyter service
How to submit request for dask service
How to submit request for islet service
No. 5 Invitations
For invitations, see
How to invite a user to a project on My DataLake Services
How to manage users within a project on My DataLake Services
The welcome screen
To start using My DataLake Services, sign in (if you haven’t already) at:
https://application.data.destination-earth.eu
When you log in for the first time, the welcome screen appears as follows:
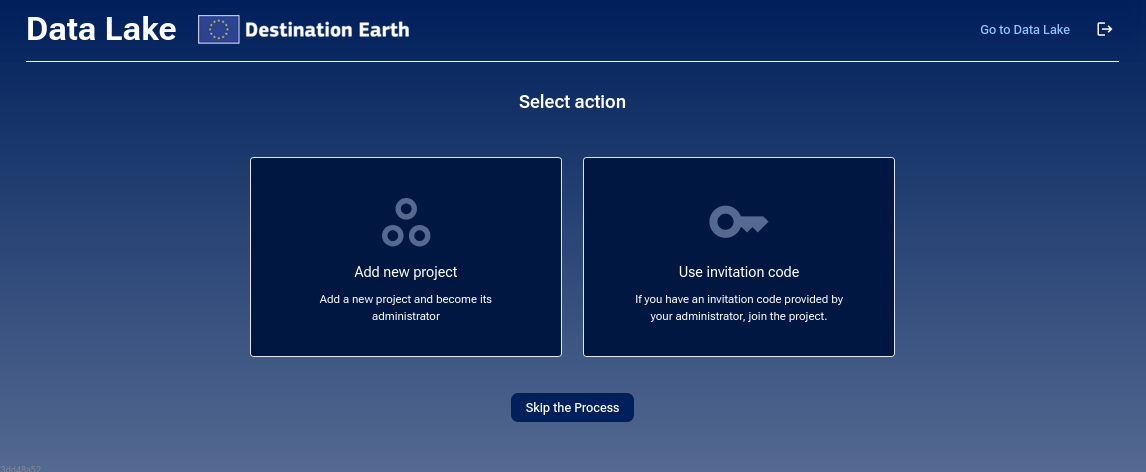
You will be presented with three options:
- Add project
Go directly to the screen for creating your own project — see the Add project section below.
- Use invitation code
Join an existing project by entering the invitation code that another My DataLake Services user has shared with you.
- Skip the process
You can choose to postpone both actions. In that case, the main menu will appear, showing only the basic options:
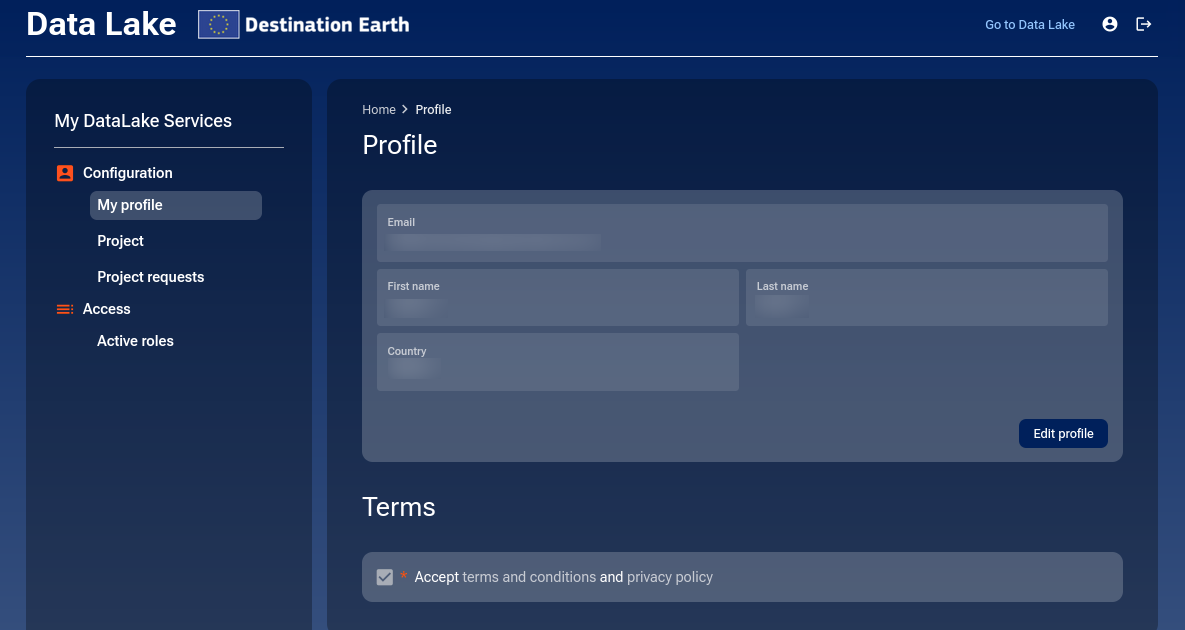
From this screen, you can view your profile, but the only meaningful actions available are to create your own project or to join another user’s project:
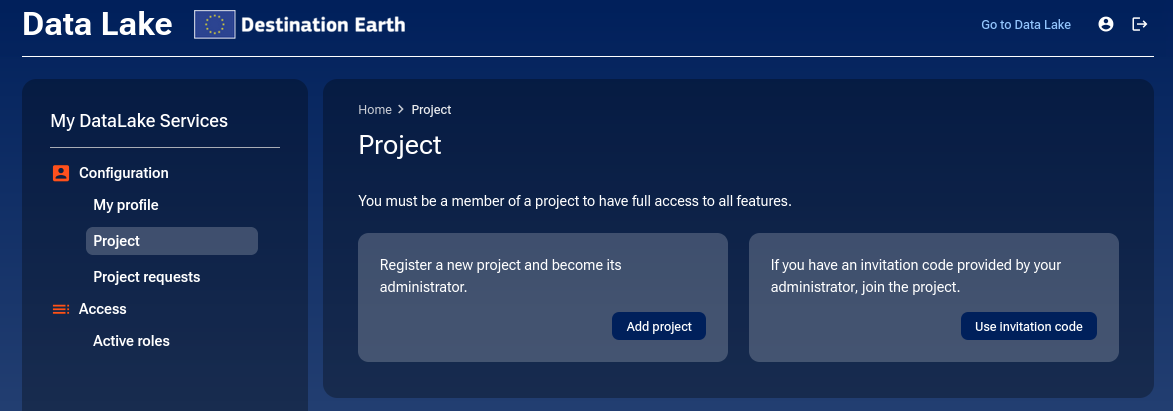
In this article, we will focus only on creating a project. For information about joining projects, see Prerequisite No. 5.
Note
Users who already belong to at least one project will see only the first two options on the welcome screen. Users who are not part of any project will also see the third option, Skip the process. Keep in mind that a user may have been part of a project before but was later removed or left voluntarily — in that case, they will again see the initial welcome screen with all three options.
Step 1: Start creating a project
Click Add project. You should now get to the following form:
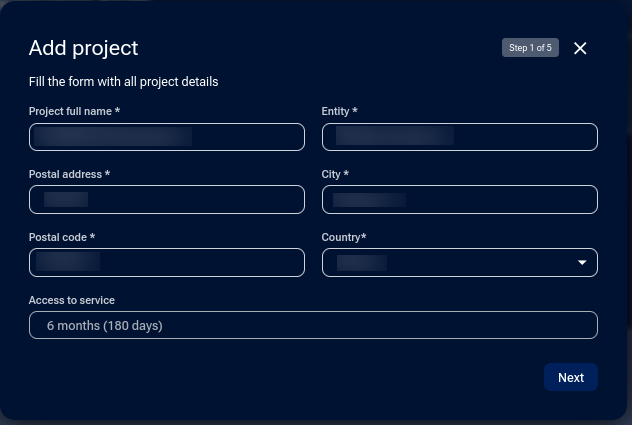
Fill in the data. Note that the Access to service field is automatically set up to 6 months (180 days). After that, the project will become unavailable unless the admin of the project had asked for extension.
Click on Next to come to Step 2.
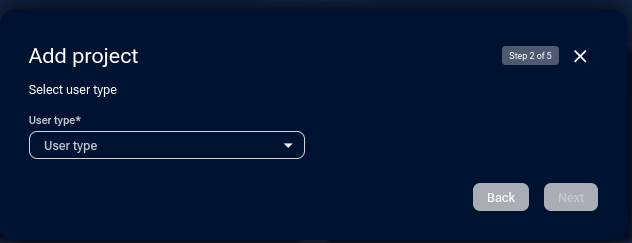
Step 2: Select user type
Drop-down menu Project type allows you to choose the type of project you want to build:
Here is a summary of the six available project types you can choose from in the application form:

Project Type |
Description |
|---|---|
Public authority |
For EU government institutions and regulatory bodies |
Academia & research |
Universities and research institutions contributing to DestinE |
SME’s & start-ups |
Innovative businesses and technology developers |
3rd country public authority |
Government agencies outside the EU |
DestinE 3Es Staff |
Employees of ESA, ECMWF, or EUMETSAT |
DestinE 3Es Contractors |
Contractors working on behalf of the above agencies |
Refer to Prerequisite No. 3 for a full explanation of the six project types listed above. Here, we will just use one of the available options, Project type: DestinE 3Es ESA/ECMWF/EUMETSAT Staff:
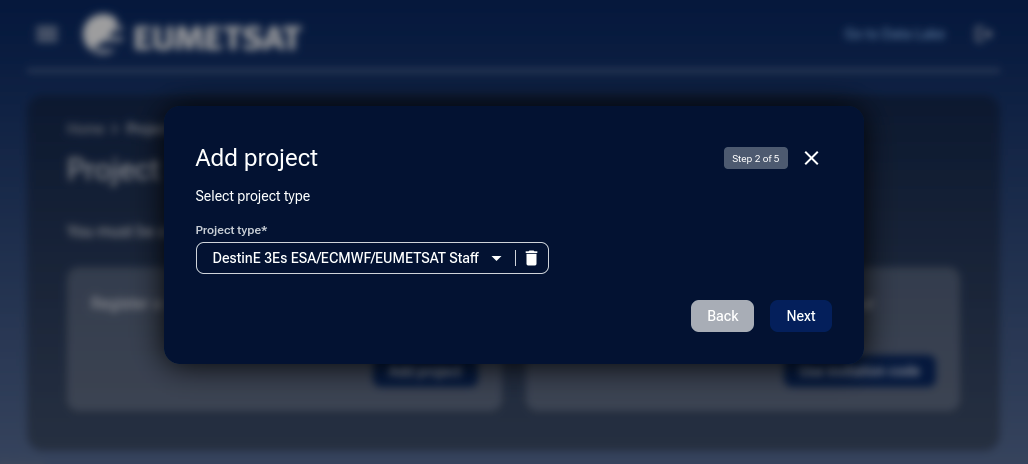
Click on Next.
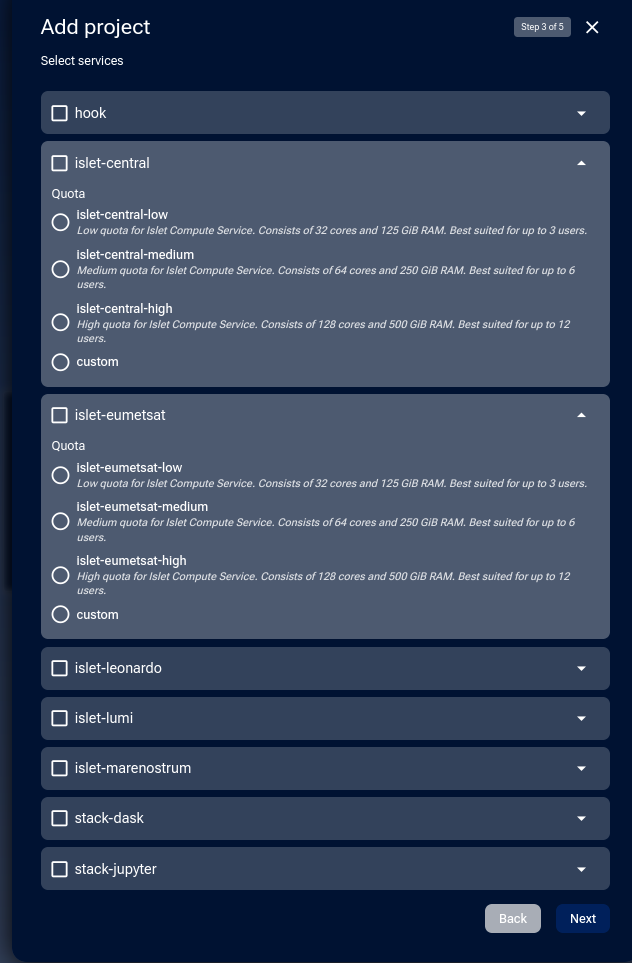
Step 3: Edge services
Select one or more options from the following list of check boxes:
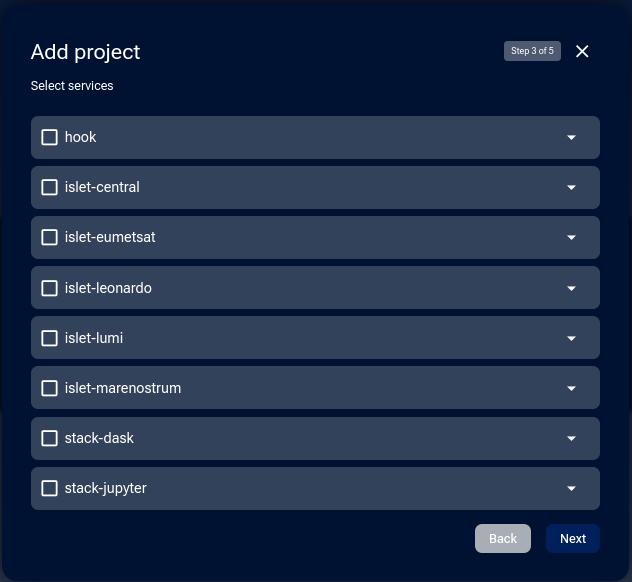
Generally speaking, there are four types of services to choose from
- hook
A serverless data processing environment designed for triggering workflows on-demand or on a schedule.
- islet
Provisioning of virtual machines and Kubernetes clusters through OpenStack for advanced data analysis tasks.
- stack-jupyter
Interactive JupyterLab environment for running Python code, exploring EO data, and building notebooks.
- stack-dask
Scalable distributed computing service using Dask for parallel processing of large Earth Observation datasets.
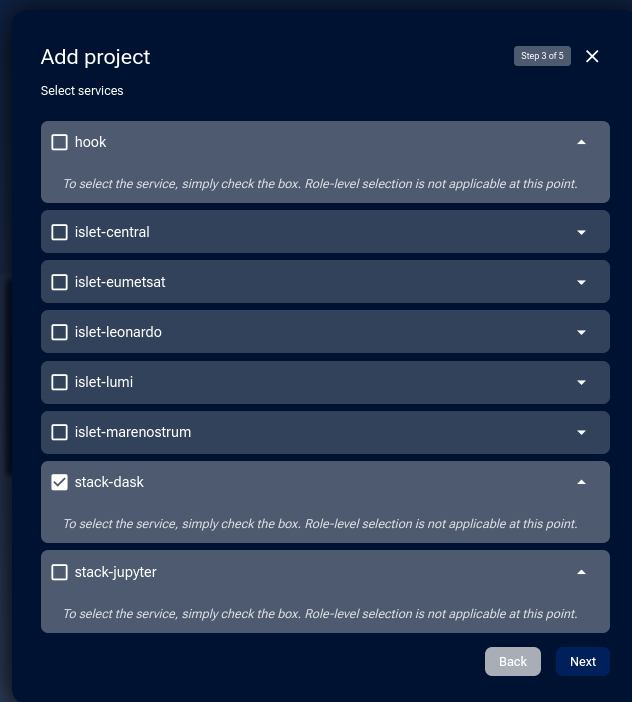
Note that the islet service may be executed on five different services, namely, central, eumetsat, leonardo, lumi and marenostrum. For example, you may opt for islet-central and run a normal virtual machine there, and you can also opt for islet-leonardo and run a Kubernetes cluster there as well. Or, you can select any combination of these services (pending approval of the administrative board).
You do not have to select any service now, but you can also choose one or more, up to all of them.
Selecting roles for services
A role here is similar to the notion of flavor in OpenStack – defining a set of basic parameters, such as how many cores to use, how many RAM and the like.
The services hook, stack-dask, and stack-jupyter operate uniformly across all DEDL sites and do not depend on site-specific roles or configurations.
For islet services, you choose from one of the three predefined roles, low, medium or high:
Quota |
Cores |
GiB RAM |
Users |
|---|---|---|---|
low |
32 |
125 |
3 |
medium |
64 |
250 |
6 |
high |
128 |
500 |
12 |
Alternatively, you can define a custom role for the specific islet service you are configuring:
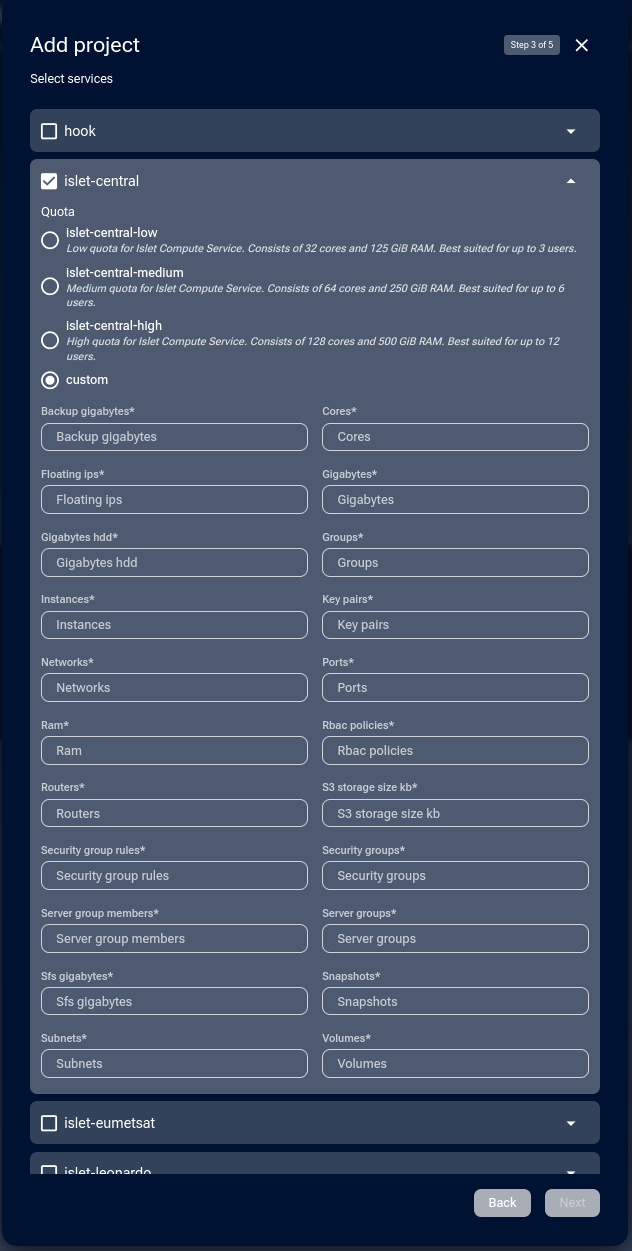
Further descriptions of these parameters are out of scope of this article.
When you decide, click on Next.
Step 4: Set the user limit
User limit defines how many people can participate in your project. As the project administrator, you are always included in that number.
After selecting the services, you can set the number of users your project will have.
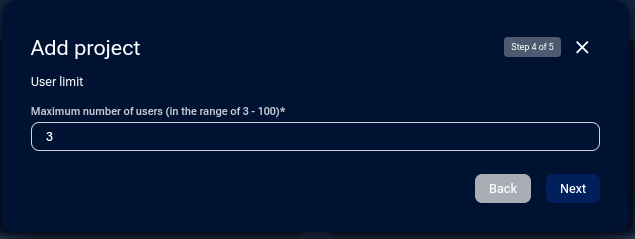
The minimum number of users is three, including you as the administrator.
Each user consumes their own resources, which the Governance Board considers when approving projects. It is recommended to start with a small number of users and resource quotas, and increase them later if necessary.
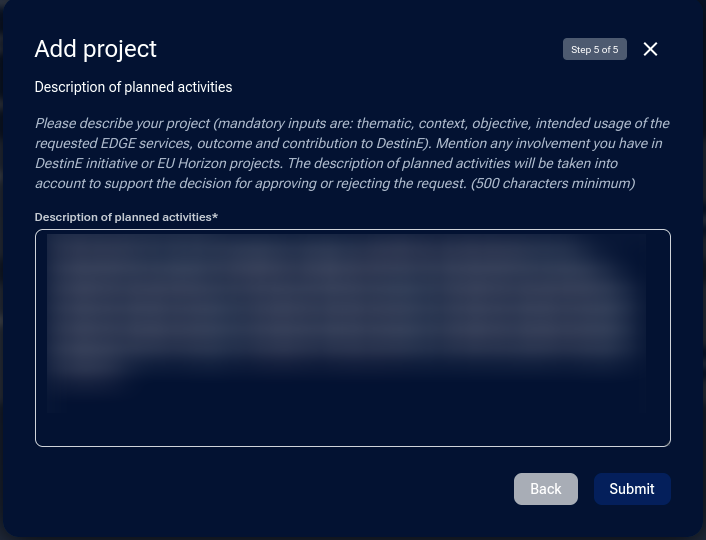
Step 5: Finalize and submit the project request
In this last step of defining a project in My DataLake Services, you must explain why you want it and what you intend to do with it.
You must provide the following information:
thematic,
context,
objective,
intended usage of the requested EDGE services,
outcome and contribution to DestinE.
Mention any involvement you have in DestinE initiative or EU Horizon projects. The description of planned activities will be considered to support the decision for approving or rejecting the request (500 characters minimum).
Checklist before submitting
I selected the correct project type.
I justified the project with thematic, objective, and usage details.
I chose appropriate EDGE services and user limits.
I verified all entries and saved the request.
Finally, click on the Submit button. You should get the following confirmation:
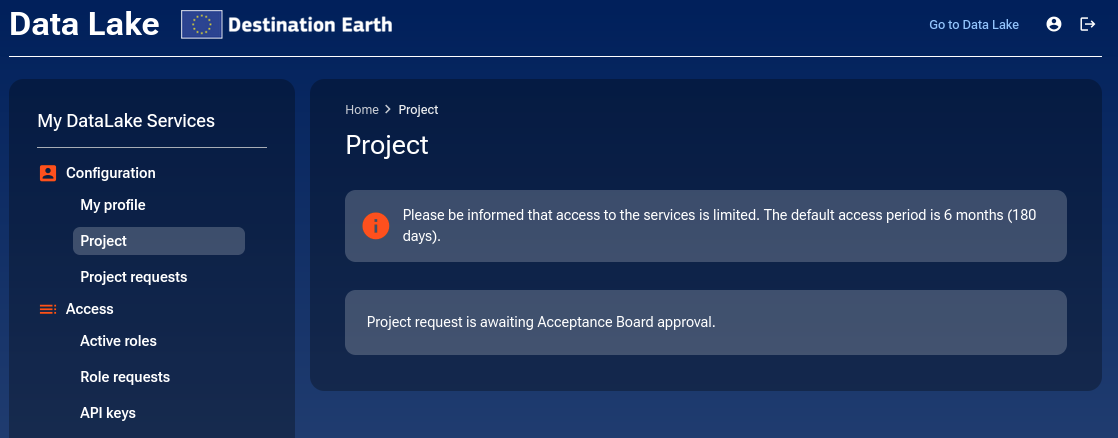
Step 6: Adjust project request if necessary
Wait until your request receives approval from the Acceptance Board.
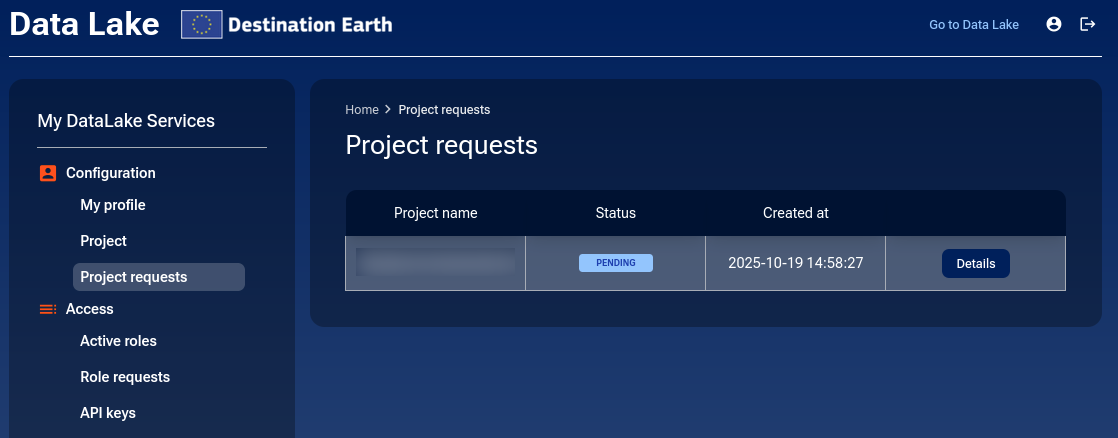
Click on Project requests to see the request in the list of requests. At first, it will be in the state of Pending.
Click on Details to see the current state of data entry:
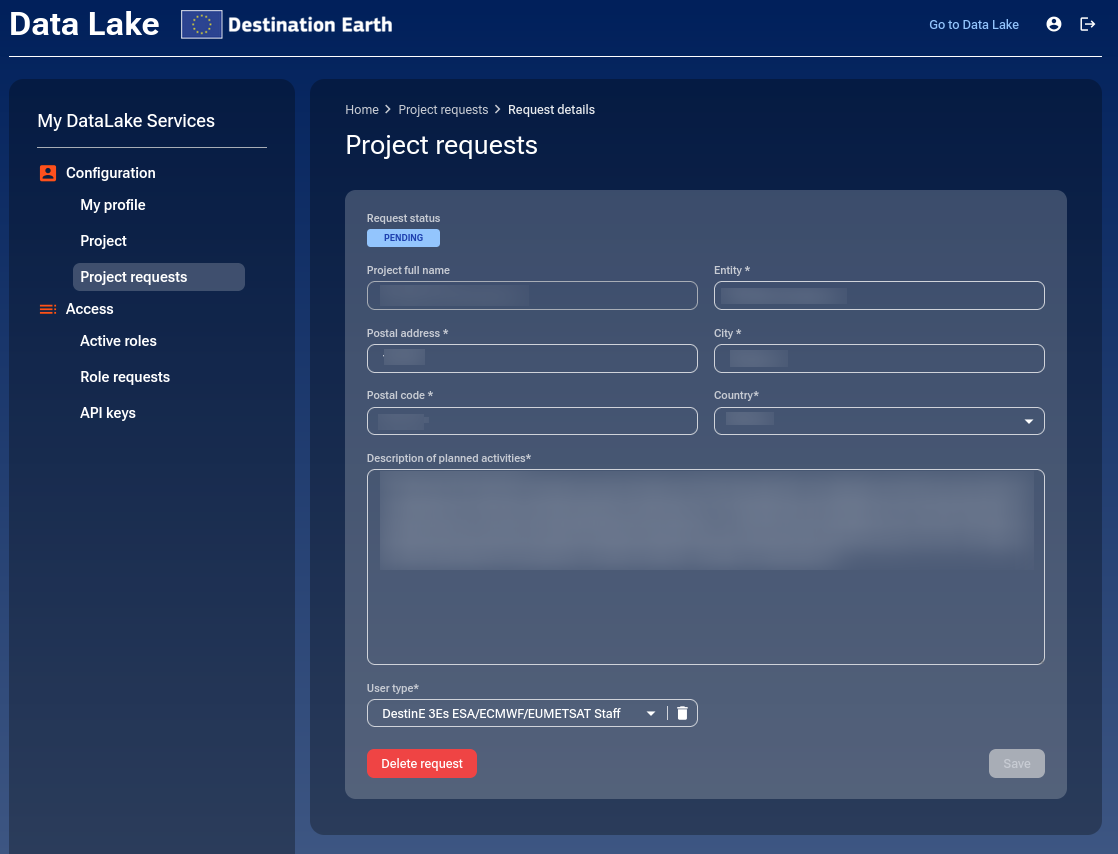
If you want to edit the entries, you can do that right away. When you are done editing, click on Save to store the new values.
How to delete the request
The Delete request button will delete the project request before the operator has had a chance to approve it (or not).
Click on Delete request and confirm you want the current project request to be deleted:
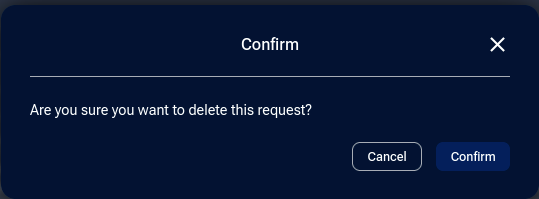
Confirming it will actually delete the request:
and you will be back to Add project / Use invitation code options when clicking on Project.
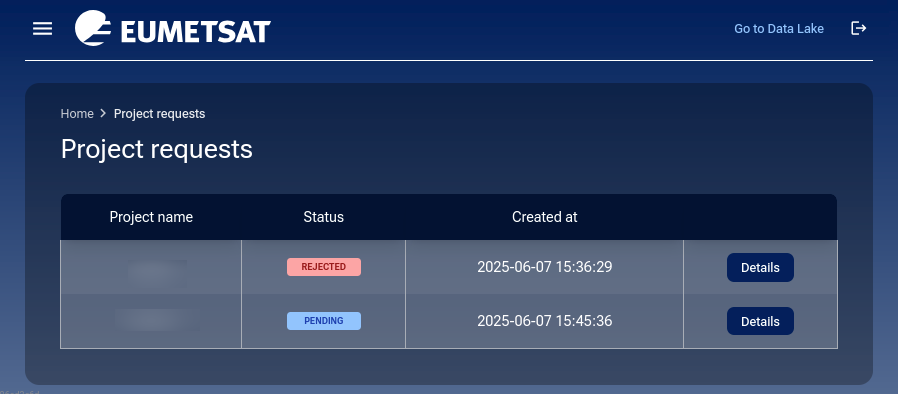
If you add another project, the list of Project requests will now show two entries:
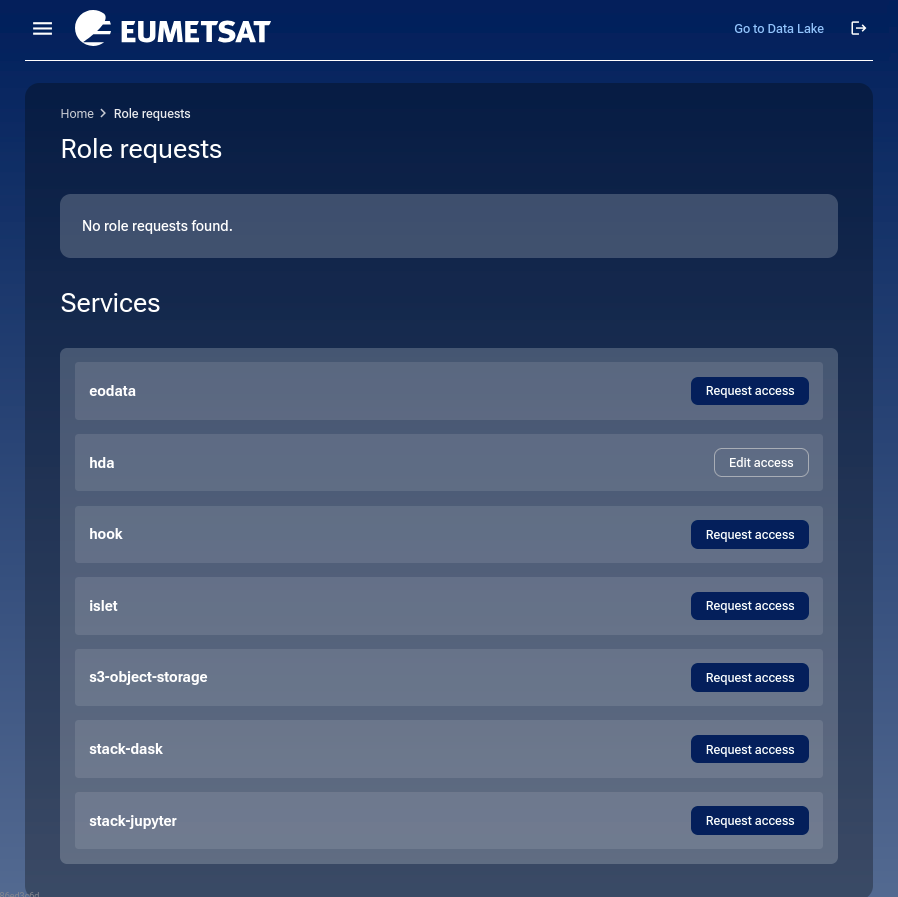
Availability of role requests
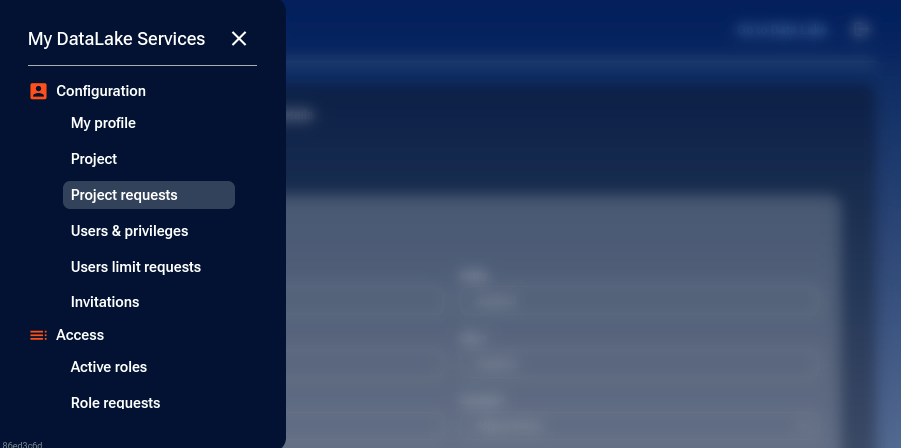
Even if your project is not yet officially approved, a new option under Access will appear: Role requests. Clicking on it will provide you the view of all roles that you can acquire in My DataLake Services:
As the default role, you have hda role activated; click on main menu option Active roles to see its parameters:
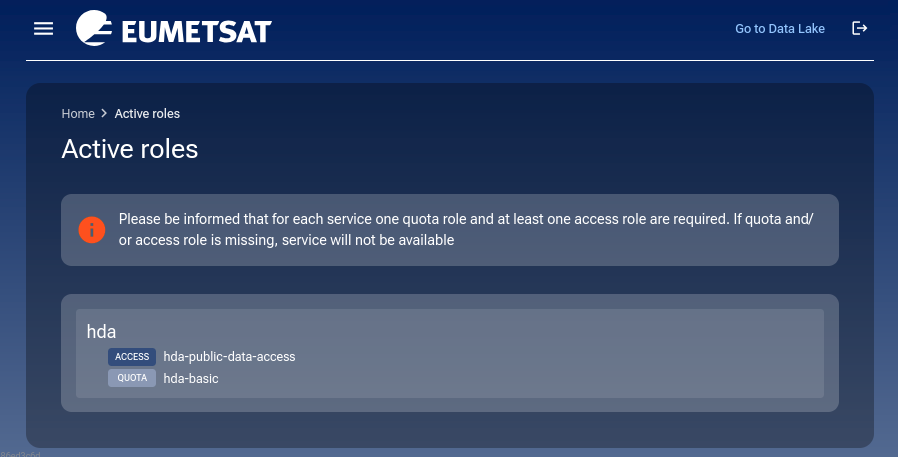
Depending on the services activated, the left side menu will change and provide further options for requests.
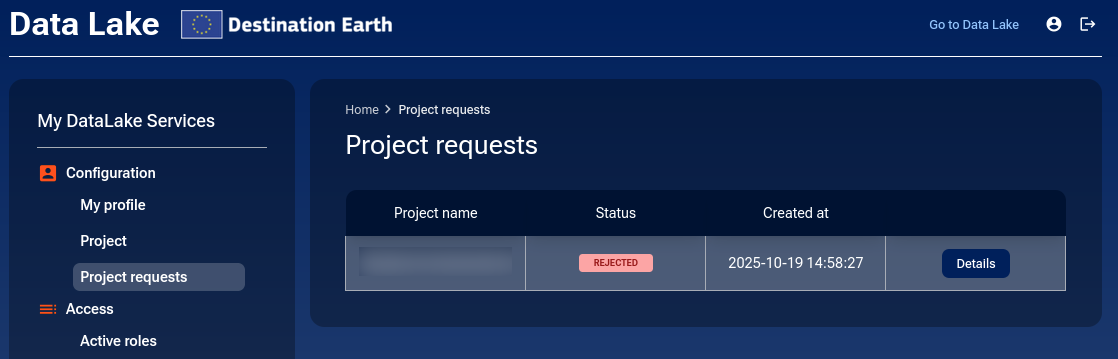
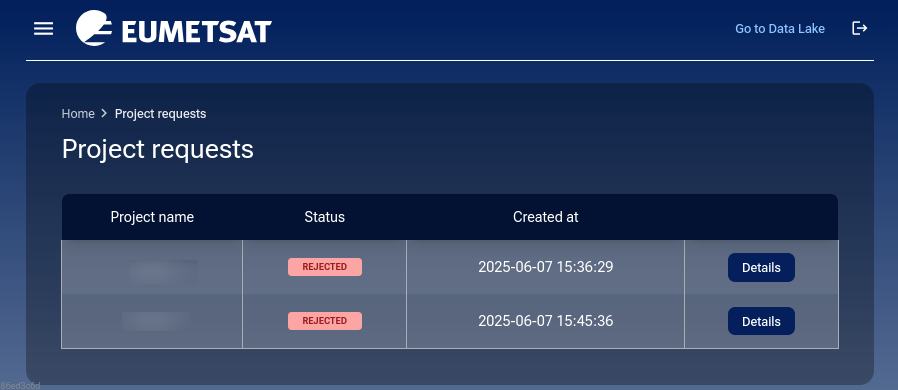
The project has been rejected
It may well happen that you requested a project but that the operator has not approved it. You may have even tried several times without success – a typical situation would be like this, after clicking on Project requests:
When there is no project available (none was requested or all of the existing projects have been rejected) the option Role requests will immediately cease to be available.
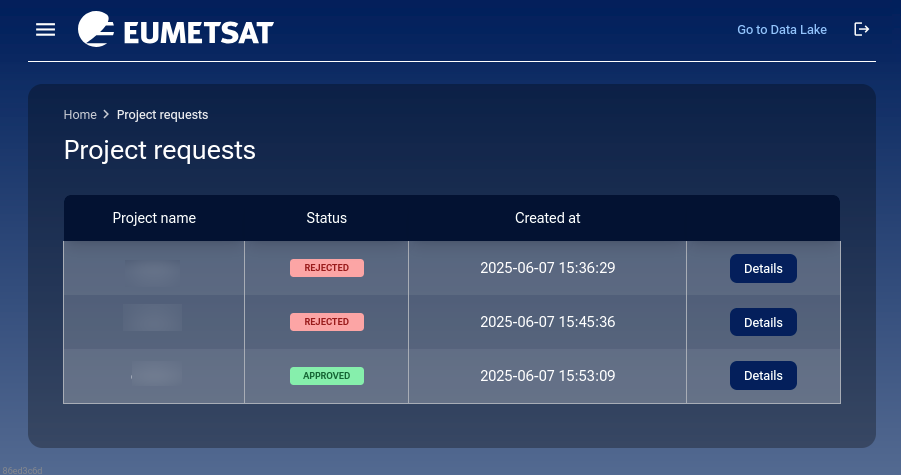
The project has been approved
When the project has been approved, it will be available in Project requests:
Click on Details to see the data entries for the project.
The main menu will have new options:
Click on Project and see the current state of project:
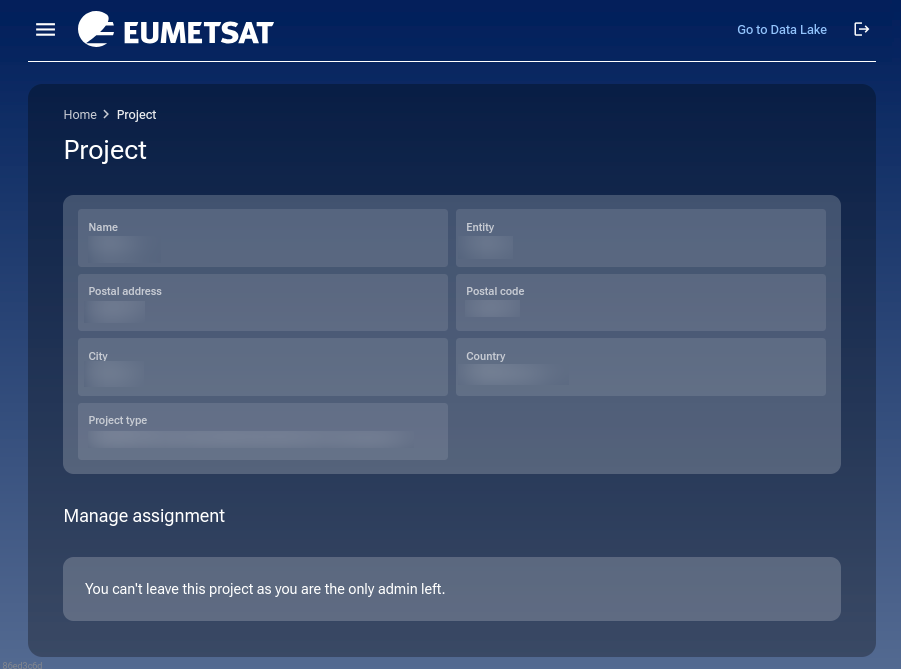
This is a typical situation right after the project has been created: you are the only user at the moment and the system automatically promotes you to admin role; and since you are the only admin, you are forbidden to leave the project – you may, however, invite other users to your project and assign them the admin role. Once they are admins, you will be able to leave the project.
Warning
You cannot create a project, have it accepted and then delete it, say, in order to start anew or explore new ideas and so on.
To send invitations to other users of your project, see Prerequisite No. 5.
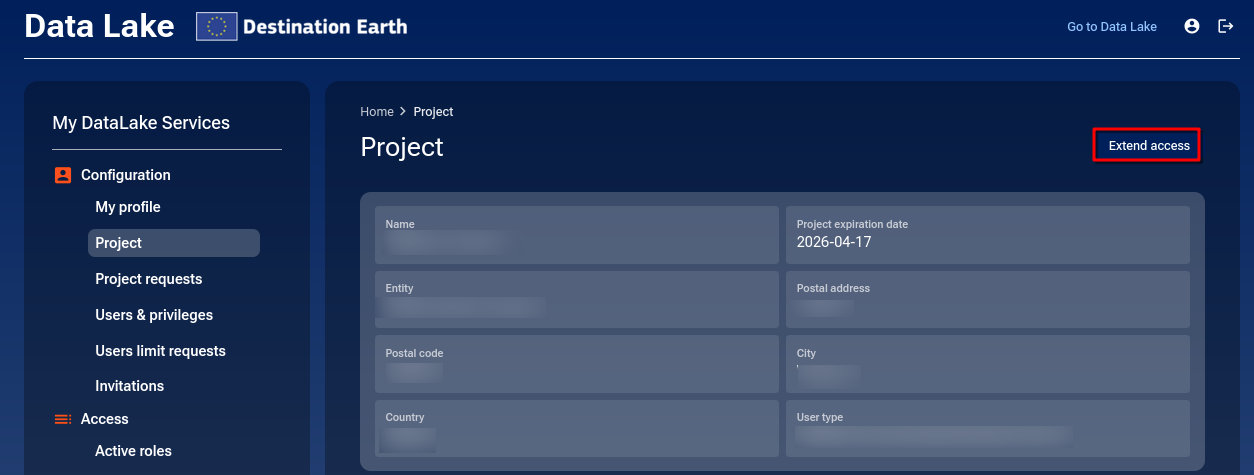
How to extend access to the project
The project has been defined for the next 6 months (180 days) after which it will be removed. To ask for an extension, use option Project and then Extend access:
Click on Extend access and enter the required data for the extension:
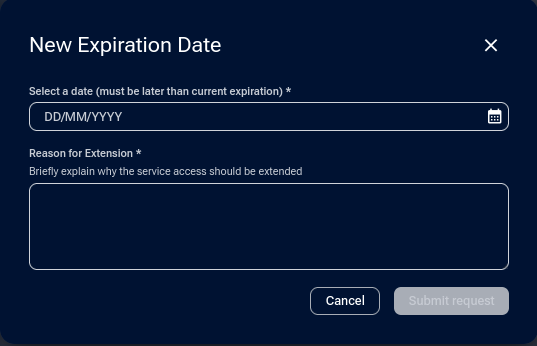
The date can be entered either directly, in DD/MM/YYYY form or, after clicking on the field, through a calendar gadget on the screen. Field Reason for extension is obvious and when done, click on Submit request.
By the way, you cannot start a project today and immediately ask for extension, the wanted date must be later than current expiration.
Admin can see their expiration requests in the Project tab; there is a list of new expiration dates requests at the lower part of the browser window:
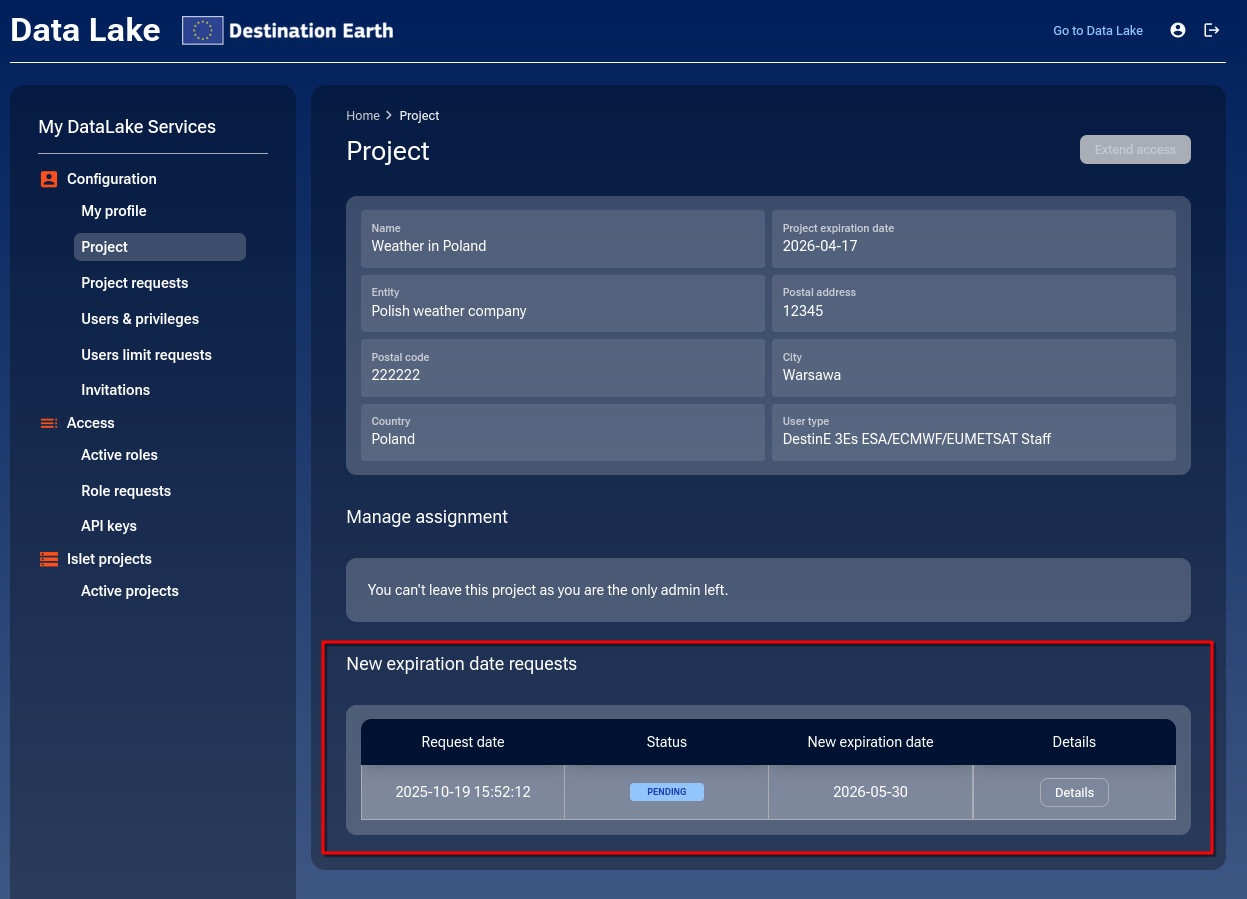
An extension request can only be submitted by an admin. This request will then undergo the approval process by the operator.
There can be only one pending extension request at a time for a project. If there is a pending extension request, the “Extend access” button will be greyed out.
A regular user doesn’t see the request. What they see however, is the expiration date at Project screen.
An admin can cancel a request in pending status. It will have the status rejected.
Request access and quota roles for available services
Once you get a project in your My DataLake Services account, you have access to option Role requests, from which you will be able to request access and quota roles for all available services. Here is what the Role requests window would look like if the project were created using islet-central, islet-central-low, hook-workflows and hook-low roles:
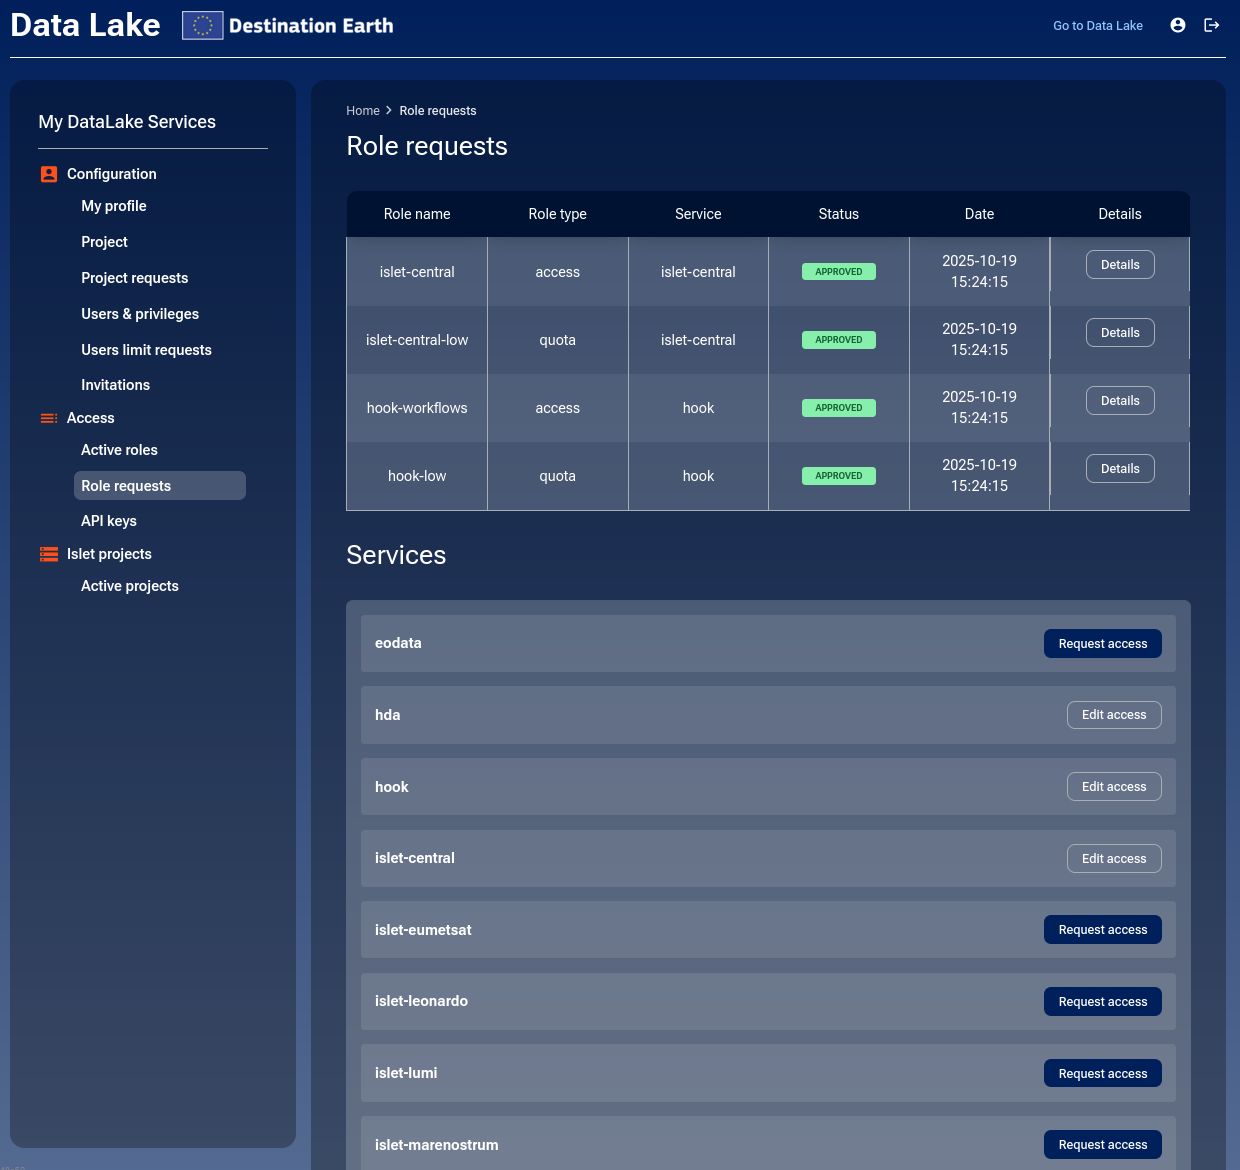
This is the list of available roles:
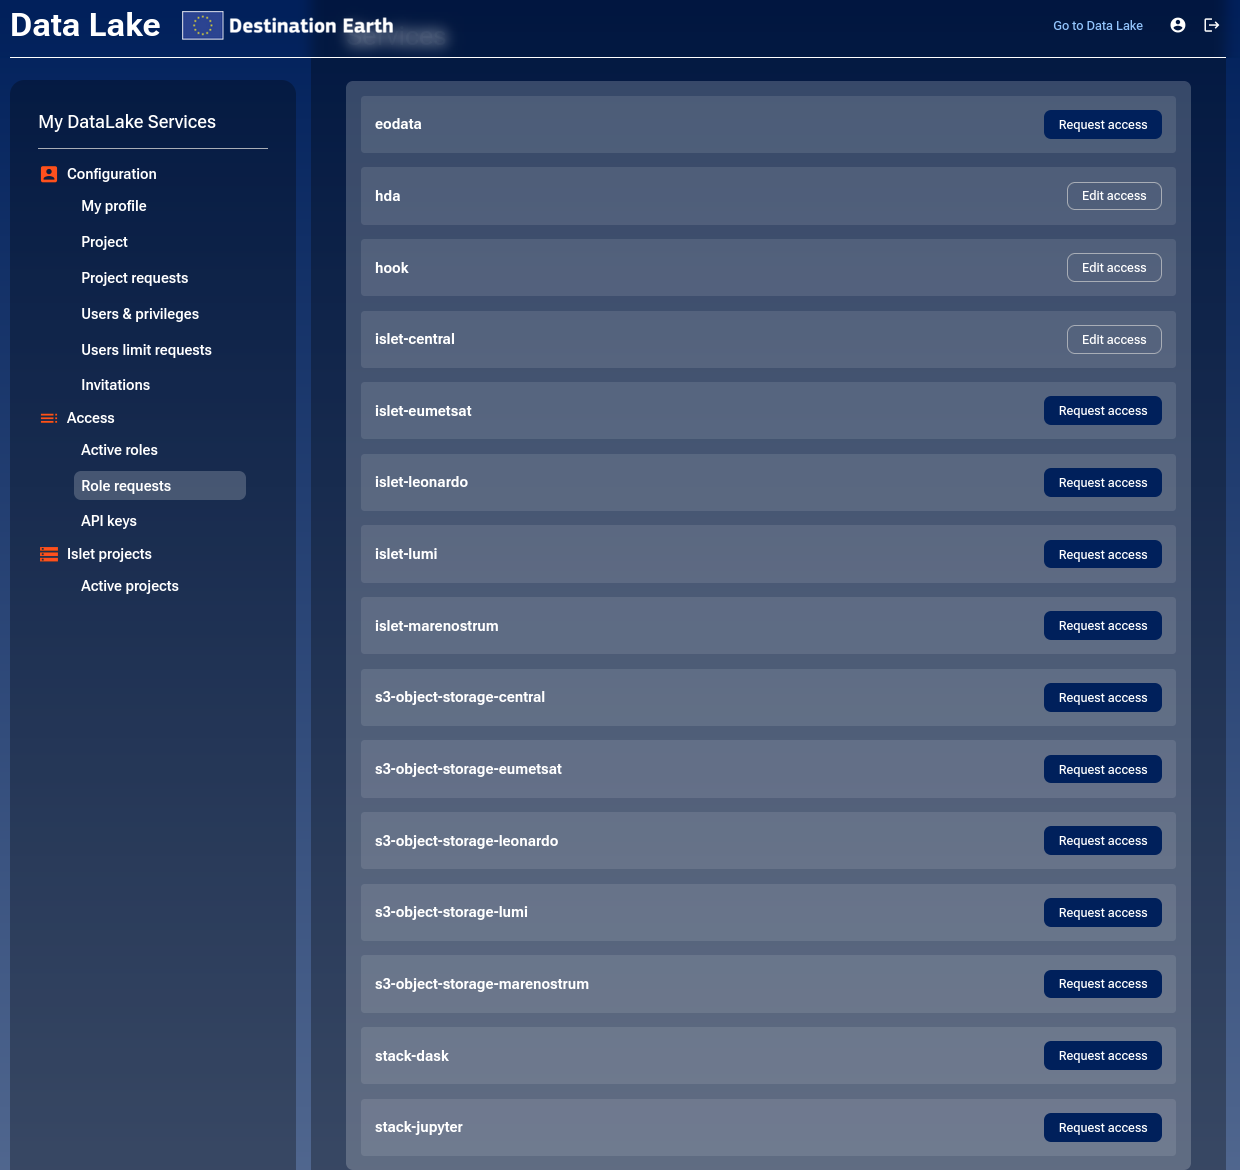
The islet and s3-object-storage roles have their variations across hosting centers central, eumetsat, leonardo, lumi and marenostrum.
In particular, this is what they stand for:
- eodata
Grants access to Earth Observation (EO) data repositories.
See How to obtain eodata S3 keys through My DataLake Services
- hda
Harmonised Data Access to existing data collections
See How to submit request for hda roles on My DataLake Services
- hook
Processing
See How to request roles for hook service on My DataLake Services
- islet
Access to OpenStack, virtual machines and Kubernetes clusters on servers central, eumetsat, leonardo, lumi and marenostrum.
See How to request roles for Islet service on My DataLake Services
- s3-object-storage
Access to data containers (object storage) on servers central, eumetsat, leonardo, lumi and marenostrum.
See How to obtain object storage S3 keys through My DataLake Services
- stack-dask
Dask environment
See How to request roles for Stack Dask on My DataLake Services
- stack-jupyter
Interactive programming in Python
See How to request roles for JupyterHub on My DataLake Services
What To Do Next
Once your project is approved, you can start working immediately or invite collaborators to join your team and request access roles.
If there is a problem with resources, experiment with quota roles. If still not sufficient to resolve the problems you are having, the links for support are in FAQs.