How to create a profile on My DataLake Services
In this article, you will learn how to create a profile on My DataLake Services. A user profile assigns you a default role for using the Harmonised Data Access (HDA) service.
Access to additional services requires membership in a project, which you can obtain by either creating a new project or joining an existing one. These processes will be explained in the following articles.
What we are going to cover
Prerequisites
No. 1 Account with DESP
You need to have an account with DESP. See How to create a DestinE Platform account
Step 1: Sign in with Federated Identity Provider
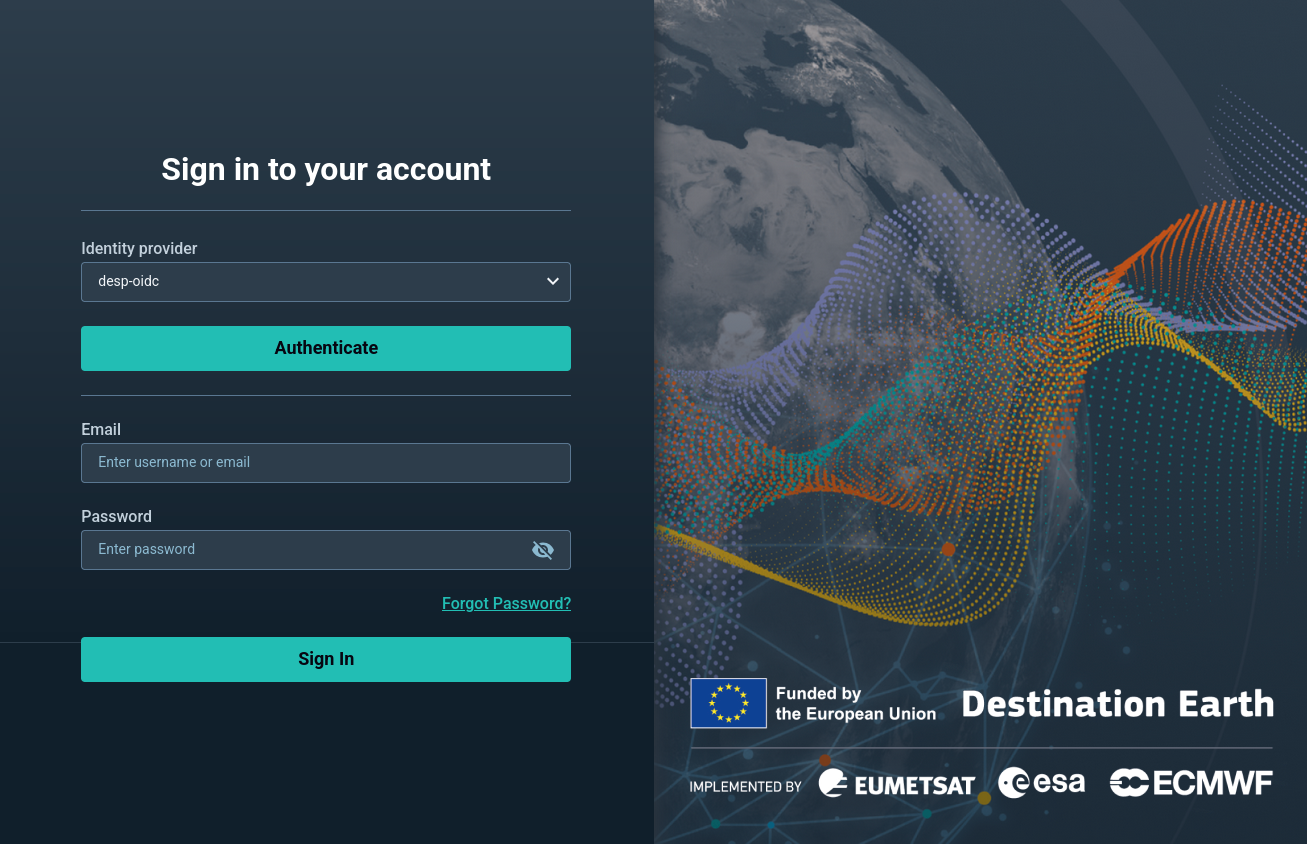
Navigate to the following website in your Internet browser: https://application.data.destination-earth.eu/

From the drop-down menu Identity Provider, choose your Federated Identity Provider, using your existing DESP account.
Click Authenticate.
Complete the sign-in process with the appropriate account credentials. You will then be presented with the following form:
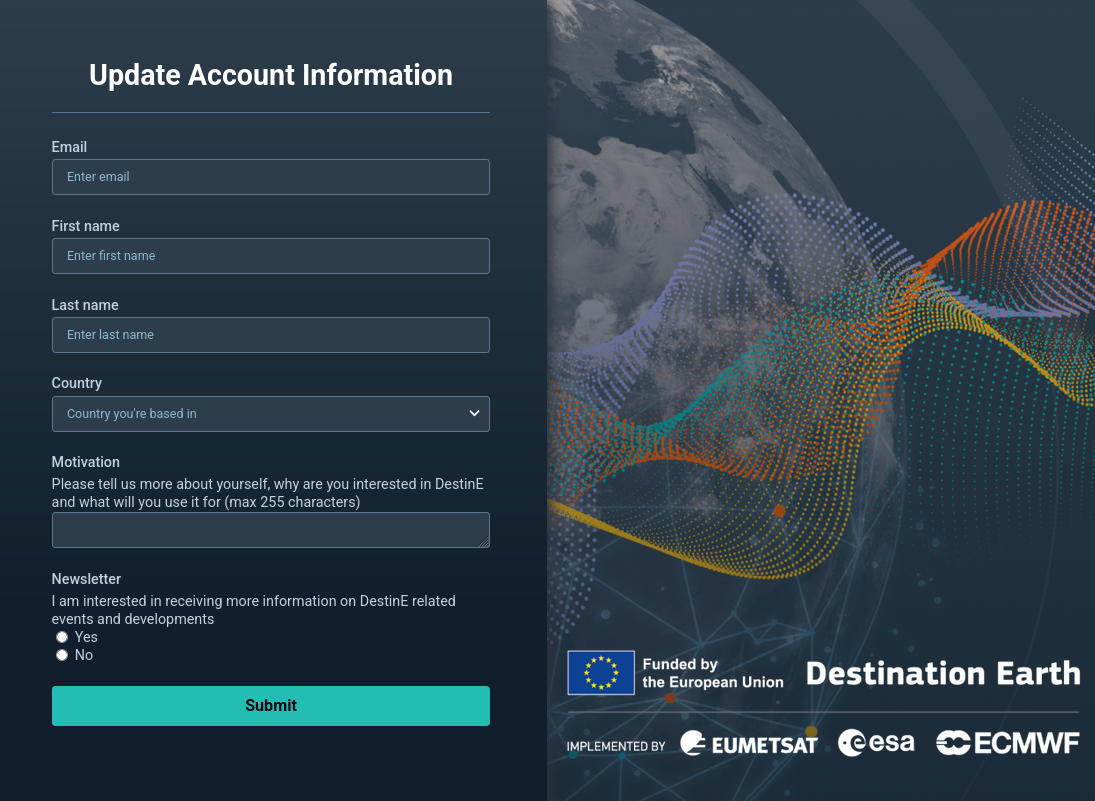
Step 2: Fill in the registration form
Please fill in your details, including email, first name, last name, and select your country from the drop-down list.
Click Submit.
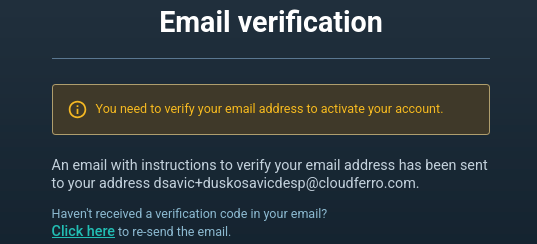
You will be prompted to verify your email address:
You should receive an email like the example shown below (the screenshot was taken in Outlook Webmail):
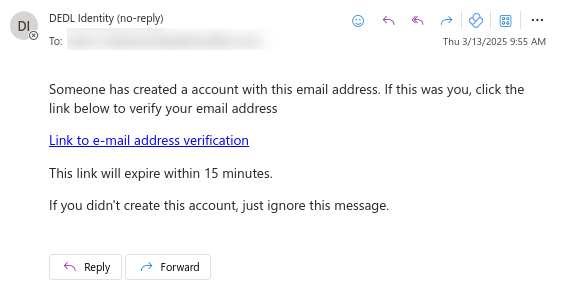
Click the activation link.
Your profile page should open.
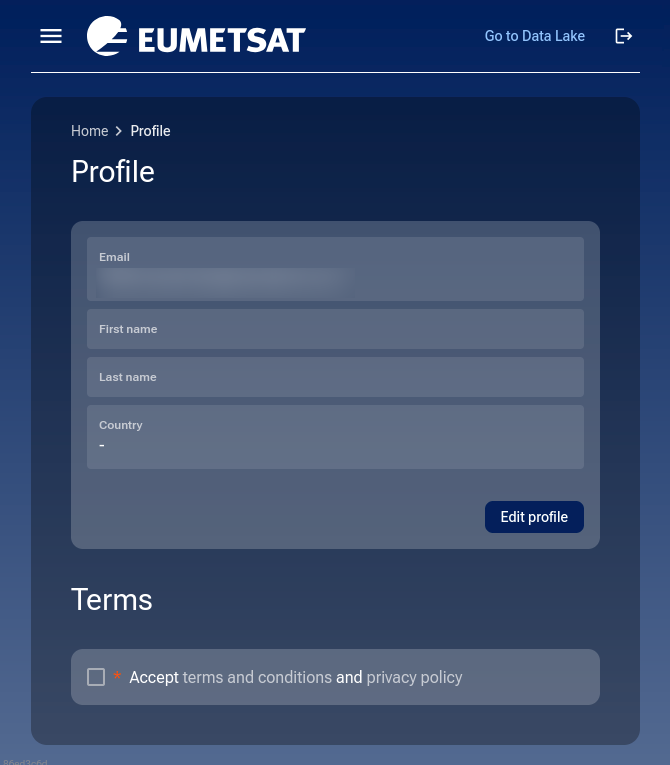
Main menu not shown
If the browser window is narrow, it will look like this:
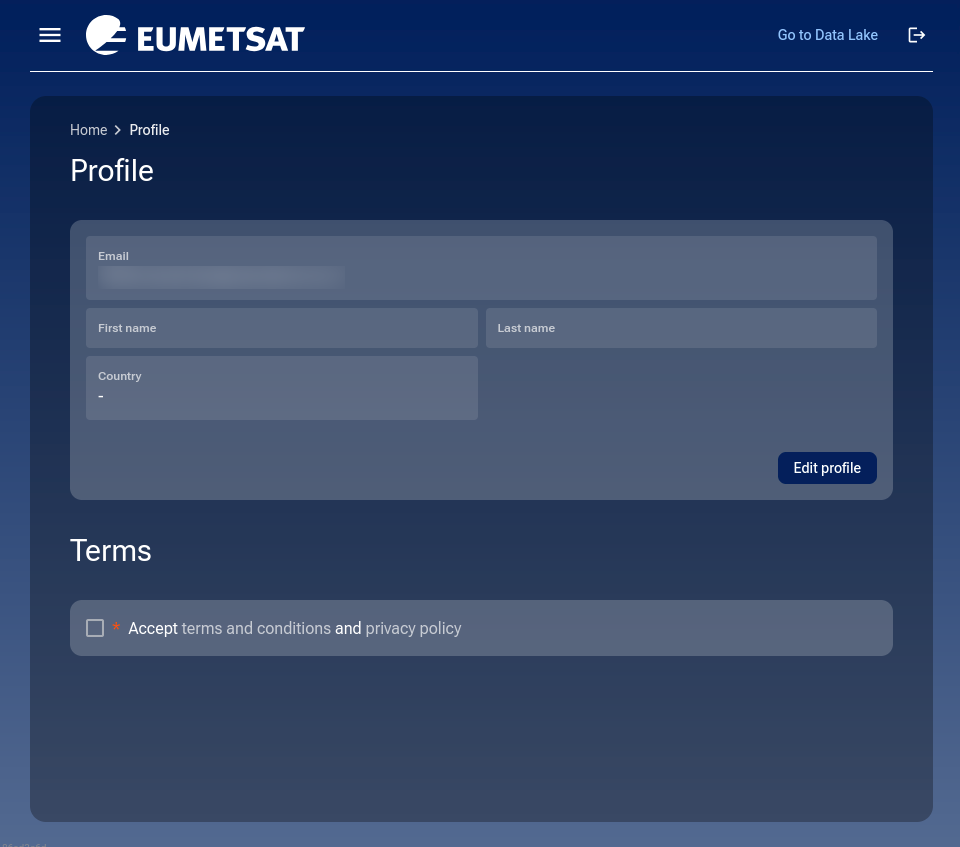
For the middle size browser window, the fields will be shown horizontally:
Main menu shown
Click on hamburger icon in the upper left corner,  , to see the menu.
If the browser window is wide open horizontally, you will see the main menu as well:
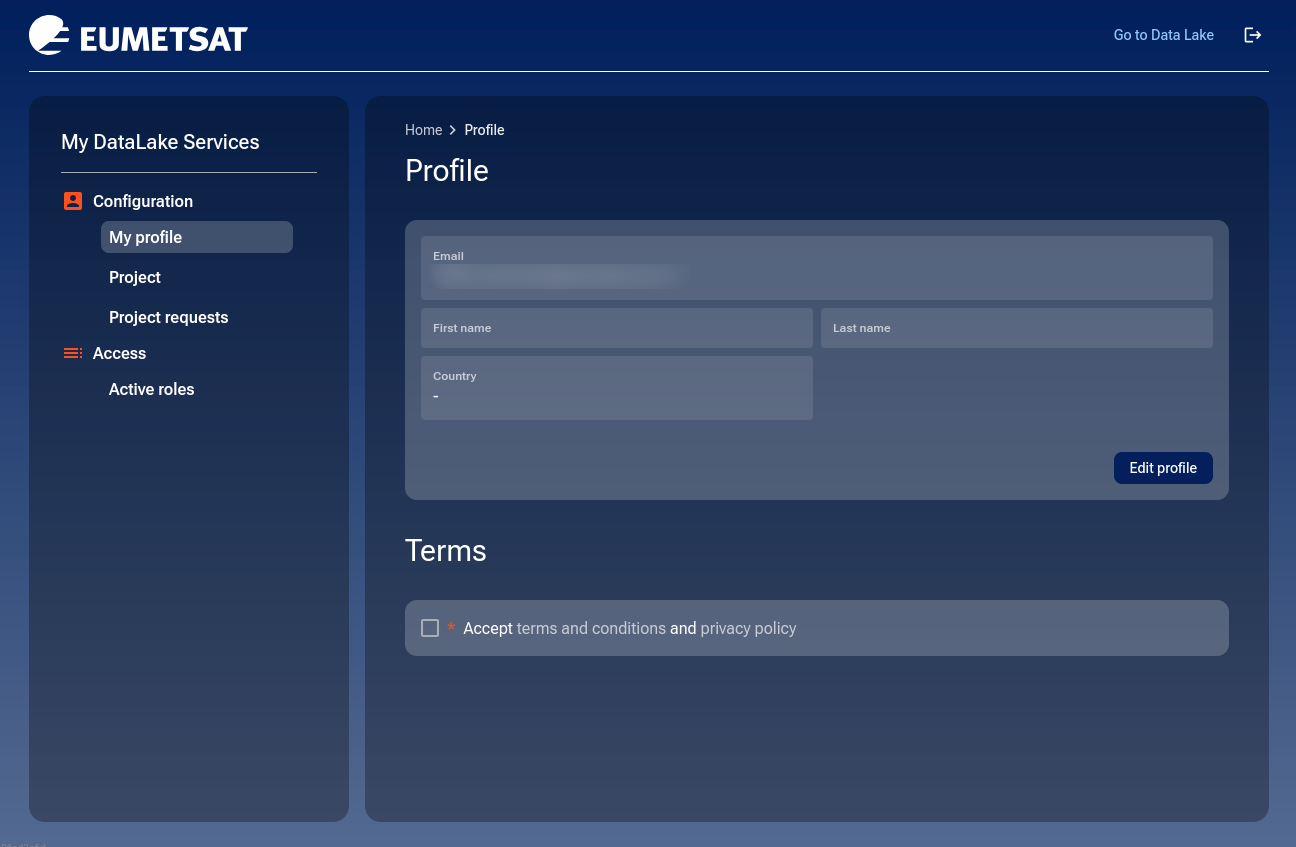
This profile page should contain data you provided while registering. On screenshot above, they were hidden for privacy reasons.
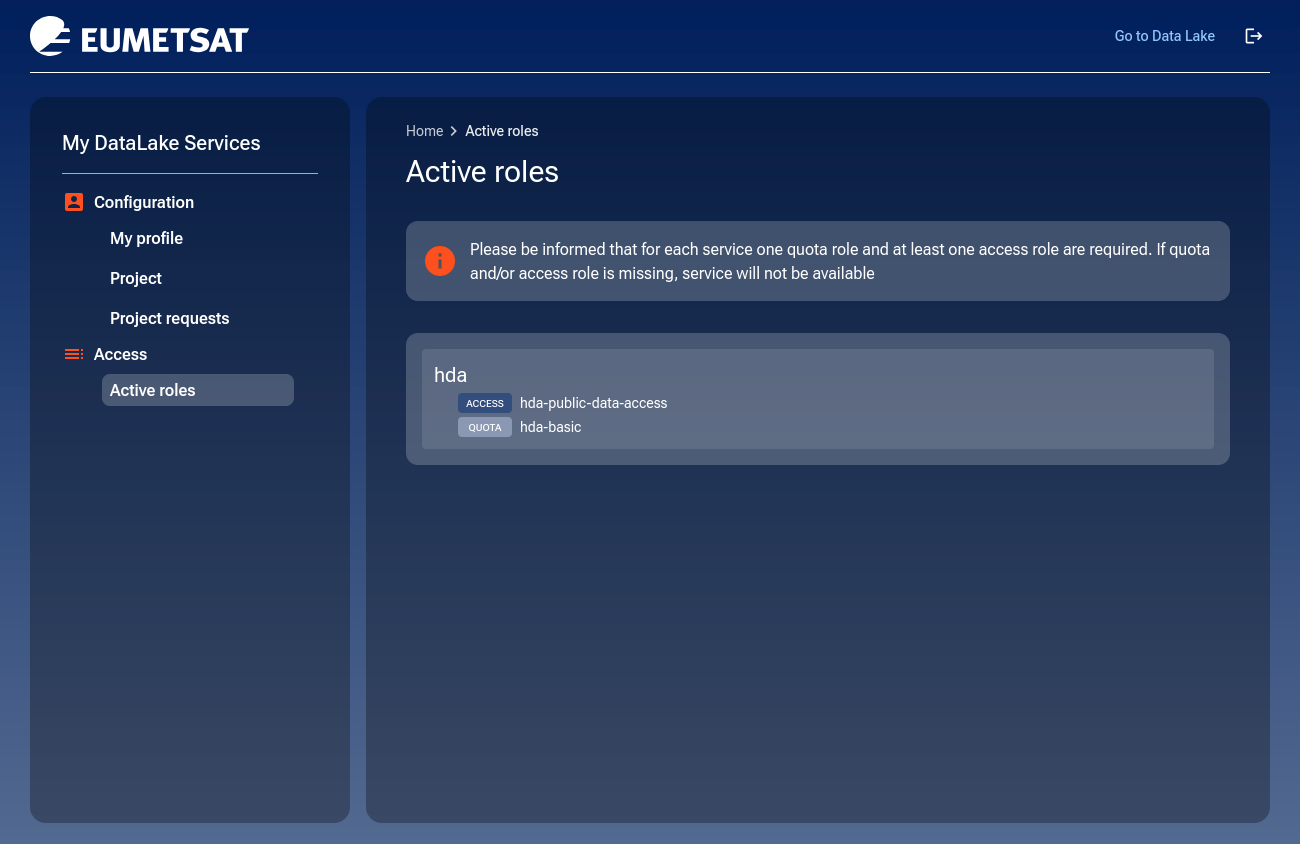
The default HDA role
With a user profile, you have a default Harmonised Data Access (HDA) role. To view the role, go to the Active roles section:
To learn more about the Harmonised Data Access (HDA) service, go to
How to leave your profile page
At the upper right corner of the profile page window, there are two options for leaving the page:
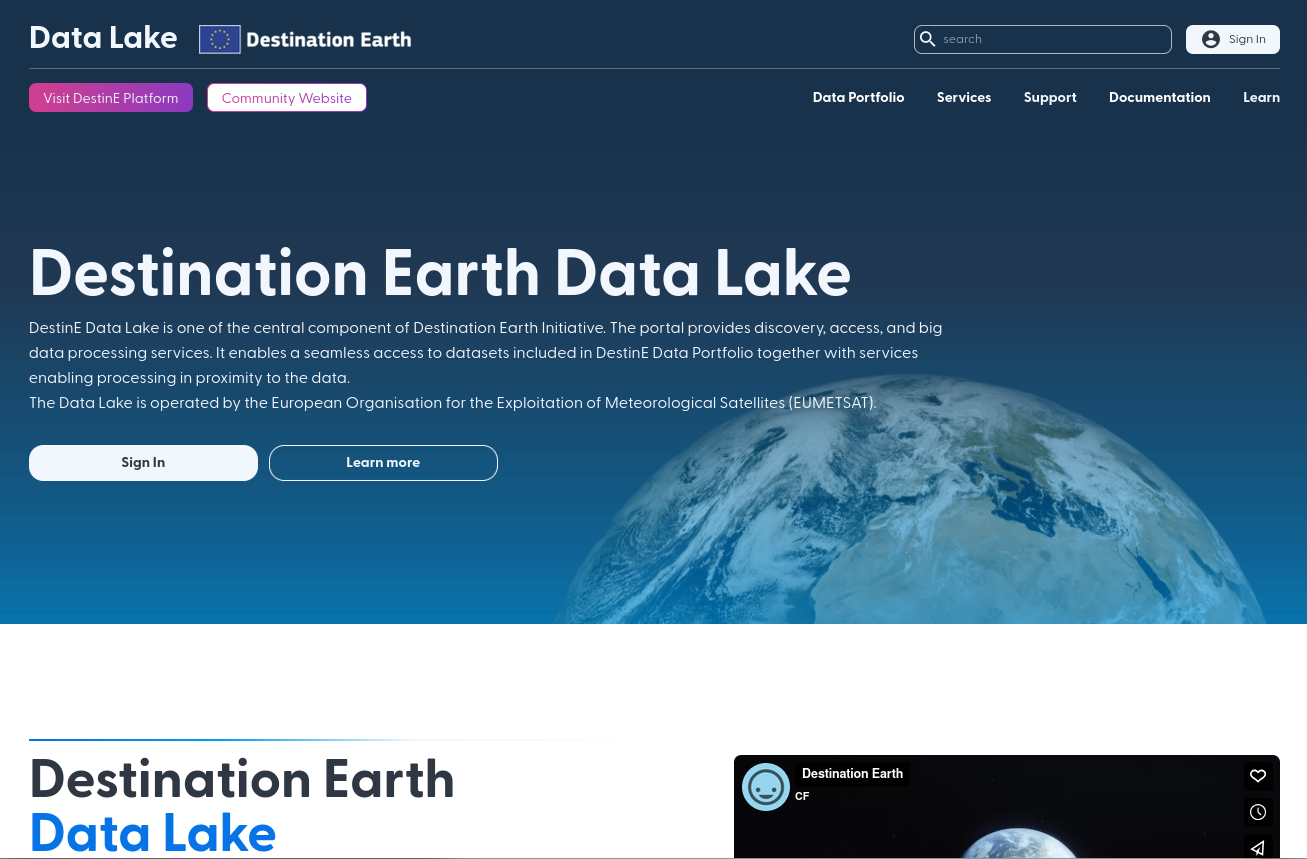
- Go to Data Lake
Takes you to the Destination Earth Data Lake front page:
- Icon

Logs you out to Sign in to your account page.
Conclusion
You should now be registered to My DataLake Services on DEDL (Destination Earth Data Lake).
What To Do Next
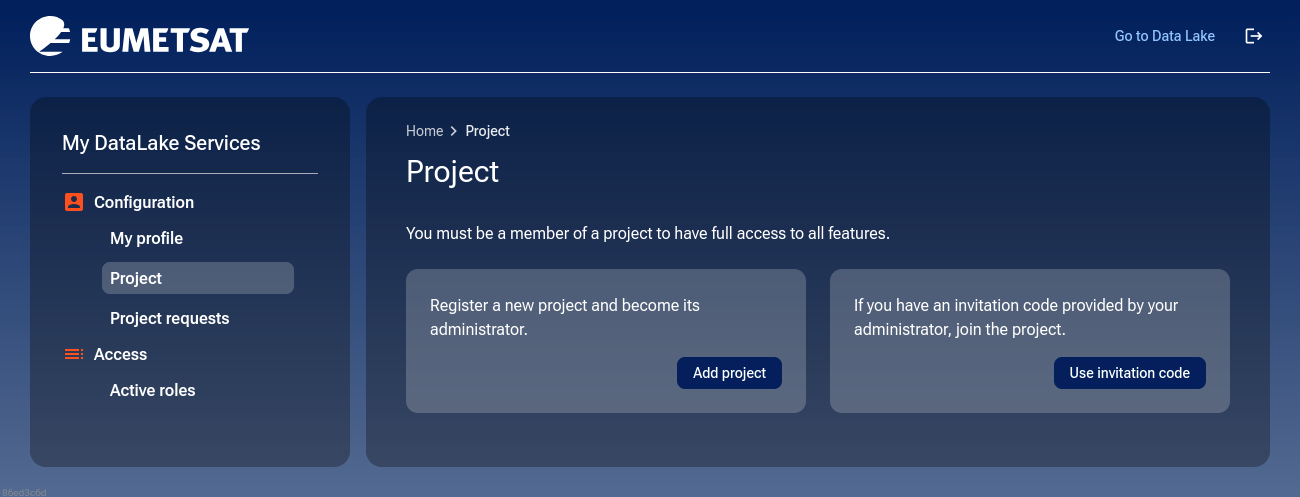
You have now access to the Harmonised Data Access (HDA). Access to other services requires membership in a project. To learn how to create a project, navigate to How to create a project on My DataLake Services
If you’ve received an invitation code, you can join someone else’s project. Go to the Project section, click the Use invitation code button, and enter your invitation code.