How to invite a user to a project on My DataLake Services
Inviting users allows you to collaborate on shared datasets, resources, and roles within a project. You, the administrator, manage access through invitation codes to ensure security and traceability.
In addition, you will learn how a user can accept this invitation and how to leave a project.
What we are going to cover
Prerequisites
No. 1 Account
You need a profile on My DataLake Services: How to create a profile on My DataLake Services
This is required for all workflows covered in this article.
No. 2 Administrative privileges within a project
If you want to invite another user to a project, you must be a member of the project with administrative privileges. Projects must first be approved by the operator of My DataLake Services.
To learn how to create a project, check How to create a project on My DataLake Services
Alternatively, you can join an existing project and its admin can grant you admin privileges.
No. 3 Membership within a project
If you only want to leave a project, you don’t need to be its admin.
However, remember that you cannot leave a project if:
you have administrative privileges, and at the same time
no other user within that project has administrative privileges.
Assign another user as admin first if you are the only administrator.
Invite users to a project
As a project administrator, sign in to My DataLake Services at https://application.data.destination-earth.eu/.
Create an invitation
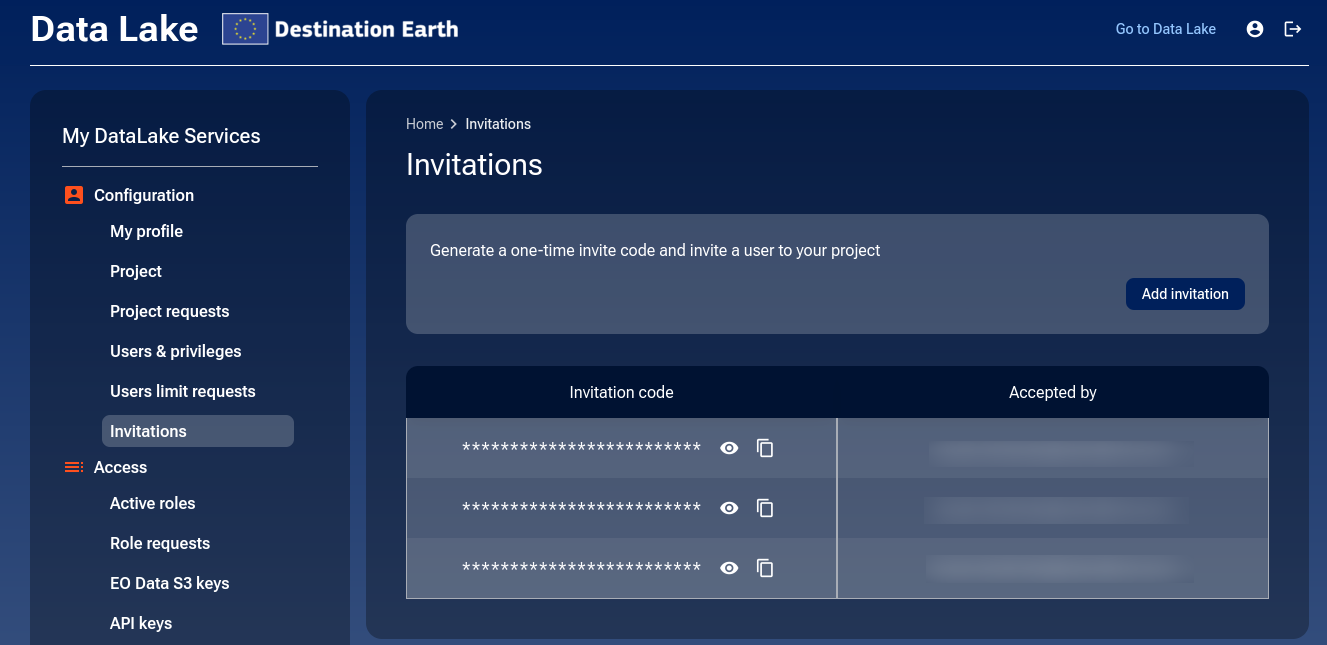
Navigate to Invitations -> Add invitation:
A confirmation dialog appears.
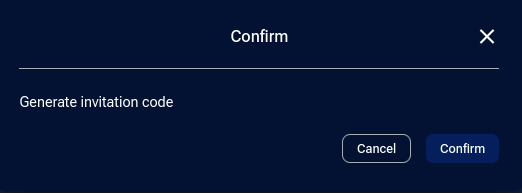
Click Confirm. A bottom-right notification appears for a moment:

Share the invitation code
An invitation code should now appear:
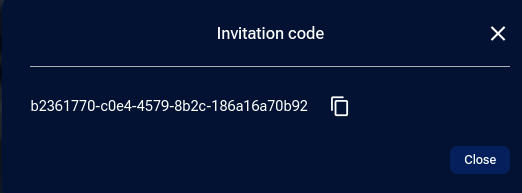
Copy this code and share it securely with the person you want to invite.
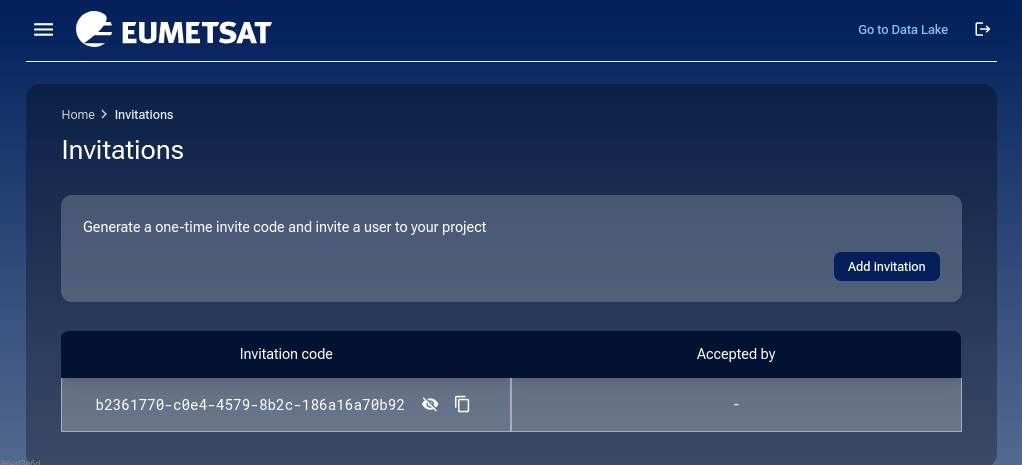
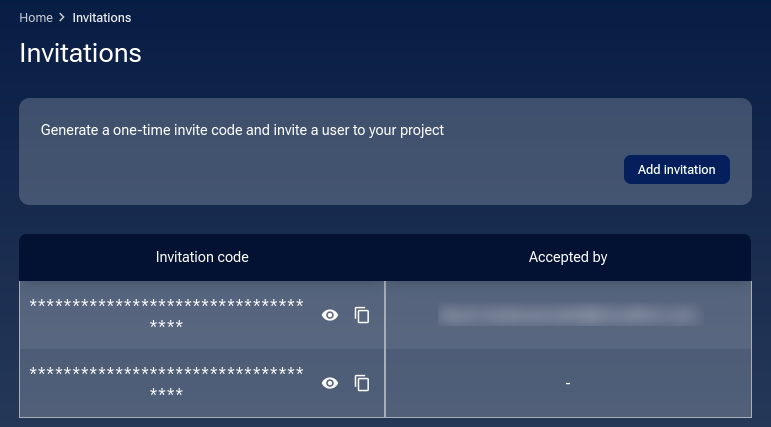
If you close the window containing the invitation code to return to the list of invitations, you should see your invitation on the list:

If you lost the invitation code, you can view it again by clicking the eye icon:
The invitation remains active until the user accepts or you revoke it.
Monitor invitation status
Wait until the invited user accepts the invitation.
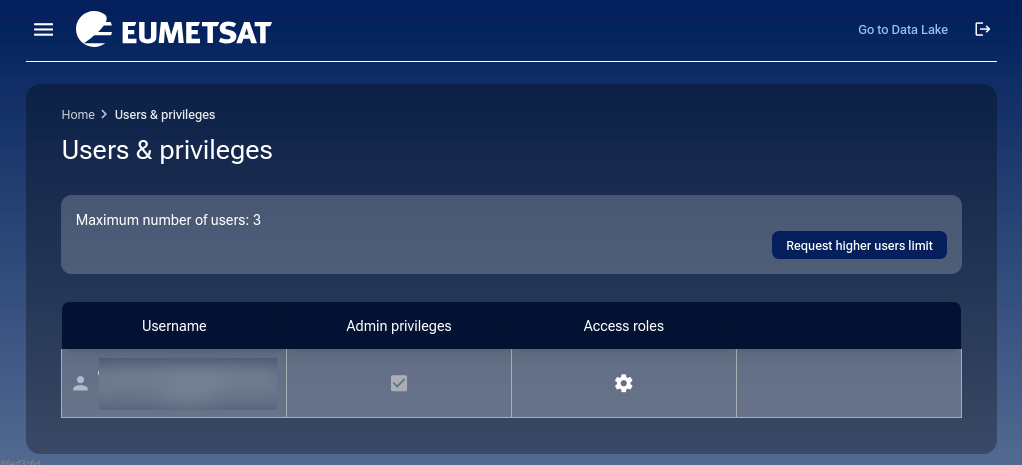
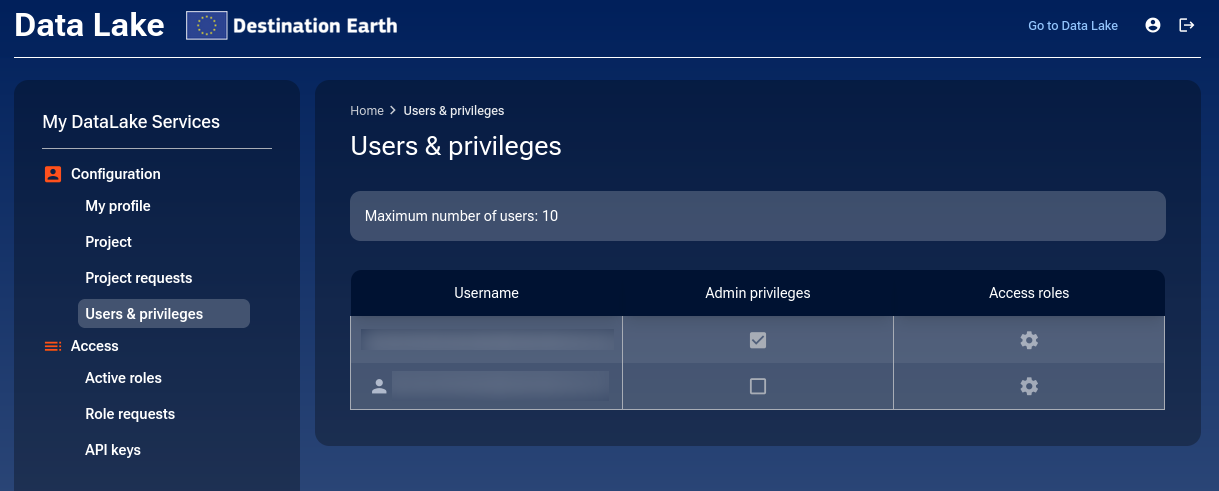
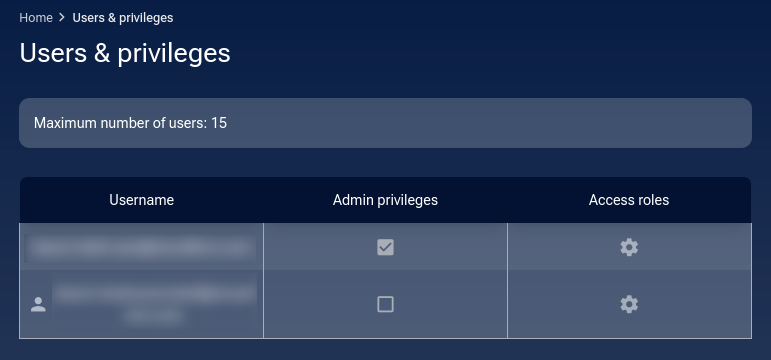
To see users who are members of your project, navigate to Users & privileges. Once the invitation is accepted, you should see that user on this list, alongside any other members of that project, including you:
Accept an invitation to a project
Once the admin shares the code, the invited user must use it to join the project.
If you are a user who received an invitation code, follow these steps to join.
Sign in and enter invitation code
If you haven’t already, create an account by following Prerequisite No. 1 of this article.
Sign in to My DataLake Services cloud https://application.data.destination-earth.eu/.
You should get the following page:
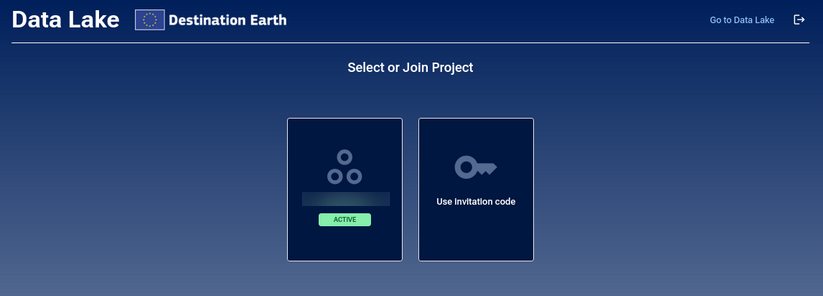
Click Use invitation code.
In the form that appears, enter the invitation code you received from the administrator and click Join project.

In the bottom right corner of the page, the following confirmation should appear:

Confirm project membership
The next screen confirms that you have joined the project:
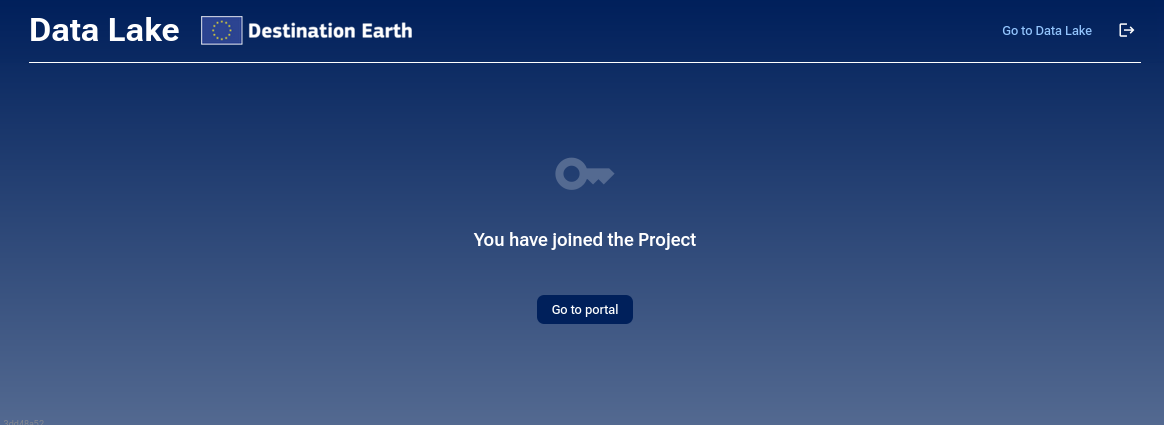
Click on Go to portal.
You are now a member of that project. To see the projects in which you are a member, log out and log back in. You now see two projects instead of only one (the one you have had to create in the first place):
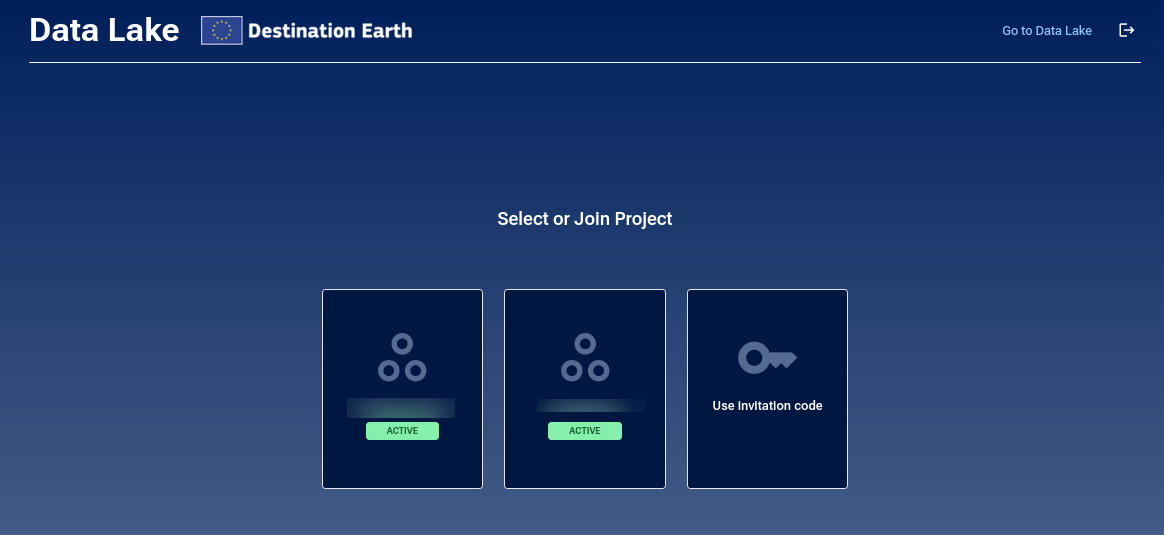
If you have another invitation code, you can use it to gain access to another project. Normally, you would log in to the project you want to work with. Let’s log in using the middle button as that is your own project for the profile:
Leave a project
Any project member can leave the project, unless they are the only administrator.
Note
Leaving a project removes your access to all its datasets, roles, and resources.
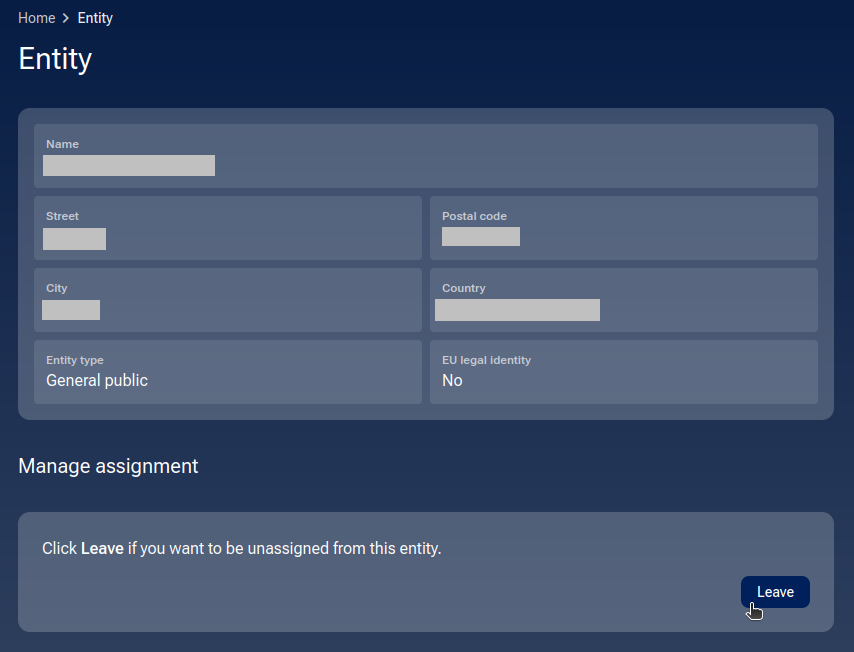
To leave a project, go to page entitled Project.
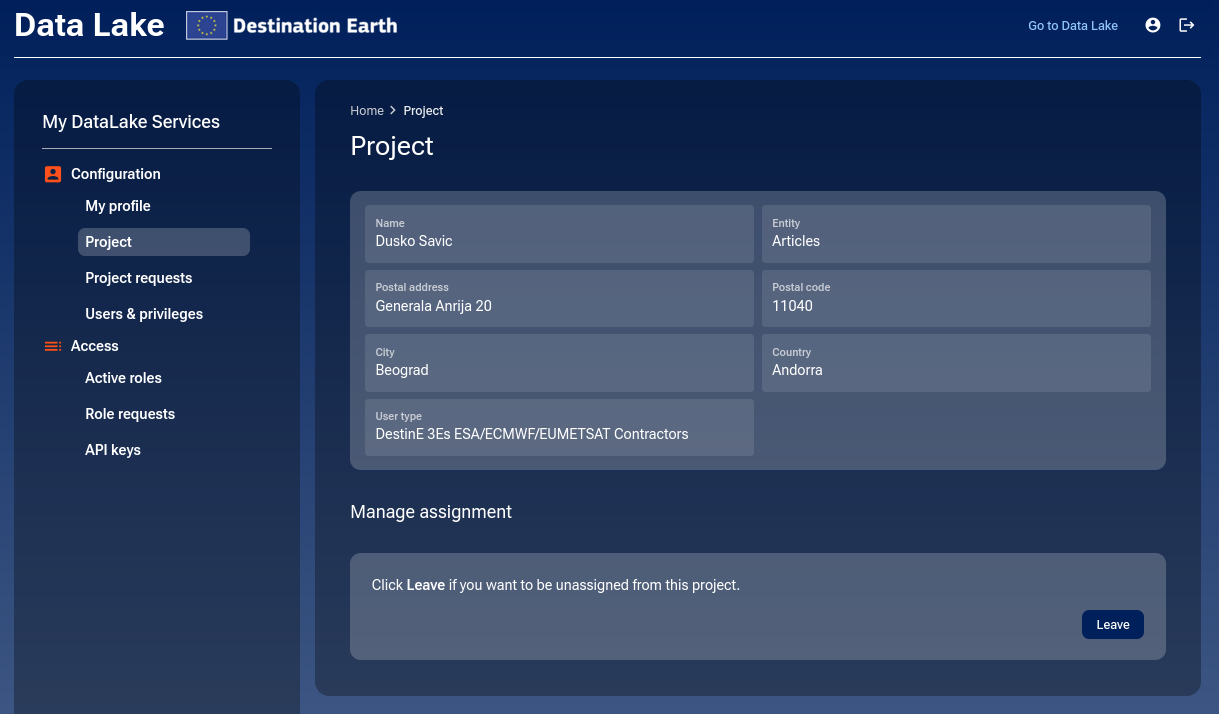
Within section Manage assignment click Leave.
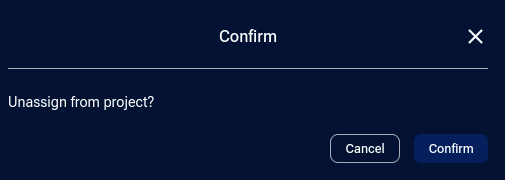
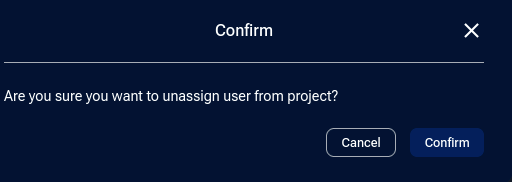
You should be asked for confirmation. Click Confirm.
A confirmation message appears in the bottom-right corner of the page:

The Project page now again shows options to create or join a project.

Understand invitation code validity
Each invitation code is single-use for security reasons. Once you have used an invitation and then left the project, you cannot use the same invitation to rejoin.
If you try that, a warning message will appear in the right lower corner:

To get in again, you will need a new invitation.
The procedure to create a new invitation is the same, but the list of invitations changes:
Once you accept the new invitation, click on Users & privileges to see the other members of the project:
Check user resource access
Once added to a project, users inherit the project’s resource quotas and roles.
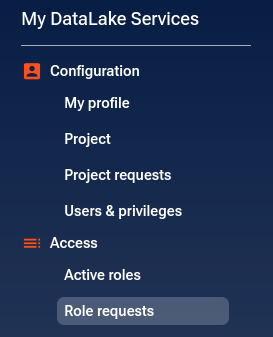
As an external user of the project, you have the same quota roles as the admin of the project. Click on Active roles and Role requests to see what you have access to.
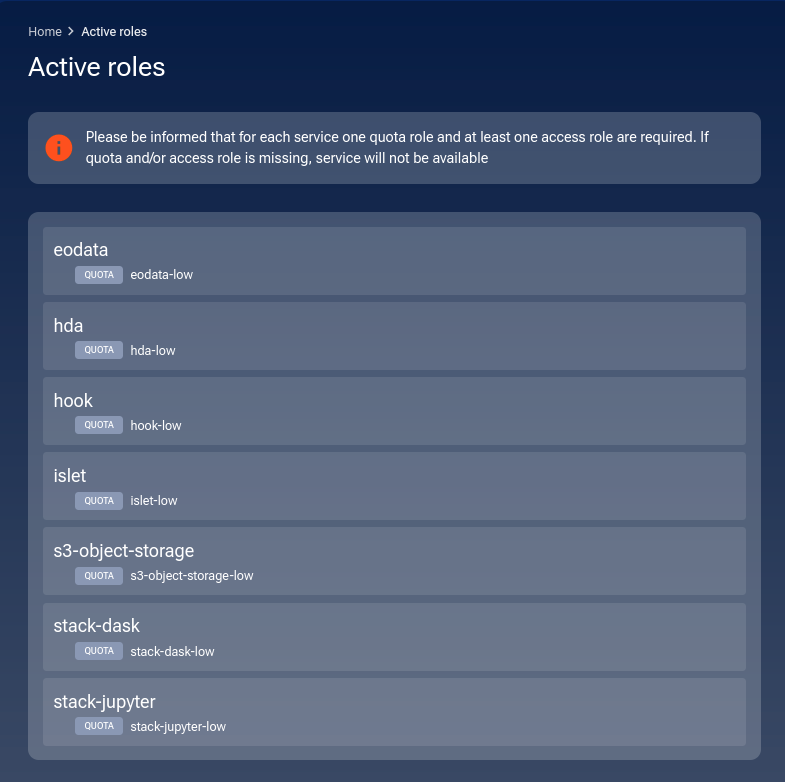
Let’s say that the project already has all of the available resources activated and that this is what the admin sees:
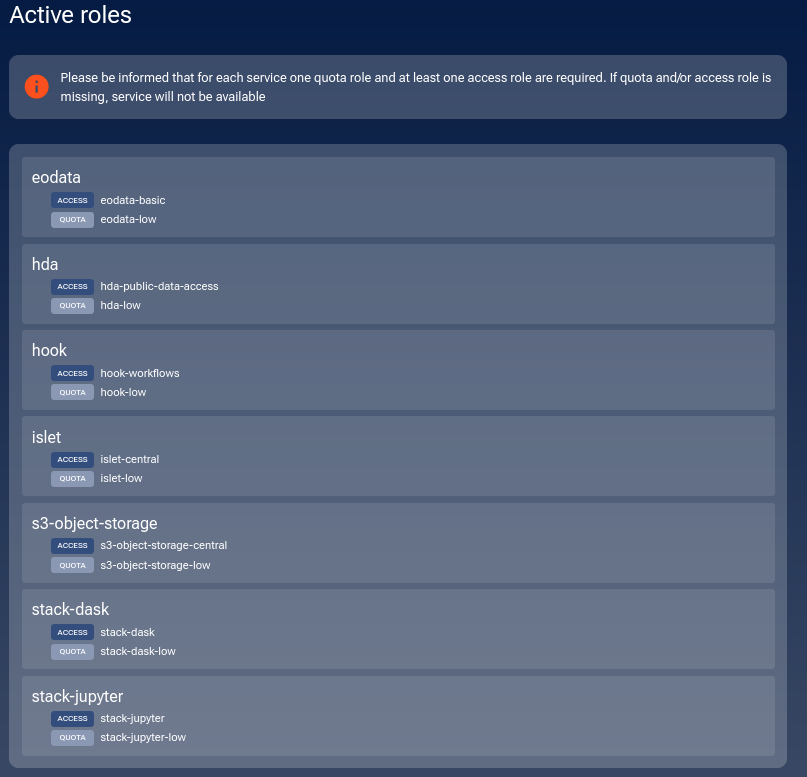
This is what the external user will have in their account:
Now, let the external user leave the project and this is what they will see as active roles:
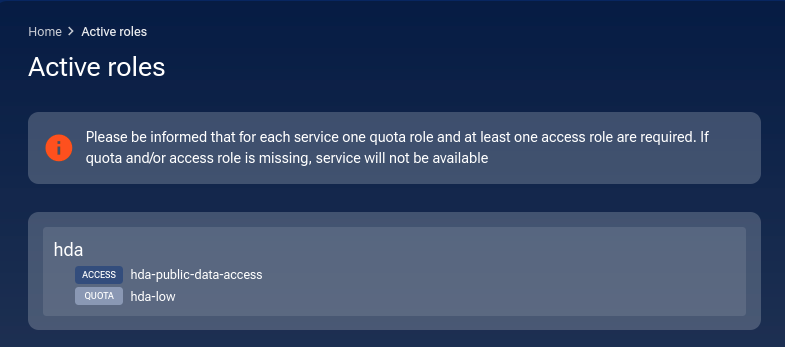
It is back to the most basic usage of resources that each user will have even without ever requesting for a role.
What the admin sees
When a user accepts an invitation or leaves the project, the member list updates automatically under Users & privileges.
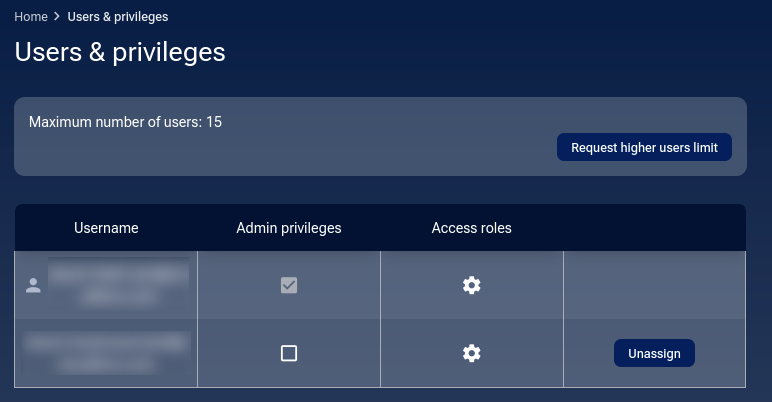
Unassign a user from a project
The admin can Unassign the user, that is, remove the user from the project:
Caution
Removing a user will immediately revoke their access to all shared data and roles.
So, there are two ways to leave the project:
The admin can unassign the user.
The user can leave the project.
Summary
Project administrators invite users using secure, single-use invitation codes.
Invited users must enter the code on the sign-in screen to join a project.
Each code can only be used once.
Both admins and users can leave or remove members from a project.
What To Do Next
Also of interest:
How to manage users within a project on My DataLake Services