How to manage users within a project on My DataLake Services
Projects on My DataLake Services may involve collaboration between several users with different responsibilities. User management options enable project administrators to define who can access the project and what level of privileges each user is granted.
What we are going to cover
Prerequisites
No. 1 Account
You need a profile on My DataLake Services: How to create a profile on My DataLake Services
No. 2 Administrative privileges within a project
You need to be a member of a project and have administrative privileges in it. That project must be accepted by an operator of My DataLake Services.
To learn how to create a project, check How to create a project on My DataLake Services
Alternatively, you can join an existing project and its admin can grant you admin privileges.
No. 3 Users within your project
On My DataLake Services, a project must contain at least one user. For this article, we assume that you are not the only member of your project and that you have already invited other users by following the procedures in How to invite a user to a project on My DataLake Services
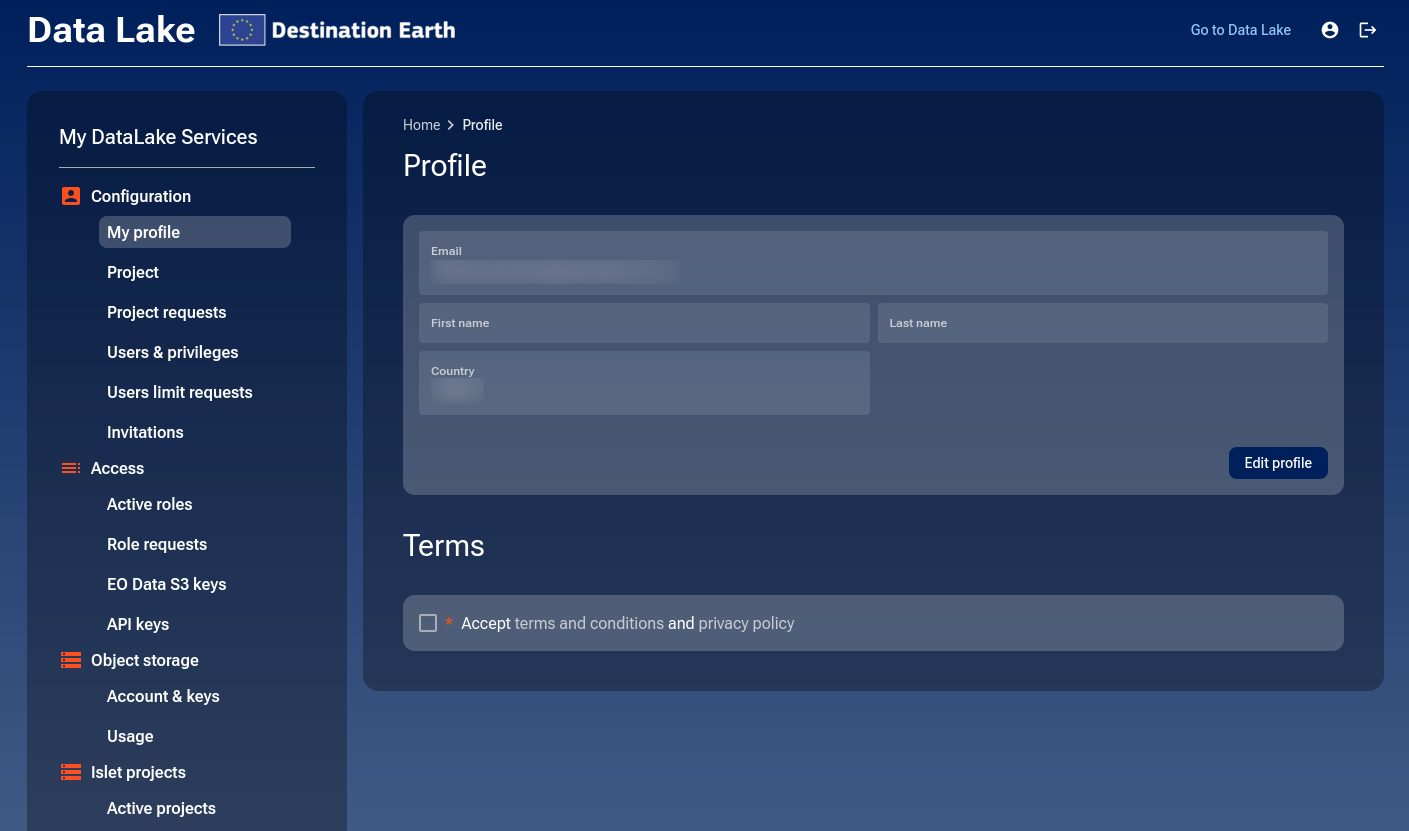
After completing the prerequisites, sign in to My DataLake Services to access the project dashboard: https://application.data.destination-earth.eu/.
Admin vs. user
Once you have access to your project, the interface will look slightly different depending on your role.
Click on the tabs below to see the differences between logging in as admin vs. user.
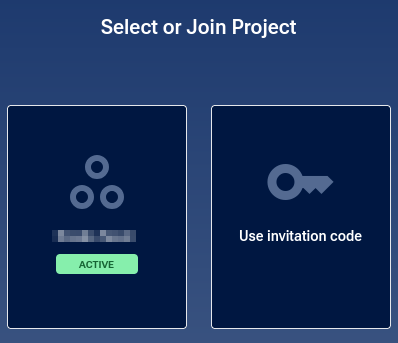
If you are the only user at the account, you will have only one project to select:
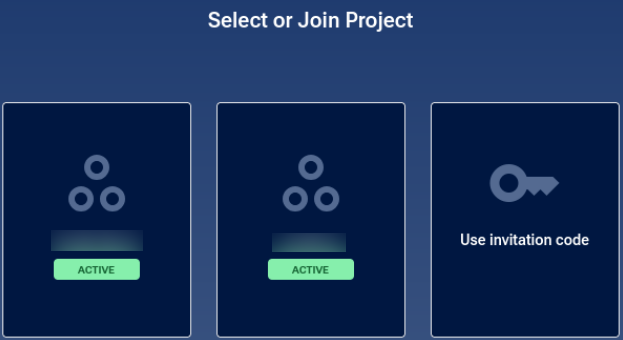
Here is a typical situation after logging in, with an account that has been used for a while:
Several sections may be present on the left side menu: Configuration, Access, Object storage, and Islet projects.
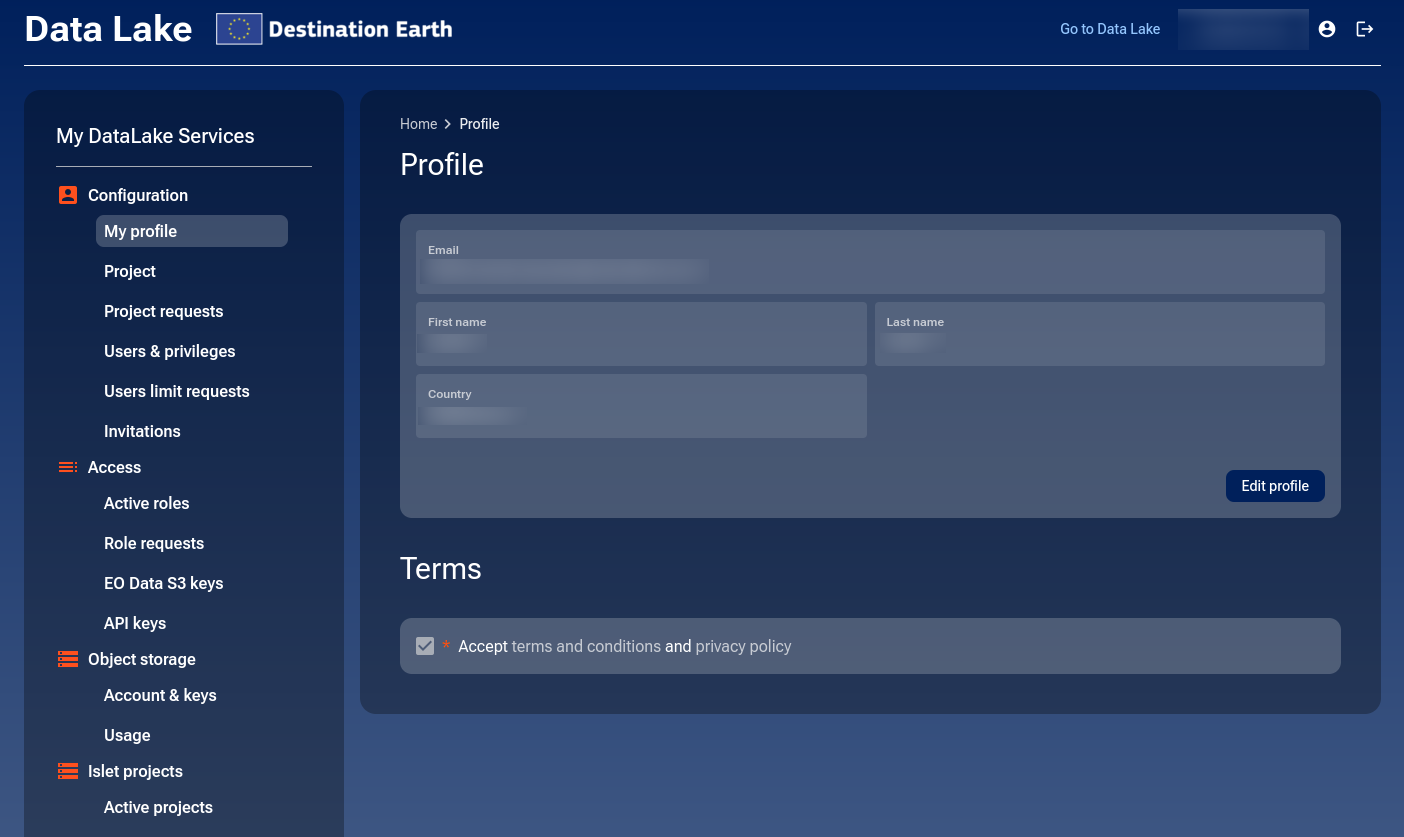
If you have your own profile but are also a user of another account, you would see two icons for logging in:
If you selected an account where you are the user, you would typically see this:
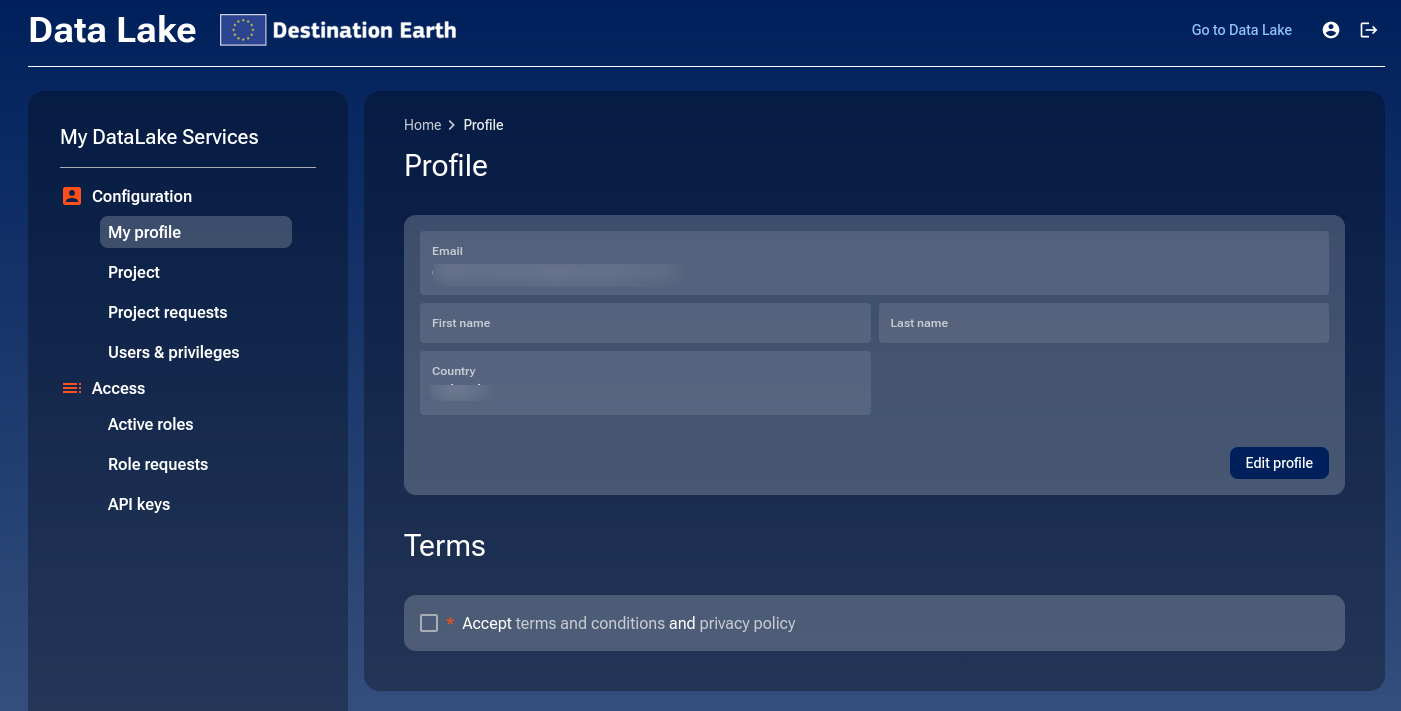
Only two menu sections are present: Configuration and Access.
Managing users and privileges
After verifying your privileges, you can now explore how to view and manage the users in your project.
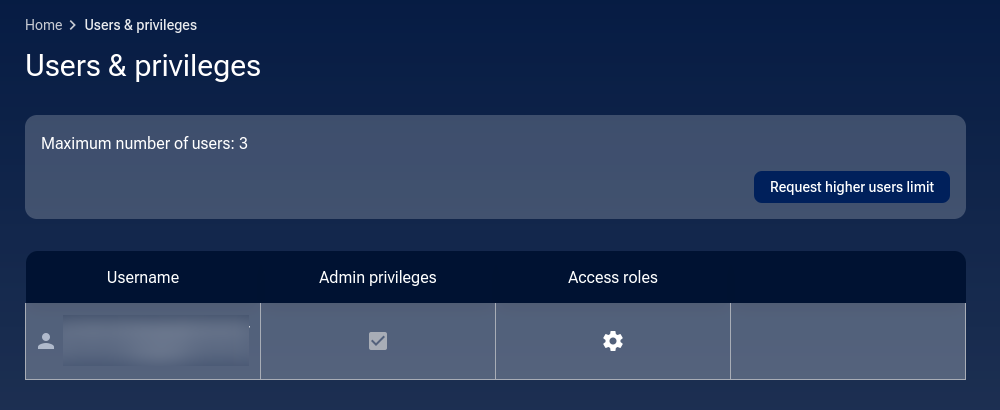
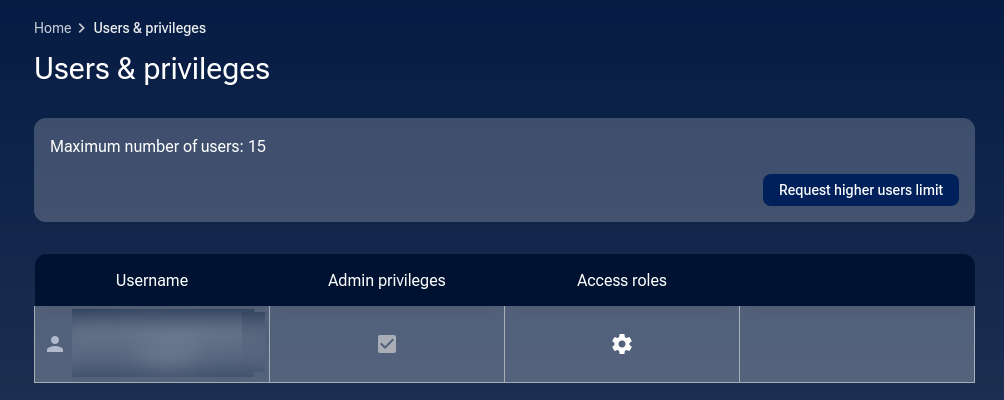
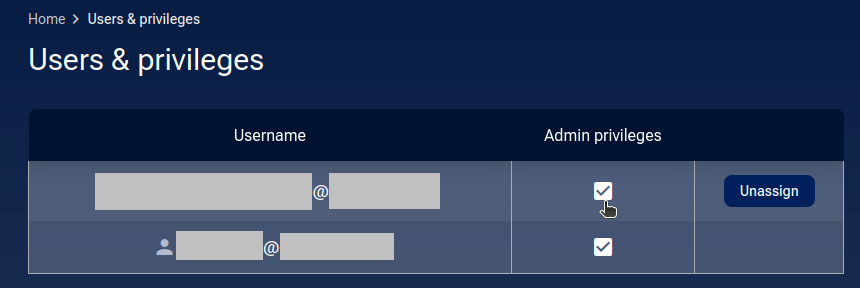
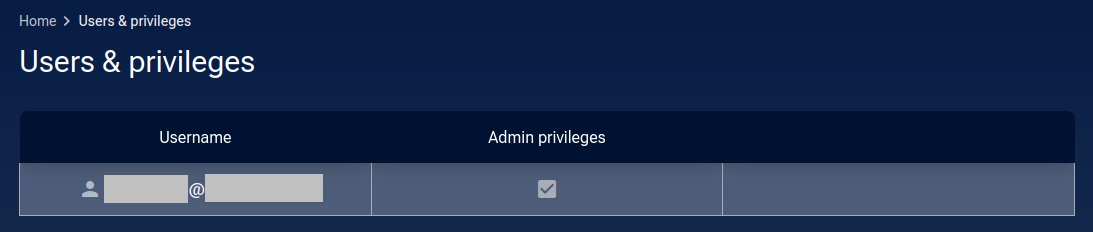
Click on option Users & privileges to navigate to the corresponding page. You should see the list of users within your project:
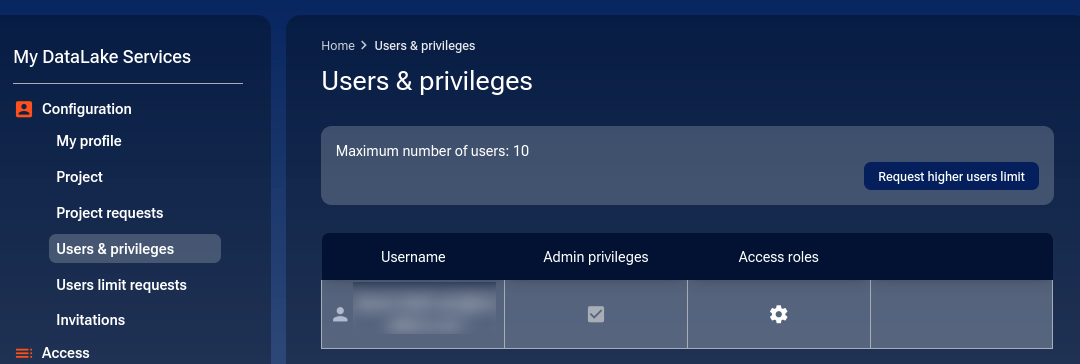
Maximum number of users
Each project has a defined maximum number of users who can access it. When a profile is created for the first time, the default number of users is 3.
These limits help balance resources across all projects and prevent one project from monopolizing compute and storage capacity.
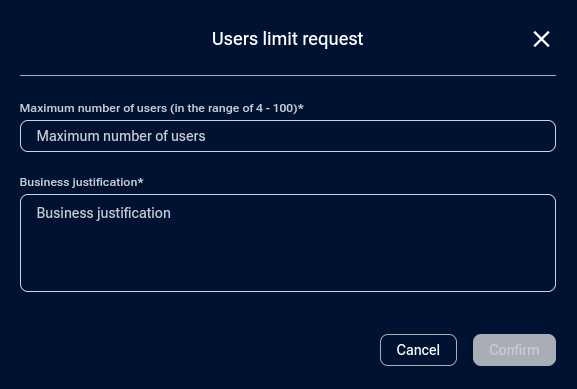
To accommodate more users, you can request a higher limit. Click Request higher users limit and enter the desired number in the modal window:
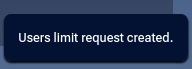
A notice in the lower-right part of the window will appear:
When evaluating your request, the operator considers the total computing resources that would be reserved for all users combined. For example, if each user typically uses 12 cores, a project with 10 users would require approximately 120 cores in total.
Once approved, you will see the new limit in the Users & privileges screen.
Users limit requests
To see the list of submitted limit requests, click Users limit requests. Here is an example list with several requests shown:
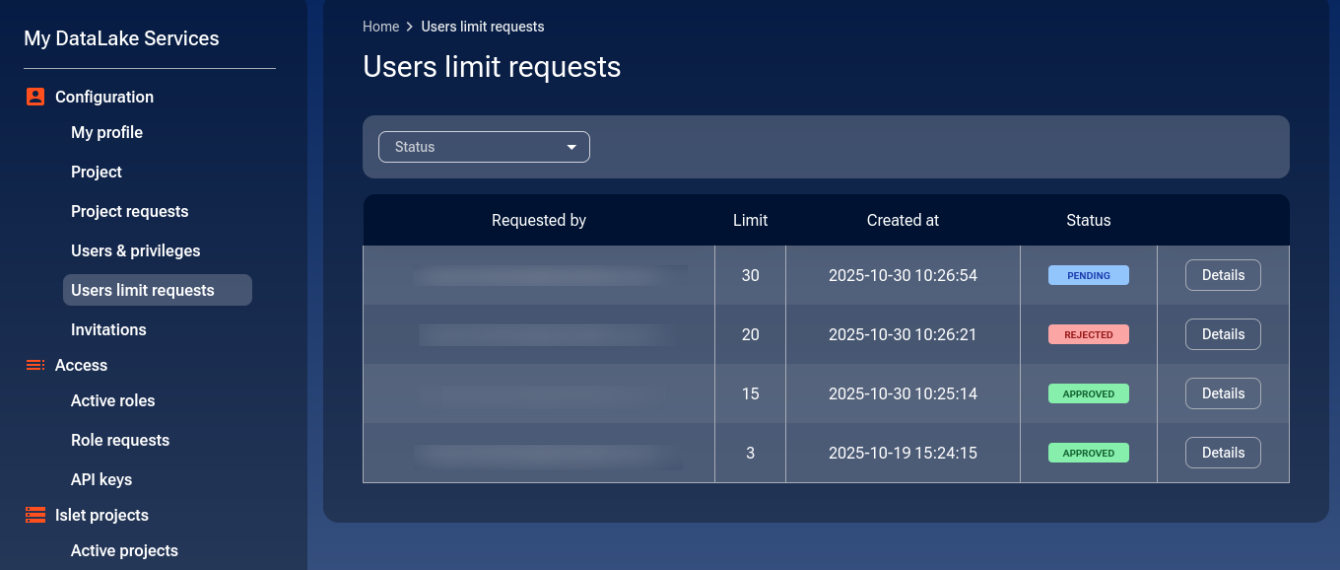
The Status drop-down menu has three options: APPROVED, REJECTED, and PENDING, allowing you to focus on a specific category.
Important
Only an admin can access the Request higher users limit option in the Users & privileges screen.
Giving user administrator privileges
Warning
Grant administrative privileges only to trusted users. Administrators can manage all project settings, including other users’ privileges and membership.
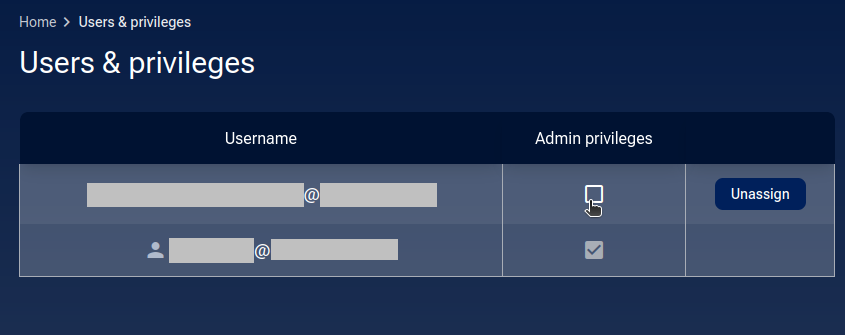
On the list of users within your project, click the checkbox in the Admin privileges column for the user you want to promote:
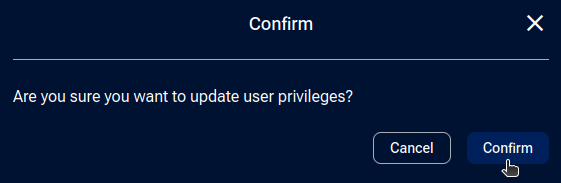
You should be prompted for confirmation. Click Confirm.
A confirmation message should appear in the lower-right corner of the page:
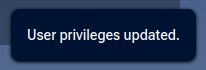
The selected user will now have admin privileges.
Revoking admin privileges
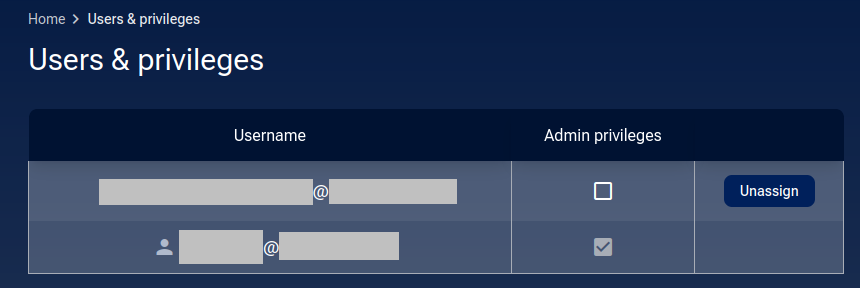
To revoke privileges, uncheck the Admin privileges checkbox for the selected user.
You will be prompted for confirmation. Click Confirm.
A confirmation message will appear in the lower-right corner of the page:
The user will now no longer have admin privileges.
Removing a user from a project
Note
Removing a user immediately revokes their access to all project resources, including object storage and computational services.
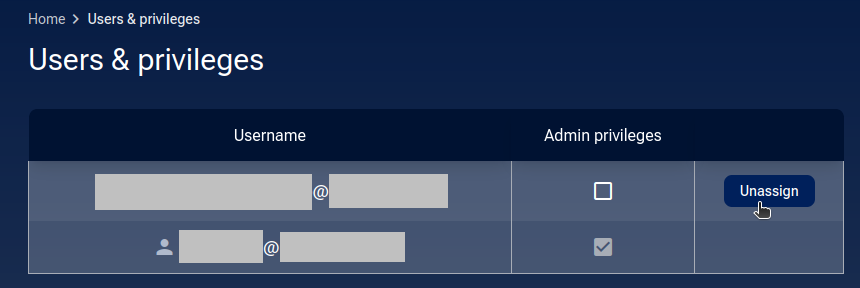
On the list of users within your project, click Unassign for the user you want to remove.
You will be asked for confirmation. Click Confirm.
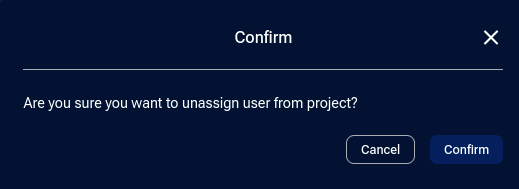
A confirmation message will appear in the lower-right corner of the page:
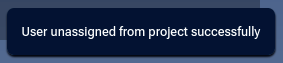
The user should now no longer be part of your project:
Important
When you create a project on My DataLake Services, you are automatically an admin of this project. There must always be at least one admin, and you cannot remove yourself if you are the only admin left.
Providing access roles to a user
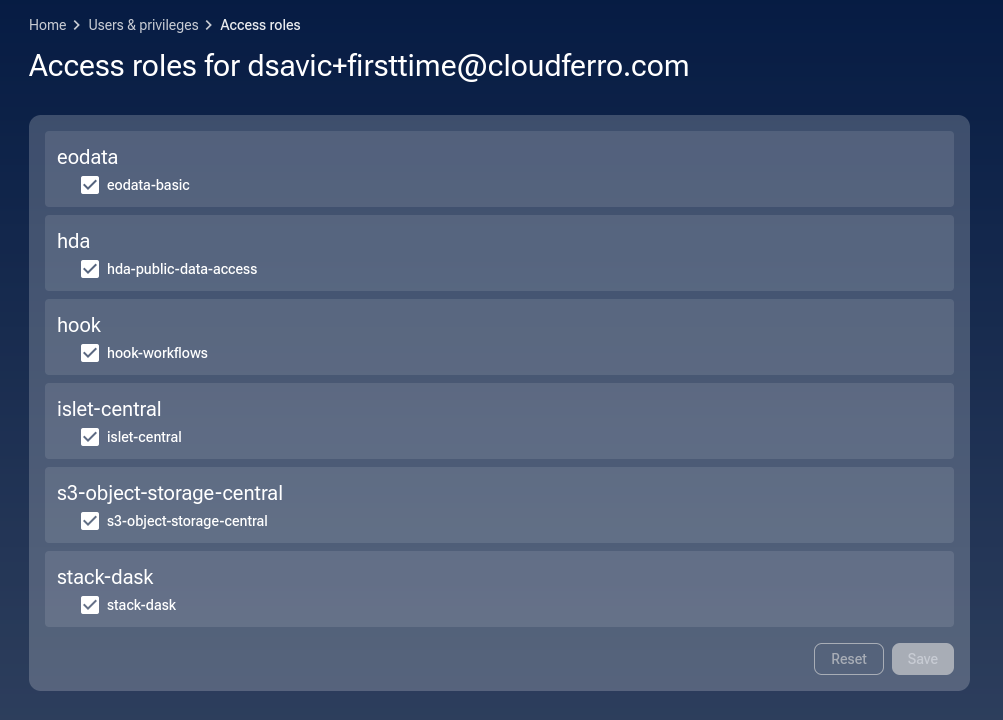
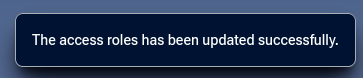
From the Users & Privileges page, click the gear icon next to a user to configure which service roles are available.
Activate the desired roles and click Save to apply the configuration.
A notification will appear in the lower-right corner of the window:
Changes in the user’s profile
When the user next logs in, their profile will display the updated interface:
Depending on which roles the admin enabled, the user will now have access to the additional options that were previously unavailable.
What To Do Next
If you are new to DEDL or to My DataLake Services, you may want to start with introductory materials available at My DataLake Services.
Strategies for working with users on a DEDL project
The following recommendations can help you maintain security, accountability, and operational efficiency when several users contribute to the same DEDL project.
Separate administrative and operational roles
Assign administrative privileges only to users who are responsible for managing access, quotas, or service configurations. Other users should operate with standard access levels that correspond to their technical duties.
Use role-based access consistently
When granting access to services such as eodata, islet-central, or stack-dask, align permissions with the user’s actual responsibilities. Avoid enabling unnecessary roles that extend access beyond what is required.
Monitor changes in project membership
Regularly review the Users & Privileges page to ensure that active users correspond to the current team composition. Remove accounts that are no longer needed to prevent unintended access to data or computational resources.
Document project responsibilities
Keep an internal record of each user’s role and scope of work within the project. This will help you maintain accountability and facilitate communication with the platform operator when requesting support or reporting an issue.
Plan for continuity and control
Ensure that at least two users hold administrative privileges so the project can continue operating if one administrator becomes unavailable. At the same time, assign these privileges only to users you fully trust, as administrators can modify access for others or remove members from the project.
Applying these strategies will help you act consistently as an administrator, balance continuity with security, and keep user access aligned with the project’s operational objectives.