Managing Service Account API keys in My DataLake Services
Service Accounts (API keys) provide secure, programmatic access to My DataLake Services. They are created within a project by a user and inherit only that user’s permissions, ensuring controlled access for scripts, integrations, and automation. Unlike personal credentials, Service Accounts can be
restricted to minimal permissions,
rotated when needed, and
audited easily.
Using Service Accounts (API keys) is the standard way of integrating applications and workflows on My DataLake Services.
Important
Always ensure that the Service Account has only the minimum permissions required for the specific services.
What we are going to cover
Service Account lifecycle
Create – Generate a Service Account and obtain its API keys.
Use – Embed the keys into scripts, integrations, or applications.
Rotate – Refresh the keys regularly to maintain security.
Delete – Remove unused Service Accounts to reduce risk.
Typical scenarios
- For scripts or integrations
The recommended method for automation. Avoid using personal credentials for programmatic access.
- For more secure communication
A Service Account can be granted only a subset of permissions, reducing risks if compromised.
- When sharing access
While not ideal, using a Service Account is still safer than sharing personal credentials.
For example, a nightly ingestion script that pulls datasets should use a Service Account, not a developer’s personal account.
Prerequisites
No. 1 Account
You need to have a profile on My DataLake Services: How to create a profile on My DataLake Services
No. 2 Approved access and quota roles
A Service Account can only be granted permissions for a service if the user holds approved access and quota roles for that service.
Navigate to the Service Account (API keys) section
Sign in to My DataLake Services: https://application.data.destination-earth.eu/
Under Access, select API Keys to create and manage your Service Accounts (API keys).

Access the API Keys section from the left-hand menu.
Note that the exact availability of options in the left side menu may depend on the previous actions taken in the profile.
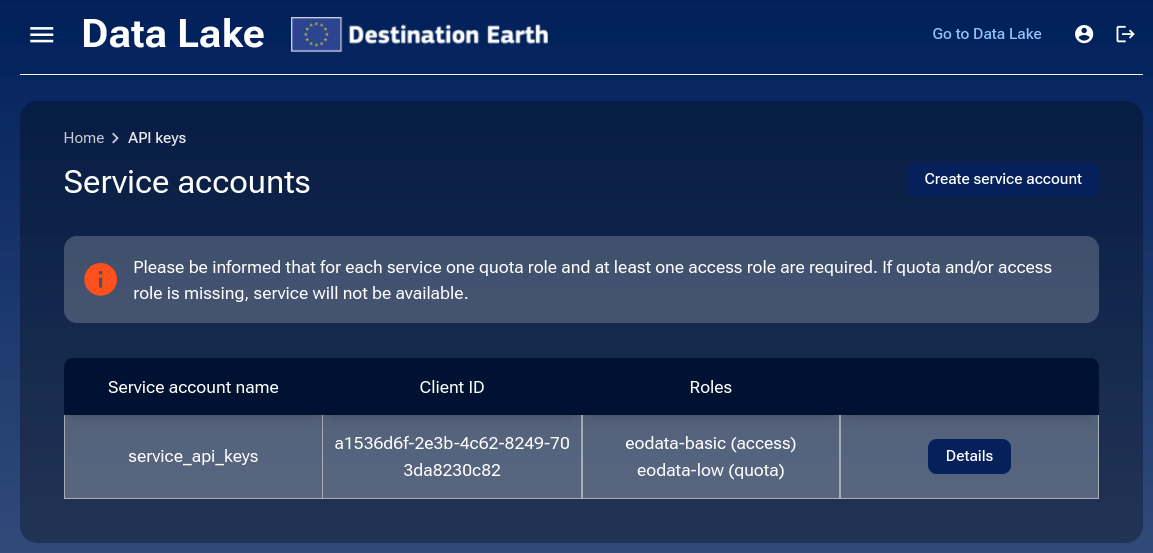
If you have previously created Service Accounts in this project, you should see them listed here.
If you have not created a Service Account yet, you will see the screen below indicating that there are none.
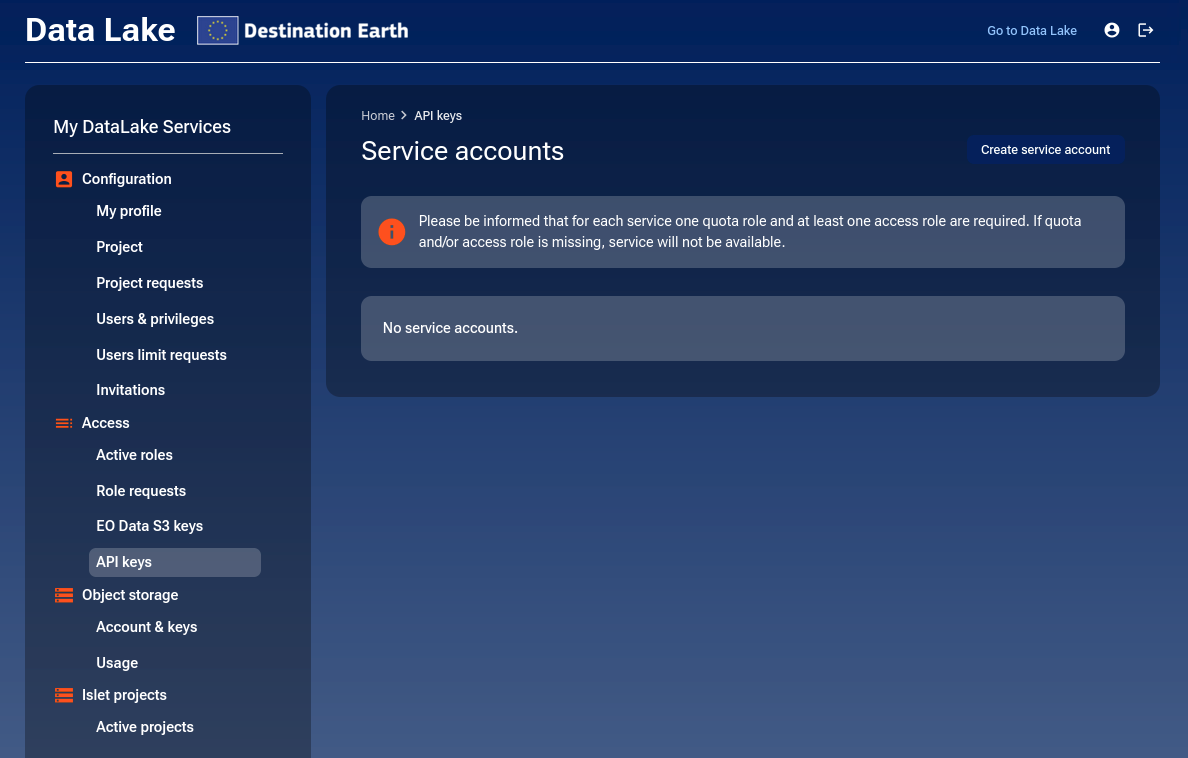
If no Service Accounts exist, you will see this empty state.
Create a Service Account
While in the API Keys section, click on the Create service account button.
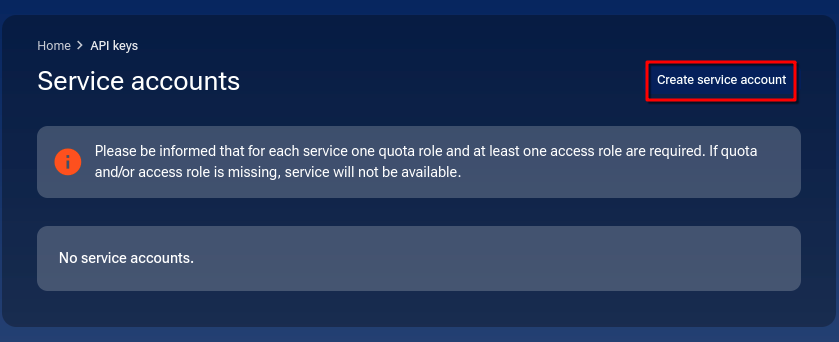
Start by clicking Create service account.
After clicking, a modal window appears. Enter the Service Account name and optionally a note.
The Service Account name must:
Be unique in the context of the user within the given project
Contain between 8 and 64 characters
Use lowercase letters, numbers, hyphens, or underscores
The Note field is optional and can be used to describe the purpose of the Service Account.
Click Next to continue.
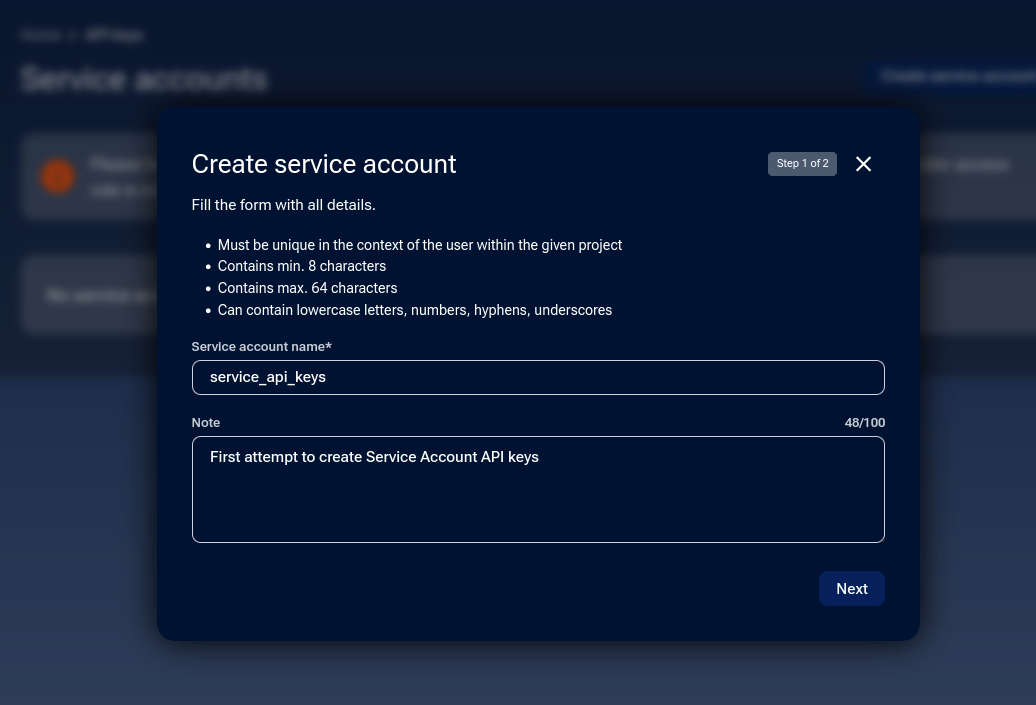
Modal window to define name and note.
Select one or many services for which you want to generate API keys and click Create service account.
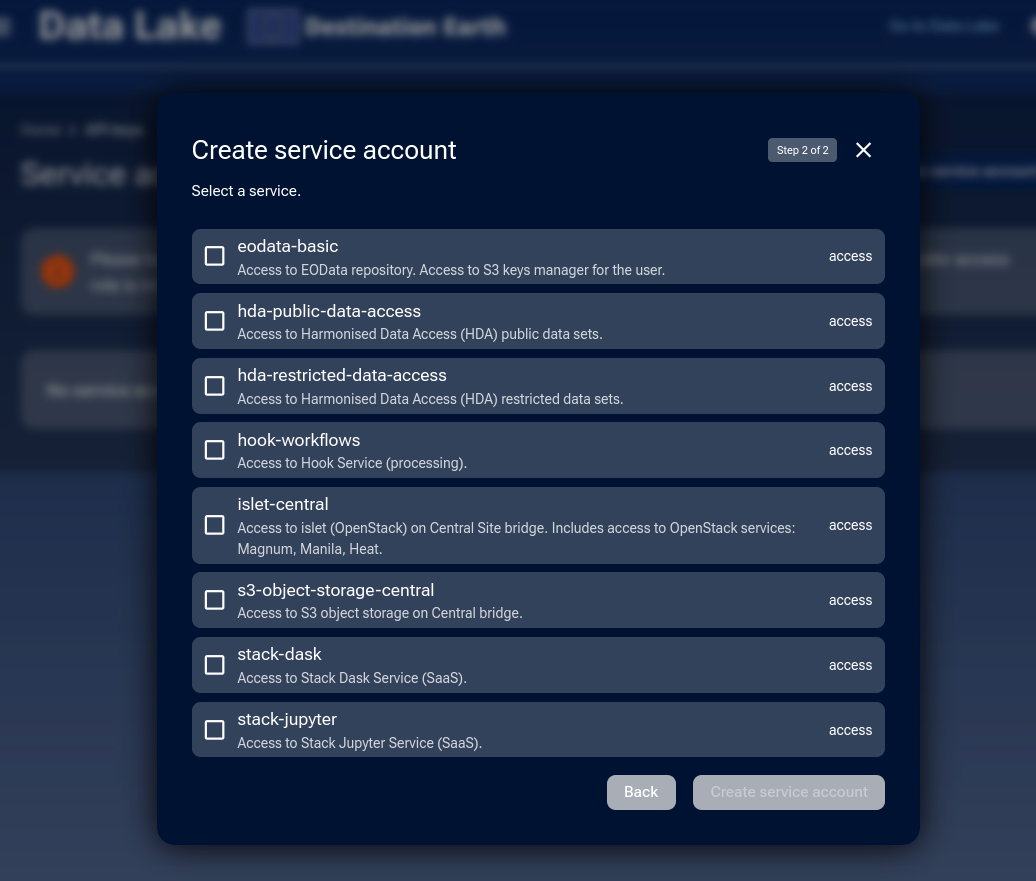
Choose the services this Service Account should access.
You will see a confirmation window showing the Client ID and Secret key.
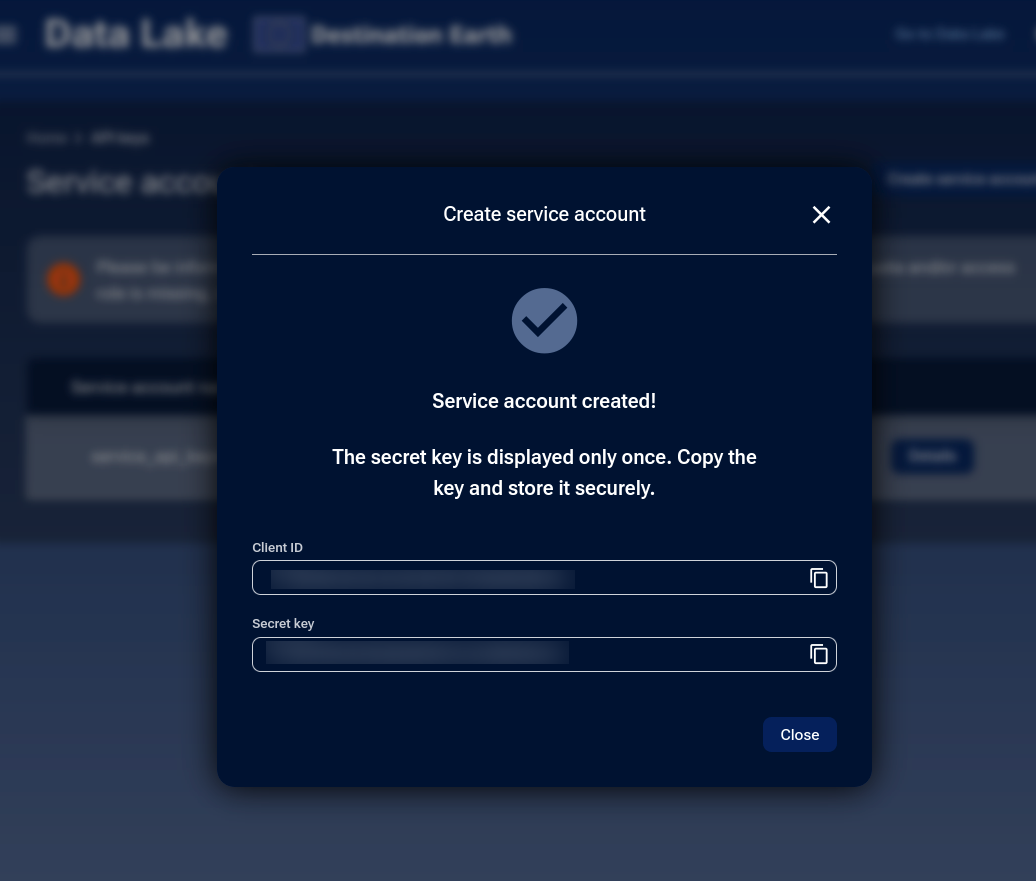
Copy and securely store the Secret key, as it will be shown only once.
Warning
Treat API Keys like passwords: never share them publicly or store them in unsecured locations.
For production usage, store them in a secure secrets manager or vault.
Refresh Secret Key
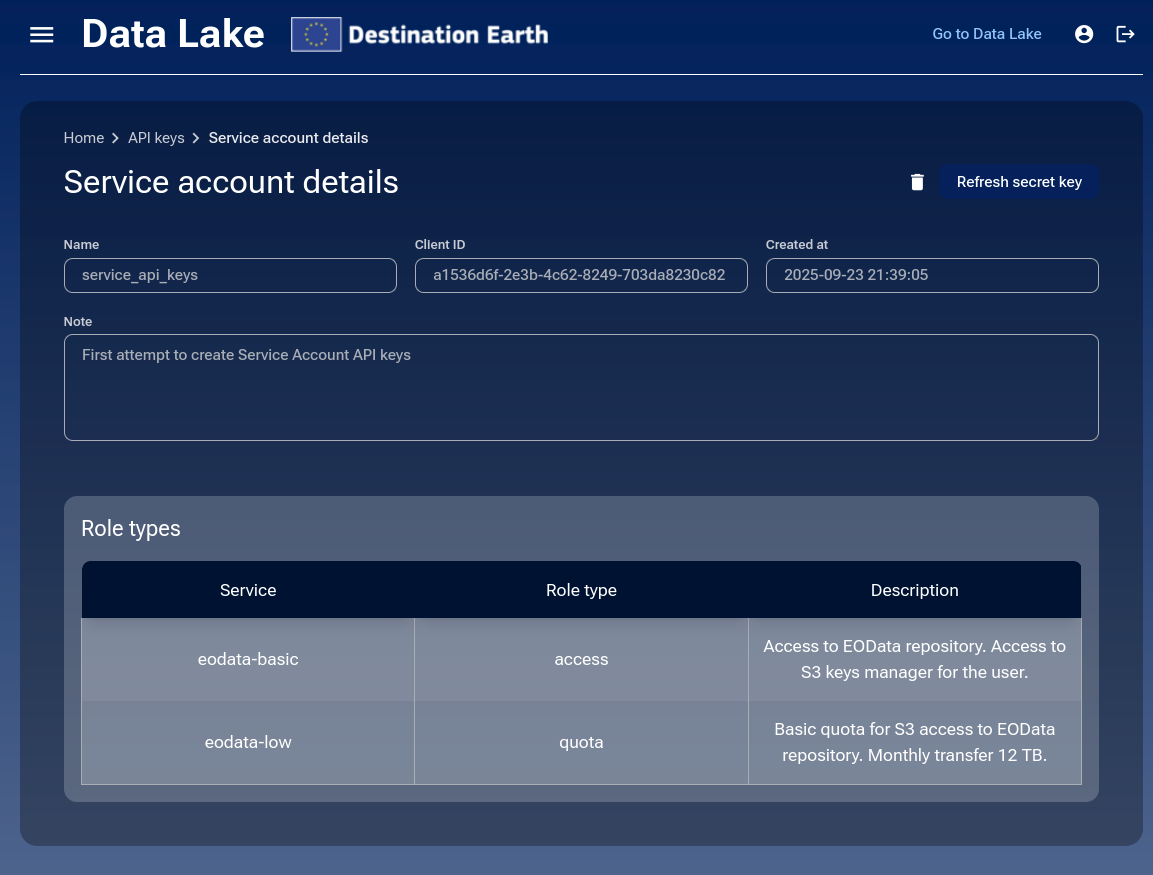
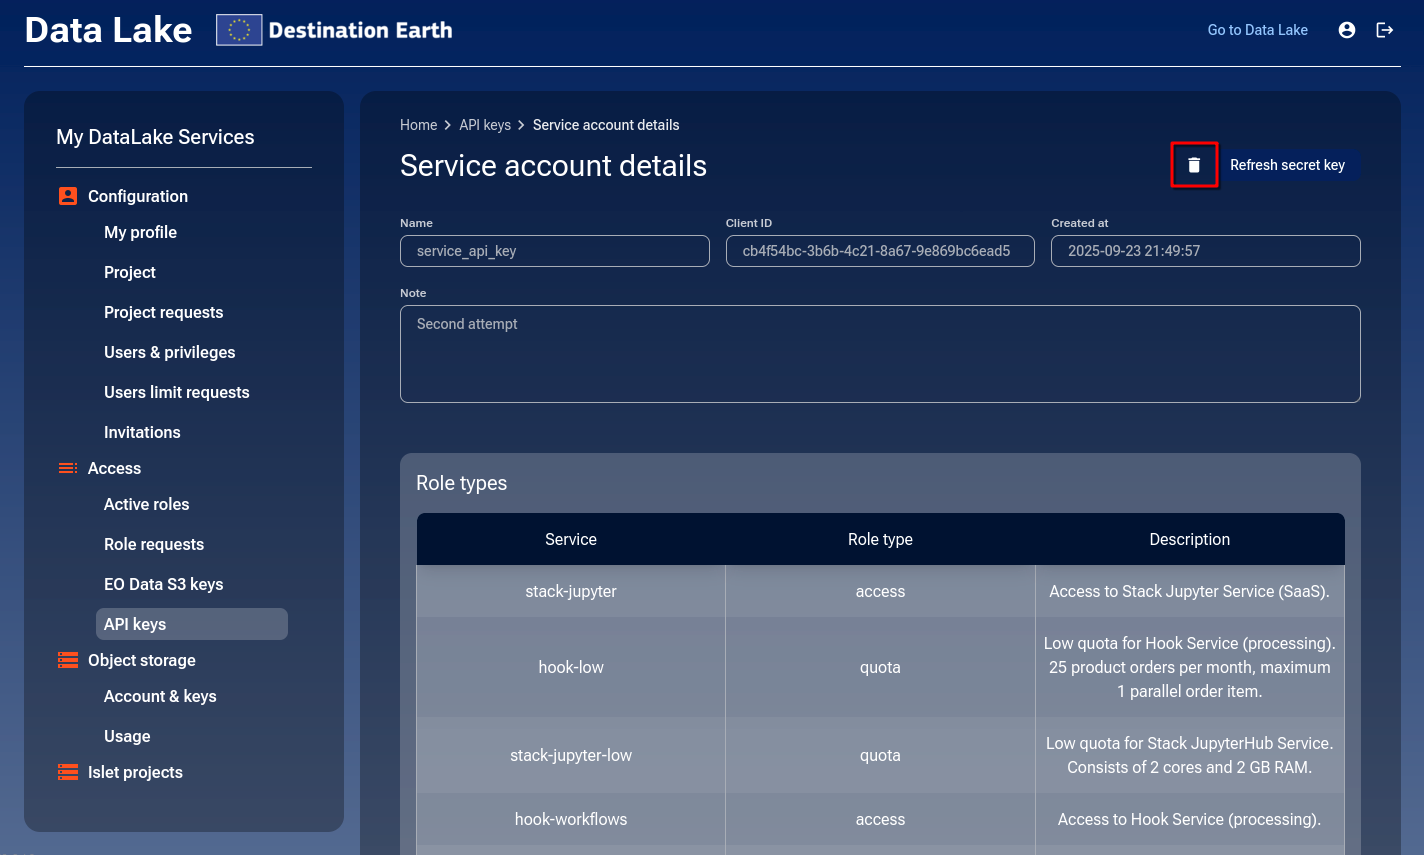
While in the API keys section, access the details of the selected Service Account by clicking on Details.
On the details page, click Refresh Secret Key.
A warning appears stating that the old Secret key will become invalid. Click Refresh to confirm and generate a new key.
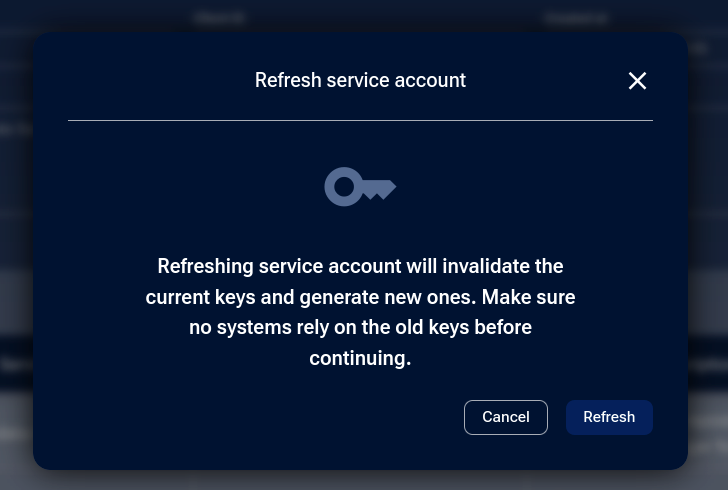
Copy and securely store the new Secret key and click Close to exit.
Warning
Refreshing API keys invalidates the current Secret key and generates a new one. Update your scripts or applications immediately with the new key.
Delete Service Account
While in the API keys section, access the details of the selected Service Account by clicking Details. On the details page, click the trash icon to delete it.
A warning will appear stating that the API keys will be invalidated. Select the I confirm this process checkbox and confirm by clicking Delete.
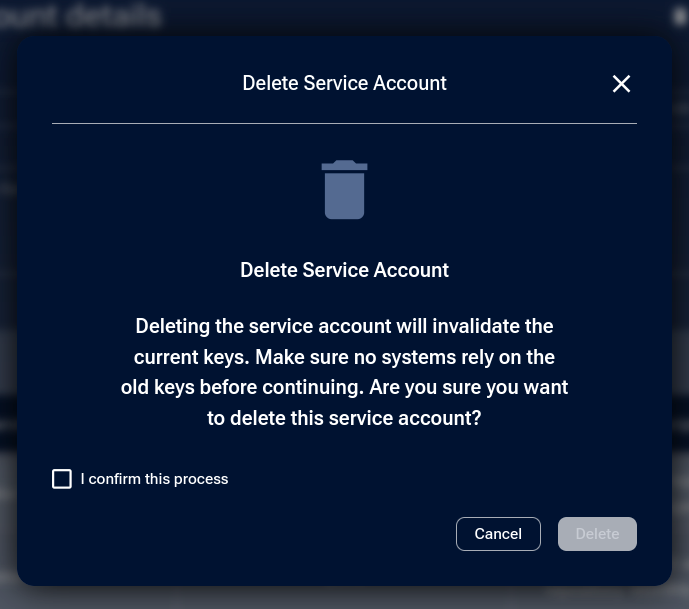
After deletion, the Service Account will no longer appear in the list.
Security best practices
Keep in mind the following pieces of advice:
Rotate keys regularly.
Store secrets in a secure vault.
Never commit keys to source control.
Reducing Service Account permissions
Permission changes are immediate and project-scoped:
- Admin removes a role from a user in a project
Any Service Account created by that user in the same project instantly loses that permission.
- User leaves a project
All Service Accounts created by that user in that project lose all permissions.
Tip
Permissions do not “carry over” across projects. Losing a role in Project A does not affect Service Accounts in Project B.
Example
If a user’s EODATA-BASIC role is revoked in Project X, then every Service Account created by that user in Project X immediately loses read access to EODATA datasets. Service Accounts the same user created in other projects are unaffected.
Authentication using Service Account for scripts or integrations
Service Accounts use the client credentials grant type, a standard flow in OpenId Connect and OAuth2.0. This allows applications or scripts to request an access token directly from the identity provider, using the Client ID and Secret key that were generated when the Service Account was created.
Obtaining a token
Presuming you have jq installed, use the following curl command to request a token:
TOKEN=$(curl -s \
  -d "client_id=3b62f4b4-9b23-4477-82b1-b2c64cb6634c" \
  -d "grant_type=client_credentials" \
  -d "client_secret=t1Zq3Peptg6KCNH9z8eY63iof628RUMe" \
  -d "scope=openid" \
  https://identity.data.destination-earth.eu/auth/realms/dedl/protocol/openid-connect/token \
  | jq -r '.access_token')
Replace <Client ID> and <Secret key> with the values you copied when creating or refreshing the Service Account.
The resulting value will be stored in variable TOKEN which you can use in other commands (see below).
Example of a token response
The system returns a JSON response. It contains your access token, its type, and its lifetime:
{
  "access_token": "eyJhbGciOi...<truncated>",
  "expires_in": 3600,
  "token_type": "Bearer",
  "scope": "openid"
}
- access_token
The actual token string you will use to authenticate requests.
- expires_in
The lifetime of the token in seconds (3600 = 1 hour).
- token_type
Always Bearer.
- scope
The permissions granted (here: openid).
Important
Tokens expire after the time specified in expires_in. In this example, the token is valid for 3600 seconds (1 hour). After it expires, you must request a new token using the same curl command. For long-running scripts, implement automatic token refresh.
Using the token to call an API
Once you have an access token, include it as ${TOKEN} in the Authorization header as a Bearer token.
List available collections (sanity check)
This verifies that your token works and that the API is reachable:
curl -s \
  -H "Authorization: Bearer ${TOKEN}" \
  -H "Accept: application/json" \
  https://hda.data.destination-earth.eu/stac/collections
You should receive a JSON document with a collections array (HTTP 200).
Search within a specific collection
Use the STAC /stac/search endpoint to find items. Replace the collection ID as needed (example below shows a Sentinel-3 collection):
curl -s -X POST \
  -H "Authorization: Bearer ${TOKEN}" \
  -H "Content-Type: application/json" \
  -H "Accept: application/geo+json" \
  -d '{
        "collections": ["EO.EUM.DAT.SENTINEL-3.OL_1_ERR___"],
        "limit": 1
      }' \
  https://hda.data.destination-earth.eu/stac/search
You should receive a GeoJSON FeatureCollection with up to 1 matching item.
Tip
Test your token first with a simple curl request before embedding it into scripts or applications. This helps confirm that your Service Account has the correct roles and access.
Troubleshooting
- Error: Invalid Client ID/Secret
Ensure you copied the values correctly when creating the Service Account.
- Error: Insufficient permissions
Verify that you have approved access and quota roles for the service.
- Error: Token expired
Refresh the token automatically in your script.
- Error: Unauthorized (401)
Token may be expired or missing. Ensure your request includes the Authorization: Bearer <token> header.
- Error: Forbidden (403)
The Service Account exists, but it lacks the required role for that API. Confirm that the right roles are assigned.
Summary
Service Accounts are the safest and most flexible way to integrate with My DataLake Services. By creating dedicated accounts for scripts and applications, rotating keys regularly, and applying the principle of least privilege, you reduce risk and simplify management.