Use the MLOps Studio dashboard
The MLOps Studio dashboard is the central interface for working with MLOps Studio after you open it from the MLOps Platform workspace. It provides access to available namespaces, shortcuts for common tasks, recent activity, and the main MLOps Studio tools available in the left-side menu.
The dashboard opens for the site selected in the MLOps Platform workspace. Before continuing, make sure that you selected the correct site and that the namespace you want to use is available.
Prerequisites
Before starting, make sure that the following requirements are met.
No. 1 Access to the MLOps Studio workspace
You can sign in to the MLOps Platform and open your workspace.
See Access the MLOps Studio workspace.
No. 2 Existing namespace
A namespace has already been created in the MLOps Platform workspace.
See Create and manage a MLOps Studio namespace.
No. 3 Namespace access
Your user has access to the namespace where you want to work.
No. 4 Correct site selected
If more than one site is available, make sure that you opened the MLOps Studio dashboard from the correct site in the MLOps Platform workspace.
Open the dashboard
In the MLOps Platform workspace, click MLOps Studio Dashboard.
The MLOps Studio dashboard opens in your browser.
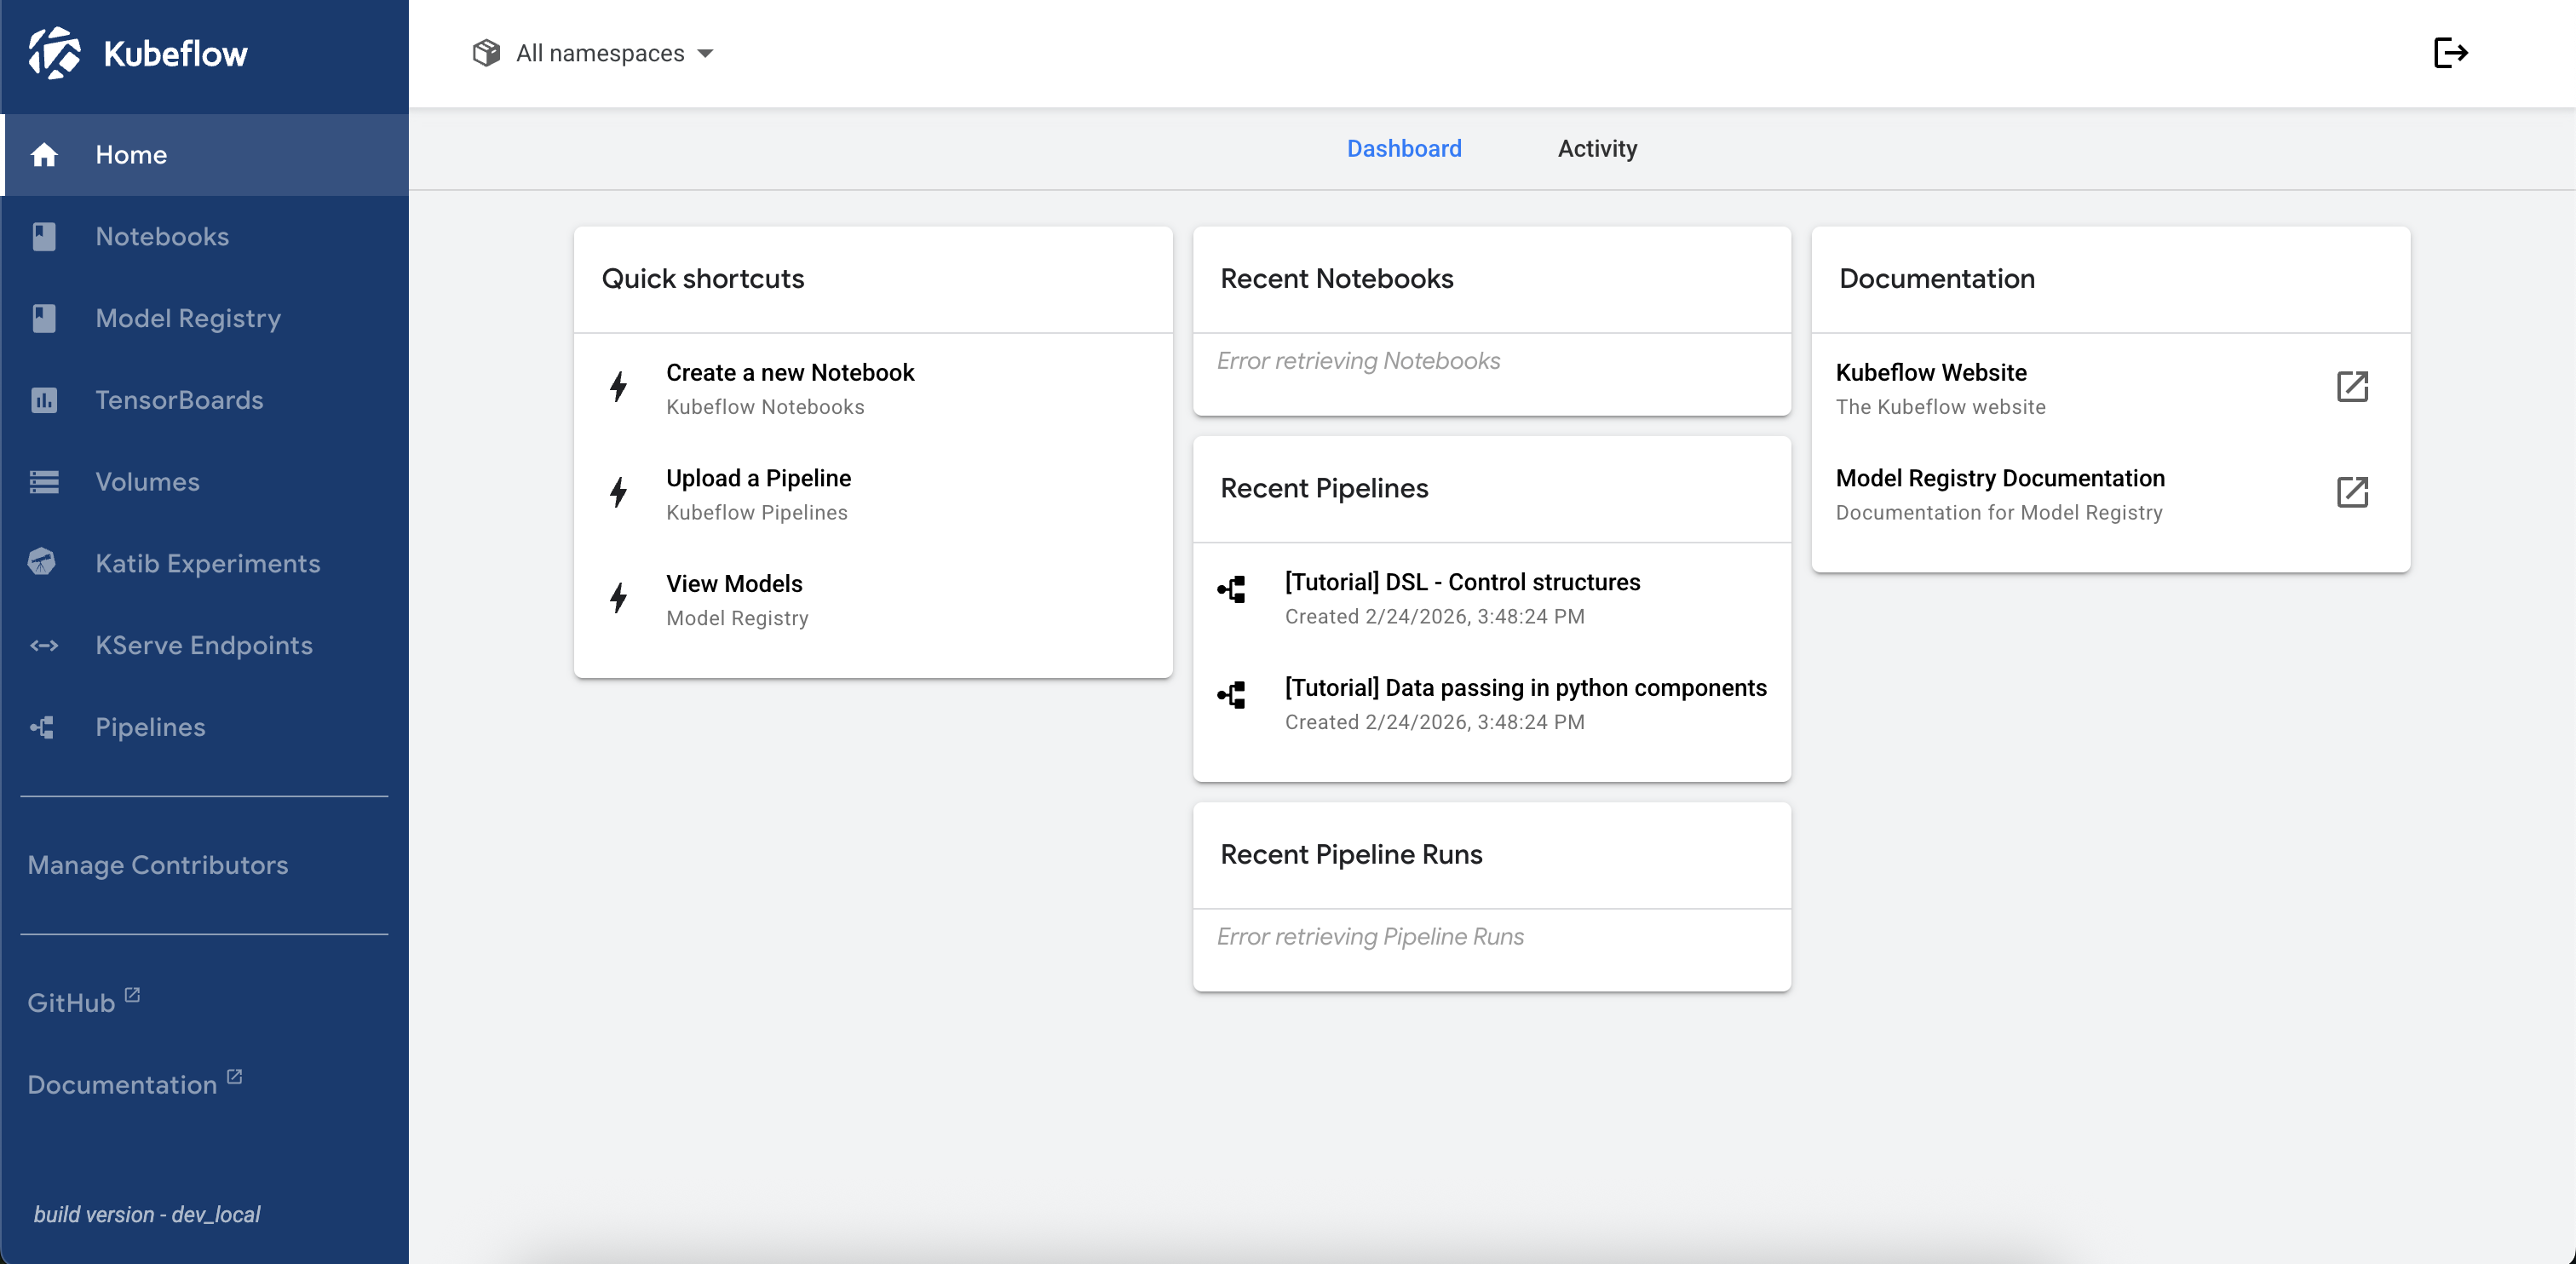
The dashboard is the main entry point for working with MLOps Studio. From here, you can select a namespace, open MLOps Studio tools, use quick shortcuts, and review recent activity.
Select a namespace
At the top of the dashboard, use the namespace selector to choose the namespace where you want to work.
By default, the selector may show All namespaces. This view is useful for orientation, but most actions should be performed in a specific namespace.
A namespace defines the working context for your MLOps Studio resources. Notebooks, pipelines, volumes, experiments, and other resources are created inside a namespace. Selecting the correct namespace helps you avoid creating resources in the wrong project or team environment.
Note
If the namespace that you expect is not visible, return to the MLOps Platform workspace and check that the namespace exists and that your user has access to it.
Use quick shortcuts
The Quick shortcuts panel provides direct links to common actions.
Typical shortcuts include:
creating a new notebook,
uploading a pipeline,
viewing models.
Use these shortcuts when you already know which task you want to start. For more controlled work, first select the correct namespace and then open the required tool from the left-side menu.
Review recent activity
The dashboard may show recent notebooks, recent pipelines, and recent pipeline runs.
These panels help you quickly return to work that was recently created or executed in the selected namespace.
If a panel shows an error or no results, it does not always mean that the platform is unavailable. It may mean that:
no resource of that type exists in the selected namespace,
the selected namespace does not have access to that resource,
the dashboard is still loading the information,
the underlying component is not available in the current environment.
Select a namespace first and refresh the page if the displayed information does not match what you expect.
Use documentation links
The dashboard may include links to external MLOps Studio documentation.
These links can be useful for general MLOps Studio concepts, but the DEDL environment may have its own access model, resource allocation rules, namespace management, and service configuration.
When working in this platform, follow the DEDL documentation first. Use upstream MLOps Studio documentation only as background information for general concepts.
Sign out
Use the sign-out icon in the upper-right corner to end your MLOps Studio session.
Because the platform uses Single Sign-On, signing out may affect access to other parts of the MLOps Platform in the same browser session.
What to do next
After reviewing the dashboard, select the namespace where you want to work and continue with the task you need to perform.
For interactive Python work, create or open a notebook environment. See articles
For command-line workflows, download kubeconfig for the namespace and configure kubectl on your local machine. See Access a MLOps Studio notebook environment with kubectl port-forward