How to install X2GO client in Windows
This guide will show you how to install the X2GO client in Windows 10.
Prerequisites
A system running Windows 10, 11 or Windows Server 2016-2022
A user account with administrative privileges
Step 1: Install X2GO client
Download windows client on: https://repo.x2go.data.destination-earth.eu/repos/Windows/
Install the client and run it from your windows desktop.
Running the previous command:

Step 2: Configuration of sessions
Start the x2goclient.
Select session=>new session.
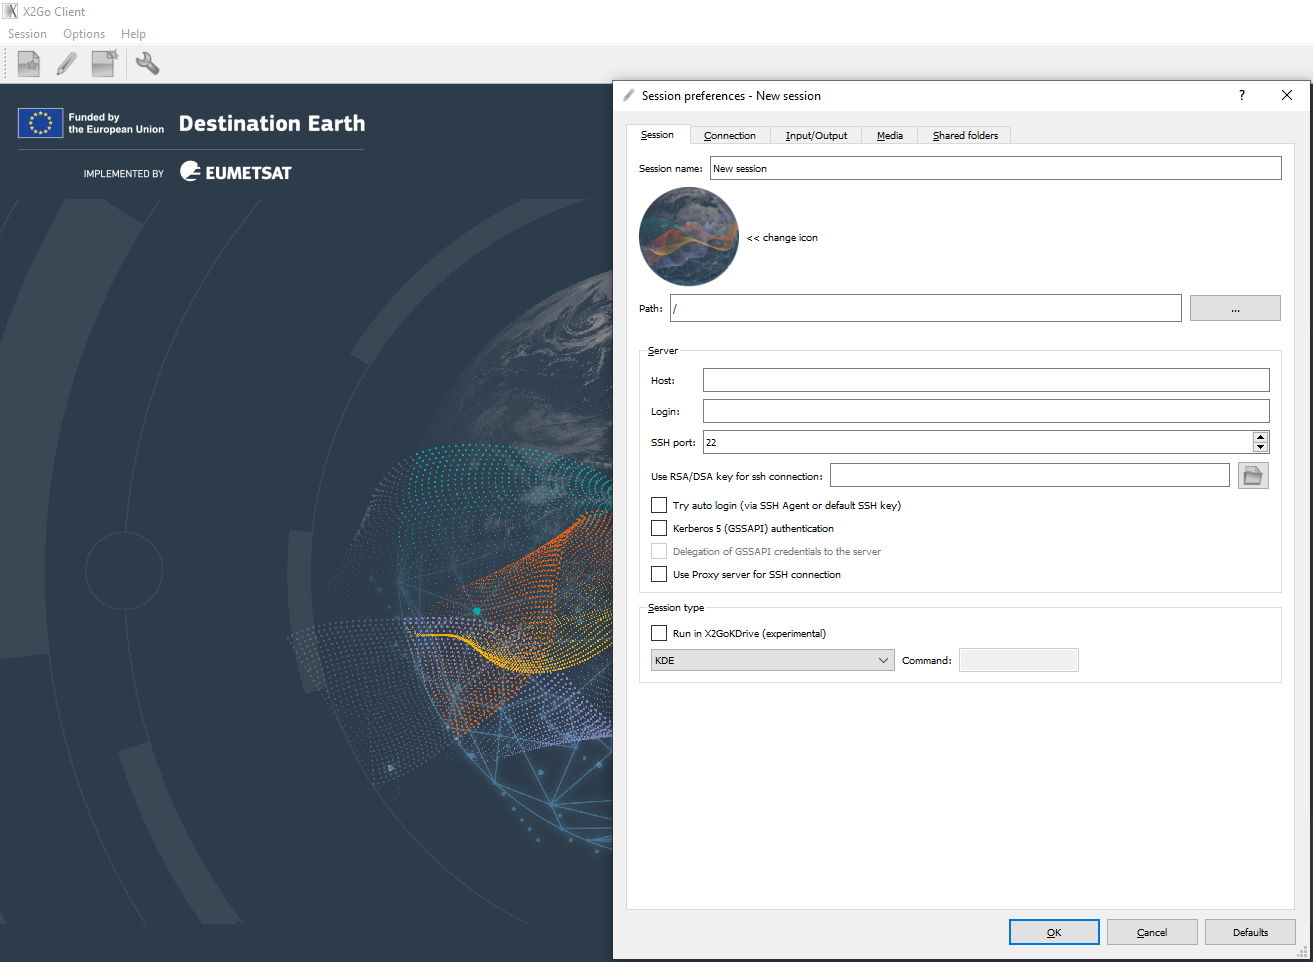
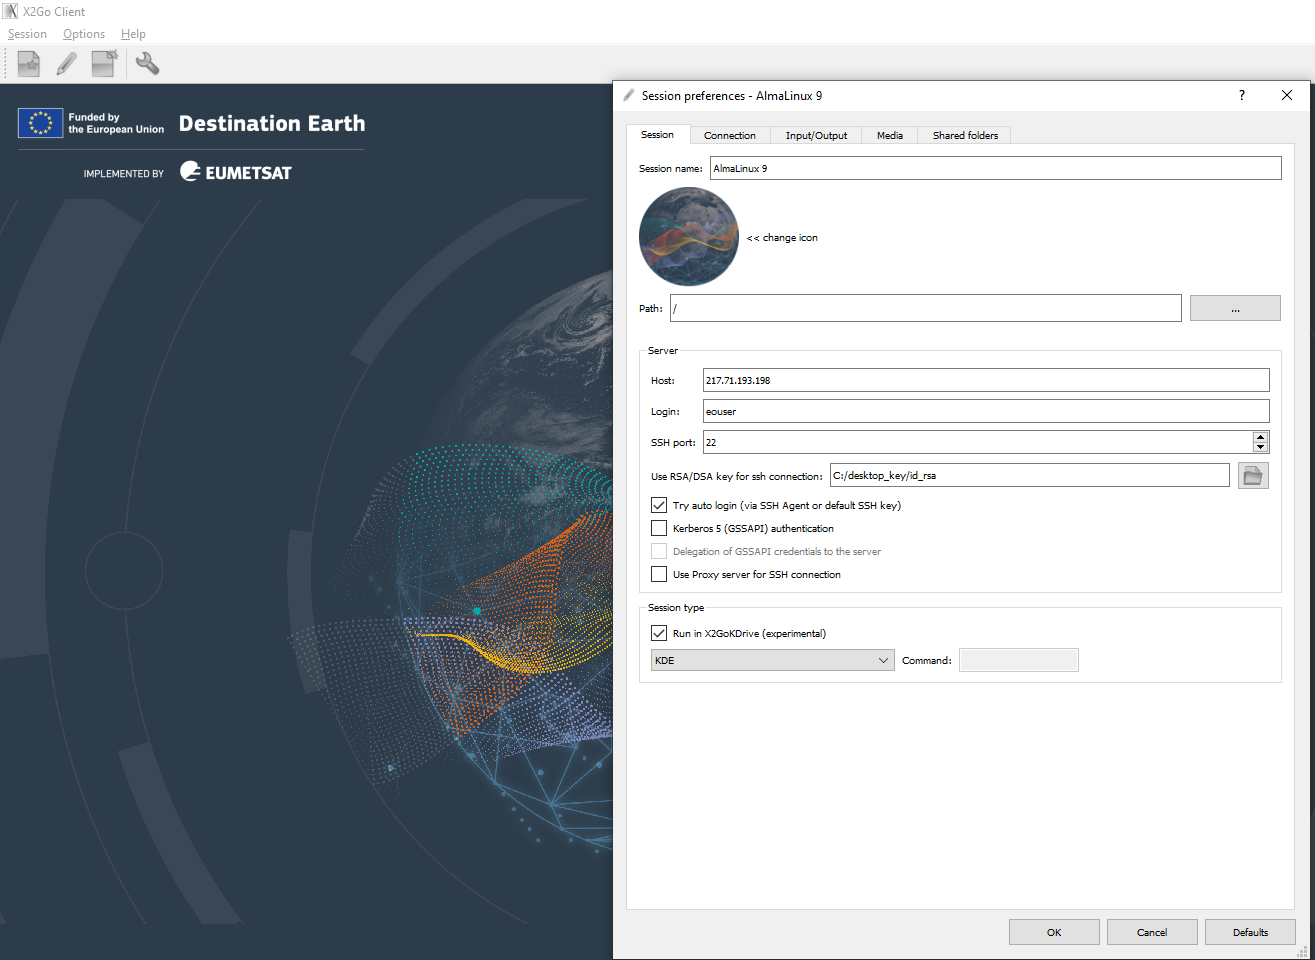
SESSION TAB
Session name: <your name for the VM x2go session>
- On server section:
Host: <IP or DNS name of the VM>
Login: <username>
SSH port: <SSH port to use. Default is 22>
Use RSA/DSA key for ssh connection: <Your private Key to use for the connection>
Select “try auto login (via SSH Agent or default SSH key)
Select “Use proxy server for SSH connection.”
In the Session Type block:
Select “Run in X2GoKDrive (Experimental)”
Select the desktop to use.
Note
Available by default on VM images: KDE and XFCE.
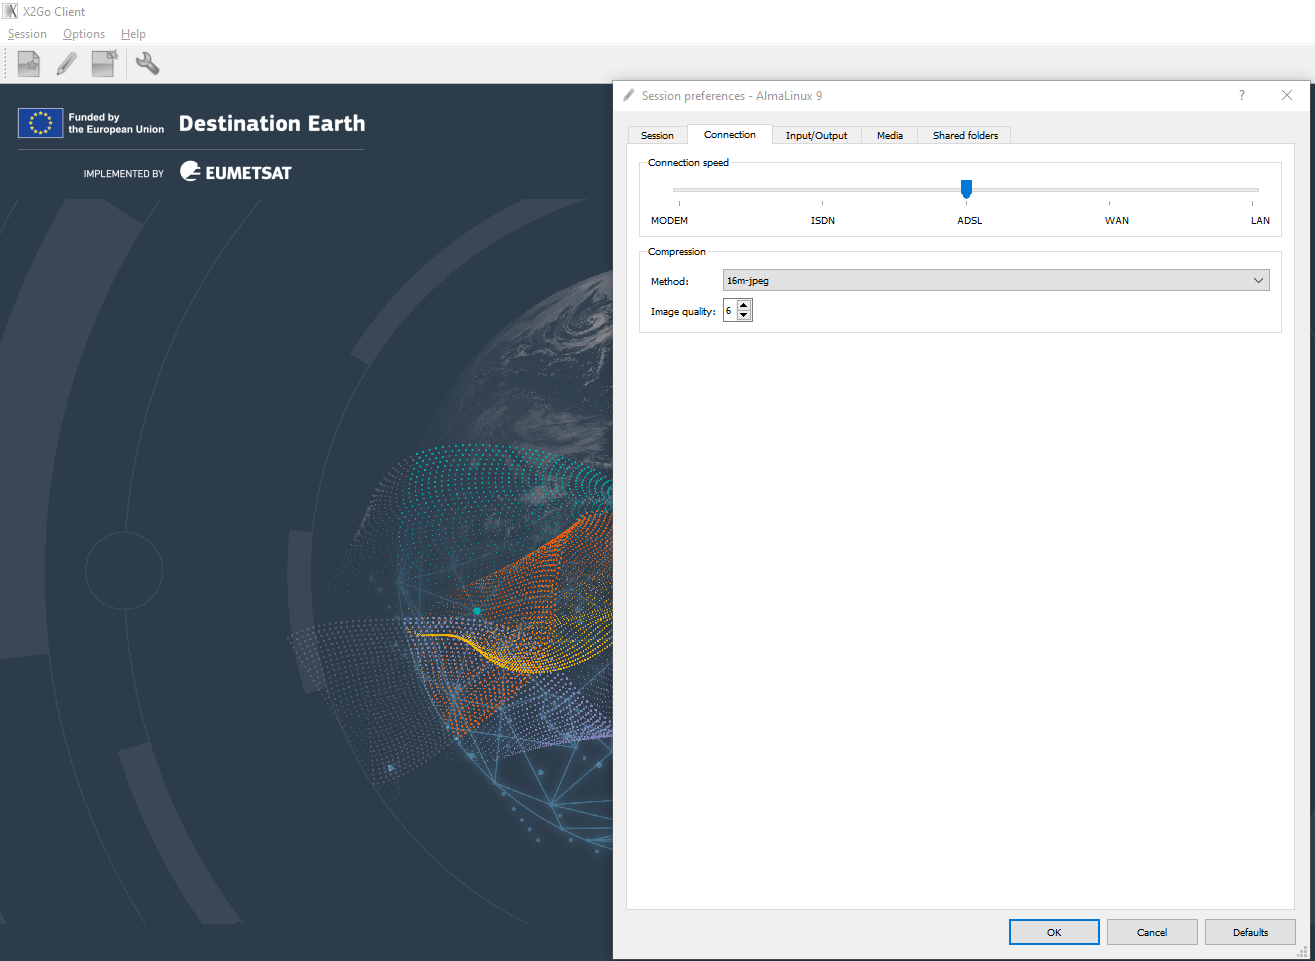
CONNECTION TAB
You can setup the speed of the connection and the desired resolution. For better performance you may decrease the image quality of the session.
Image Quality set to 6 in the example.
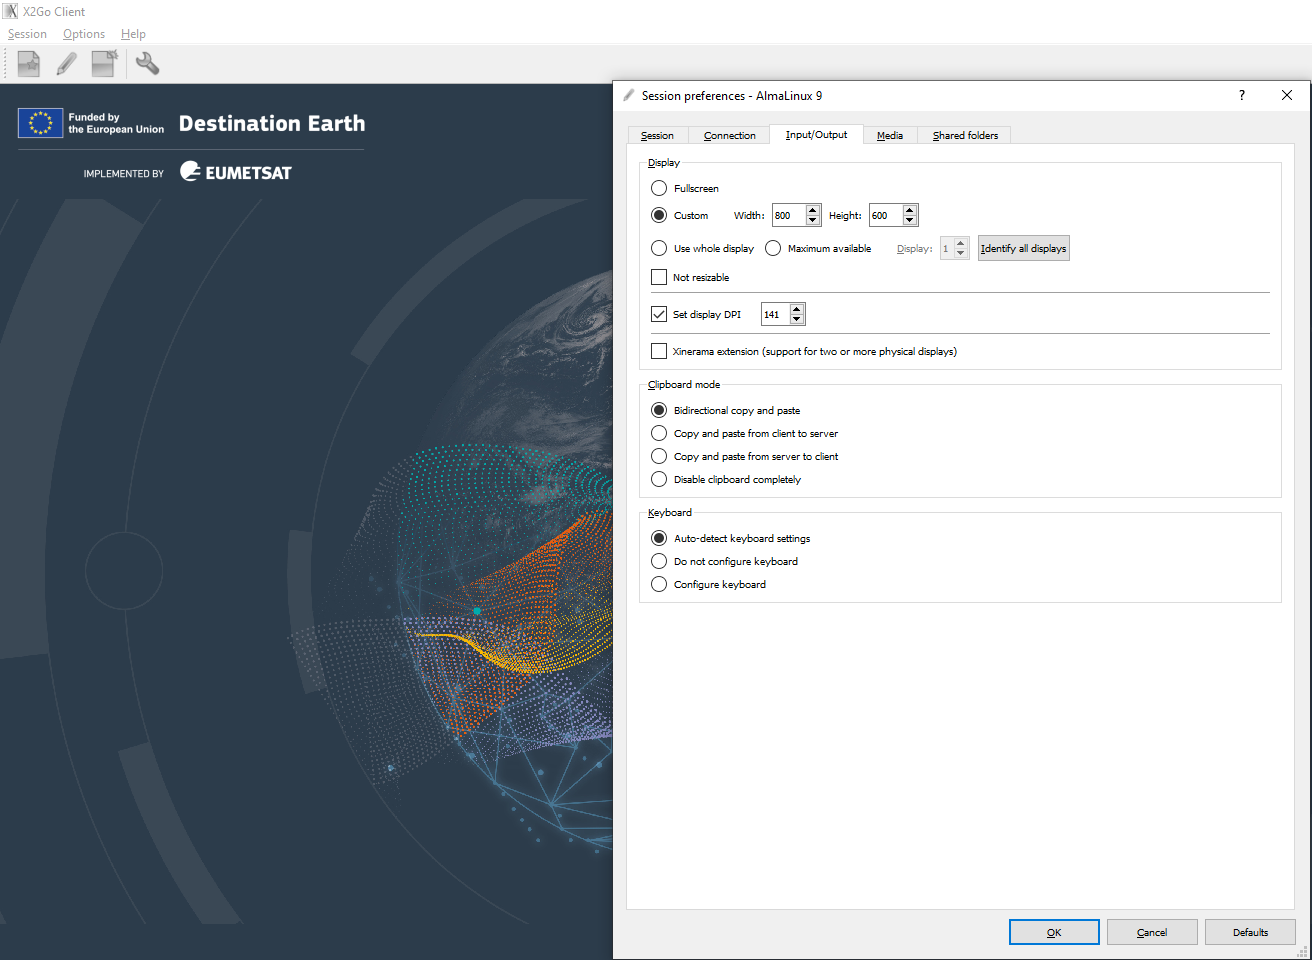
Input/Output TAB
You can manage the setup of the connections to the desktop. Usually this is kept as-is.
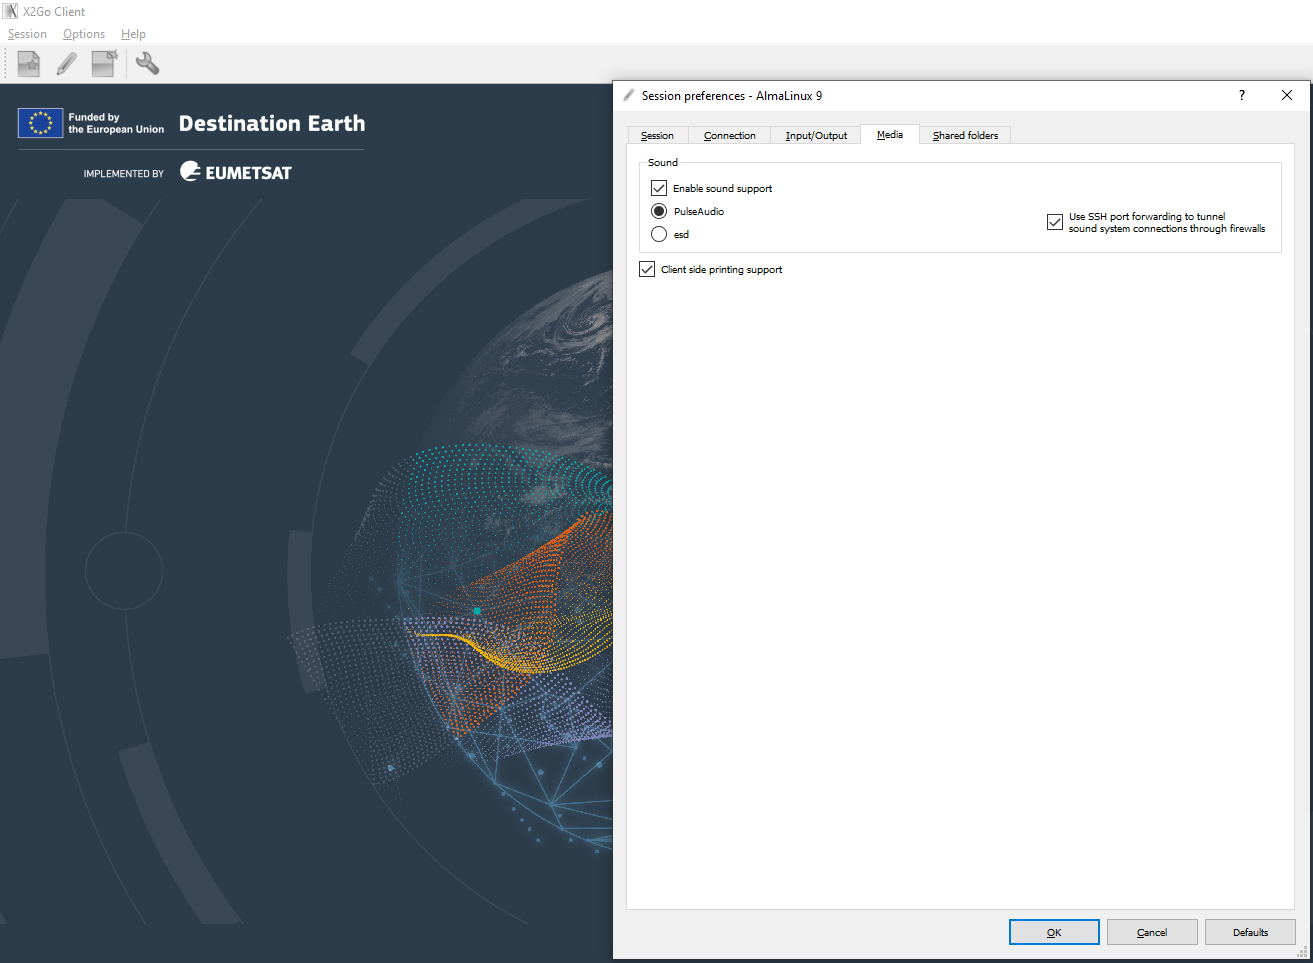
Media TAB
By default the sound and printing support is enabled.
Shared folders TAB
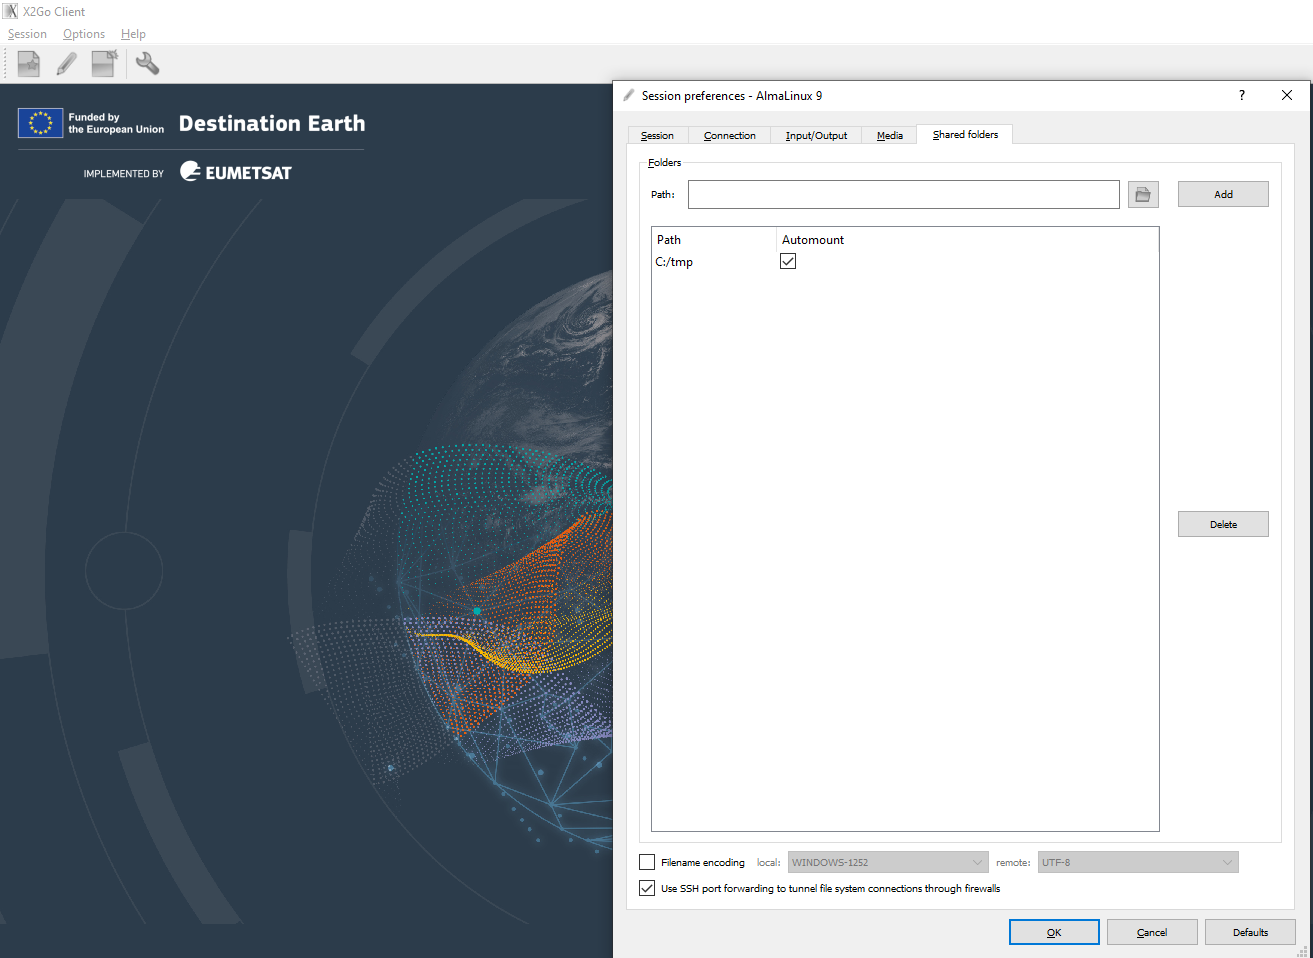
On this tab you can select a folder to mount in the VM using X2GO.
Select the folder image to get a local computer folder browser.
Select the desired folder and click “Add”
You will see in the “path” the local folder to share.
Select “Automount” to have it available in the VM when you connect to.
Select “OK” to save the setup.
What To Do Next
Put your public key on remote server and use your private key to authorize to your VM. To add the public key to remote server see