Two-Factor authentication to DestinE Platform using KeePassXC on desktop
In this article, you will learn how to set up two-factor authentication to DestinE Platform, using KeePassXC. There are many other free desktop password managers – BitWarden, 1Password and LastPass amongst others, and you can use them too.
Two-factor authentication increases security of your account by requiring you to provide two factors while signing in to your account. In this case, these factors will be:
Password which you are currently using
6-digit code generated by KeePassXC installed on your computer
KeePassXC is a free and open source password manager for Linux, Windows and macOS. It stores passwords, TOTP keys and other secrets in a file on your computer. You can later, for example, move that file manually to a different computer to use that device instead of the current one.
Contrary to BitWarden, 1Password or LastPass, KeePassXC does not have any cloud sync features.
Attention
Since KeePassXC does not provide any cloud storage, you need to make sure that you do not lose your file and whatever is required to decrypt it. You will lose all the content of the file if you lose any of these objects. The backup of this file should be performed.
Prerequisites
No. 1 Account
You need a DestinE Platform account. See How to create a DestinE Platform account
No. 2 A computer with a modern operating system
You need a computer with operating system which is supported by KeePassXC. The list of available platforms can be found on https://keepassxc.org/download
If you are using Linux, note that in this article we will use KeePassXC in GUI mode so you will need some desktop environment and/or window manager.
Introduction to TOTP
The 2FA algorithm used on DESP involves generating a 6-digit TOTP code every 30 seconds using the secret key known both to the software used by the user and by the authentication server. That code is valid until some time after a new code has been generated. During this generation, no data needs to be transferred between the authentication server and the software used by the user - the user needs to enter the key into the correct field.
During 2FA configuration, this secret code is presented to the user and they are able to provide it to the device of their choice. It can also be provided to multiple devices at the same time. The server does not know which devices received that key, and therefore, cannot differentiate between different devices using the same key.
Because of that, the 2FA management console presented in this article does not provide a list of devices used for 2FA, but rather secret keys used for that purpose. If you delete a secret key, all devices which rely on it for authentication will no longer be able to do that.
In this article, the term secret key means the above mentioned key used for generating 6-digit codes. It can be stored on multiple devices, or even on multiple pieces of software on the same device.
Step 1 Install KeePassXC
If you already have KeePassXC installed and configured, skip to Step 3 Adding Entry or 4 Configuring the TOTP.
The following instructions are for Ubuntu. If you use a different operating system, refer to the appropriate documentation.
Open the terminal, enter the following command and press Enter:
sudo apt update && sudo apt upgrade -y && sudo apt install -y keepassxc
Step 2 Configure KeePassXC
Launch KeePassXC. During its first run, you will see the following window:
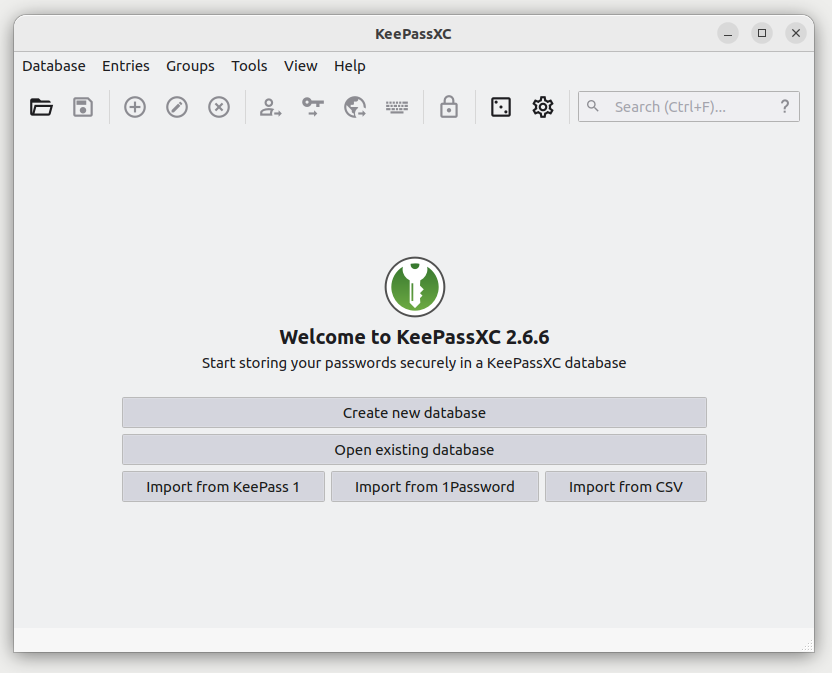
Click the button Create new database it in order to create a file in which you can store your passwords, TOTP keys and other secrets. Now you will see the following window:
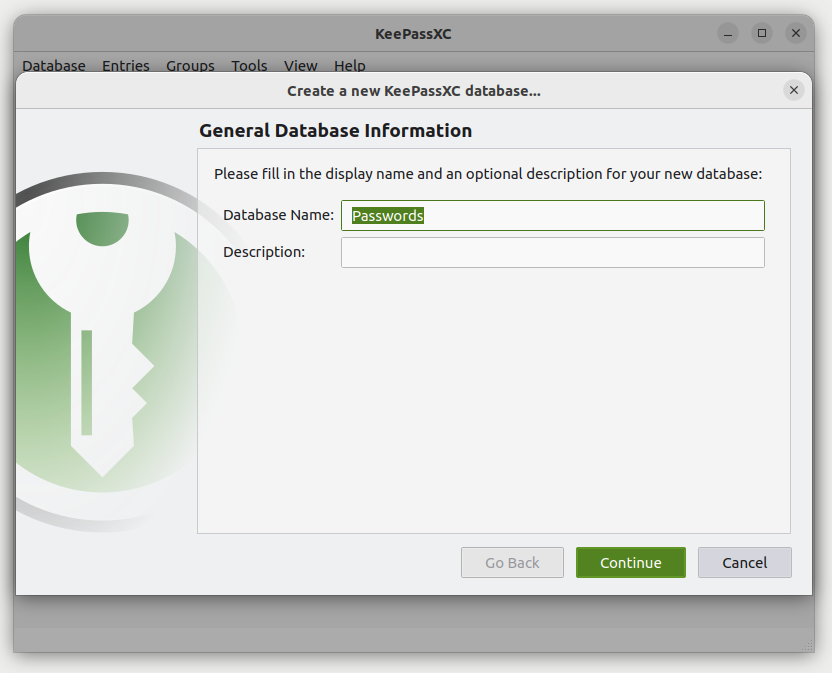
In the first step of database creation you may provide its name and description. The name provided here will not be the name of your file, so you may leave it as it is. Click Continue. The following window will appear:
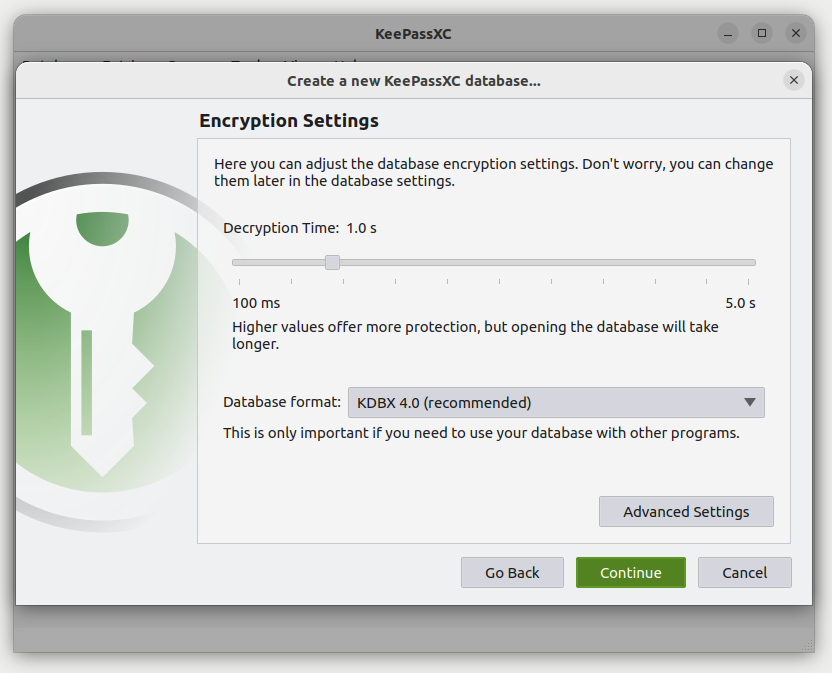
Next, you may choose how long should the decryption of your database take. However, keep in mind that, as it is written in that window, Higher values offer more protection, but opening the database will take longer. Leave the default database format and click Continue. You will now see the following window:
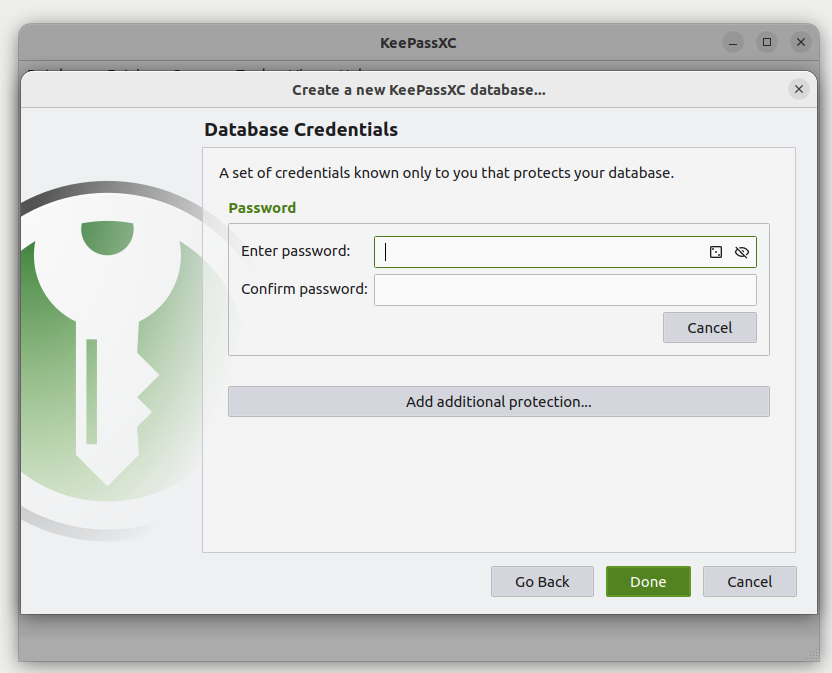
Now you need to provide the password for decrypting your database. Enter it again in the second text field. You can also add additional security measures using the button Add additional protection…, but if you are just getting started in might not be needed.
Attention
If at any point in the future you are unable to provide your password and any additional protection measures you configured, you will be locked out of your database and potentially lose all of its content. This can happen if you for example forget your password.
Click Done.
Choose the name for the file containing your secrets and its location. Click Save.
Step 3 Add the entry for your account
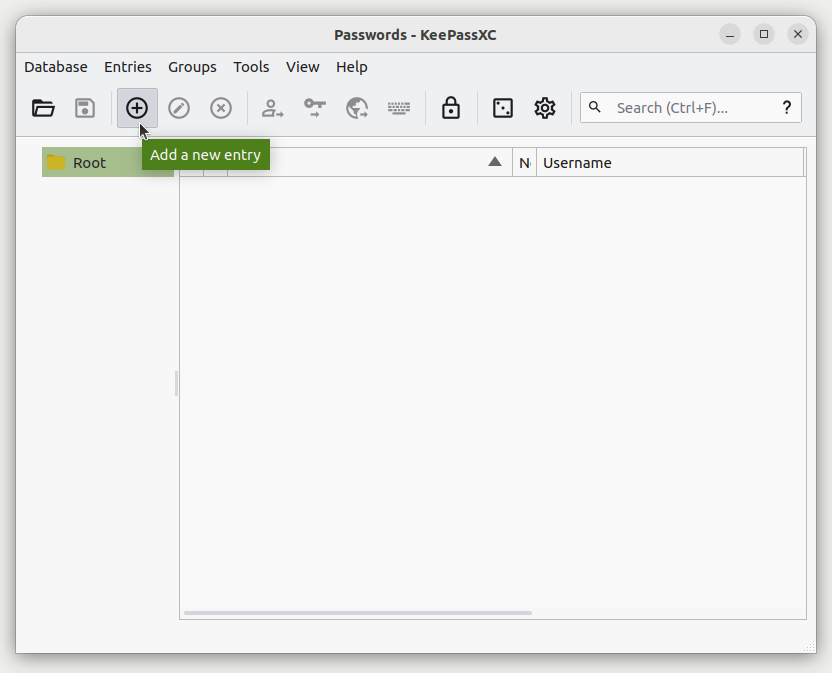
Your database should now be operational. Let’s create the entry containing your username, password and TOTP for the DestinE Platform cloud. Click Add a new entry on the toolbar.
You should get the following form:
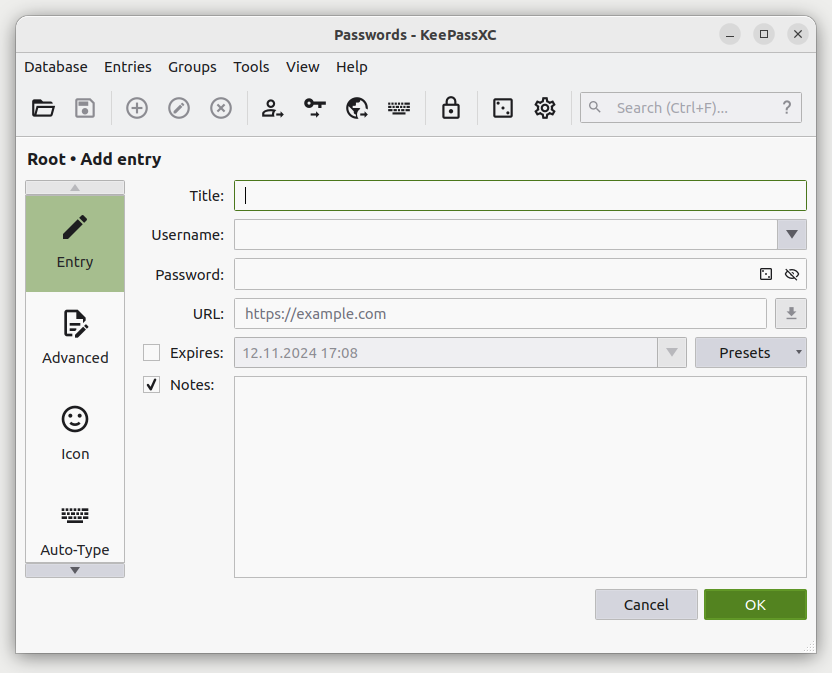
In the Title field enter the name under which your entry should be identified in your database, for example DestinE Platform. Then, enter your username and password.
Click OK to save the entry.
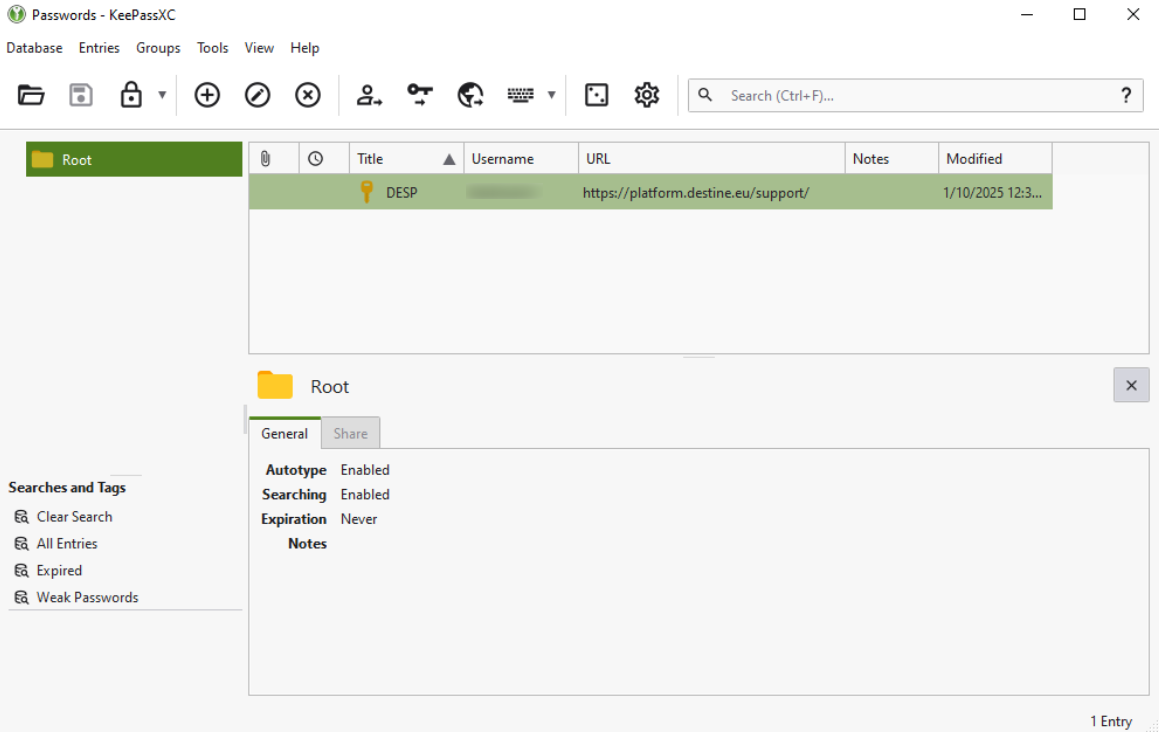
You should now see your entry on the list:
If the option Automatically save after every change in the General section of the application settings is enabled, you do not have to save. If not, press CTRL+S to save the database.
Step 4 Configure TOTP
Now we will create and obtain your TOTP key.
Navigate to https://platform.destine.eu/support/ using your Internet browser. If login form appears, sign in.
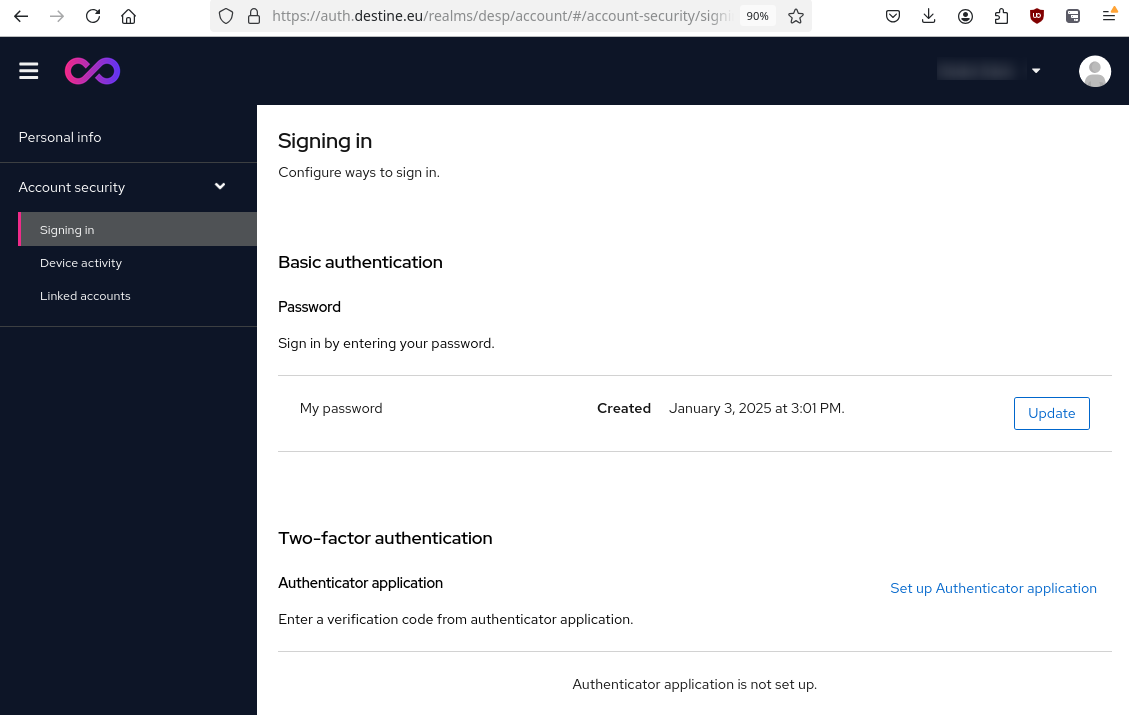
Eventually, you should get to screen containing your user data:
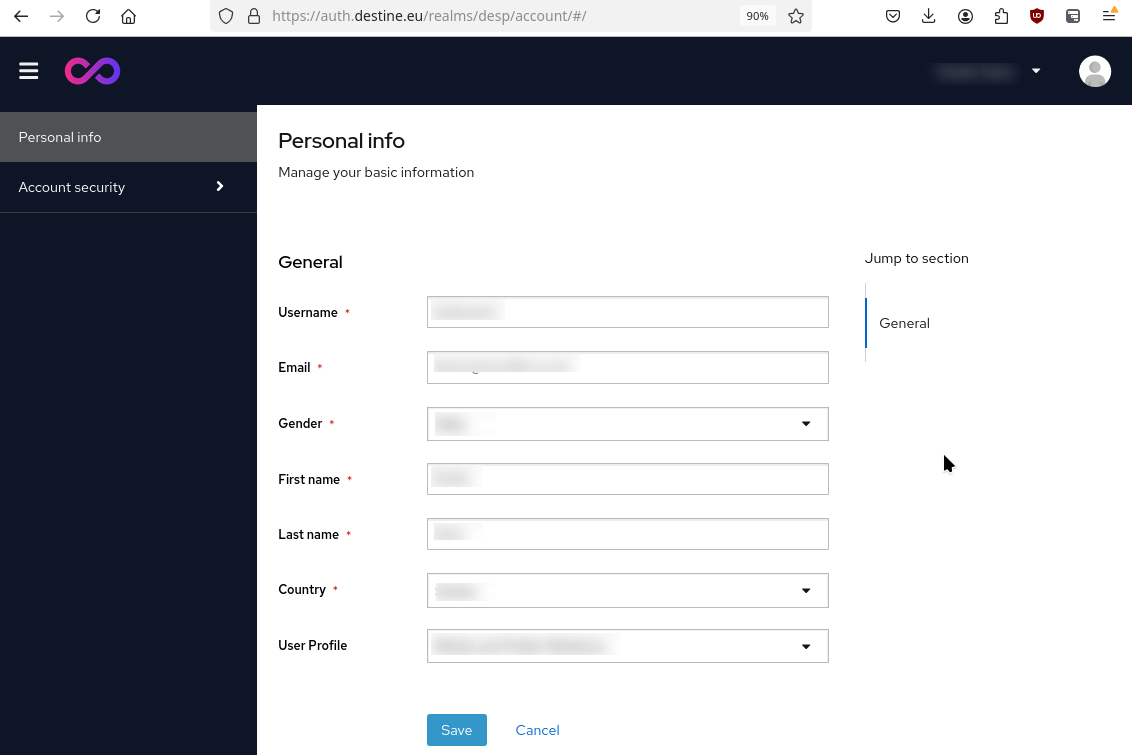
Use the bar on the left to navigate to page Account security.
Warning
Before proceeding further, make sure that at this point no untrusted person, camera etc. can see your computer screen since secret used for two-factor authentication will be displayed. It goes without saying that you should not share that secret with untrusted entities.
Also, you will have a limited time to fill in the form which will appear, so make sure to act quickly enough.
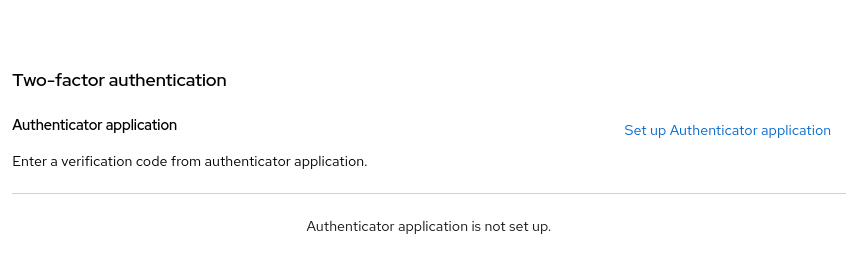
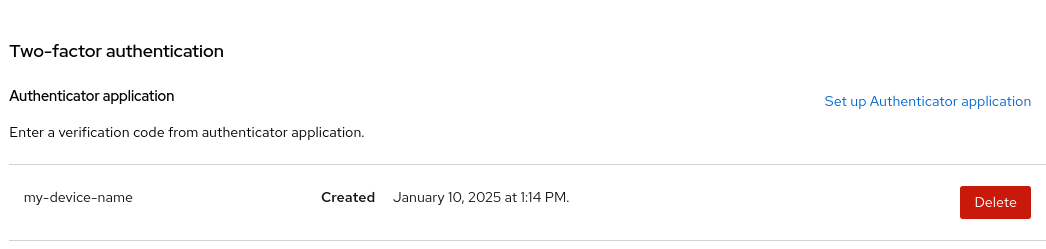
In section Two-factor authentication, click Set up Authenticator application:
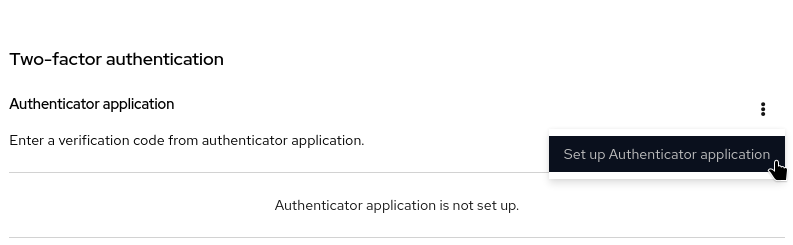
If you don’t see this link, use the button containing three dots:
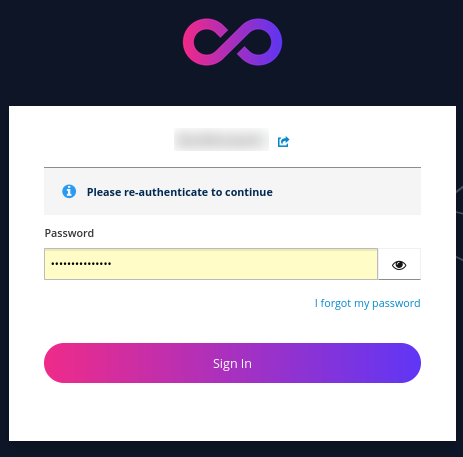
The next step is to re-authenticate, that is, enter the password once again:
You should now get to the form similar to this:
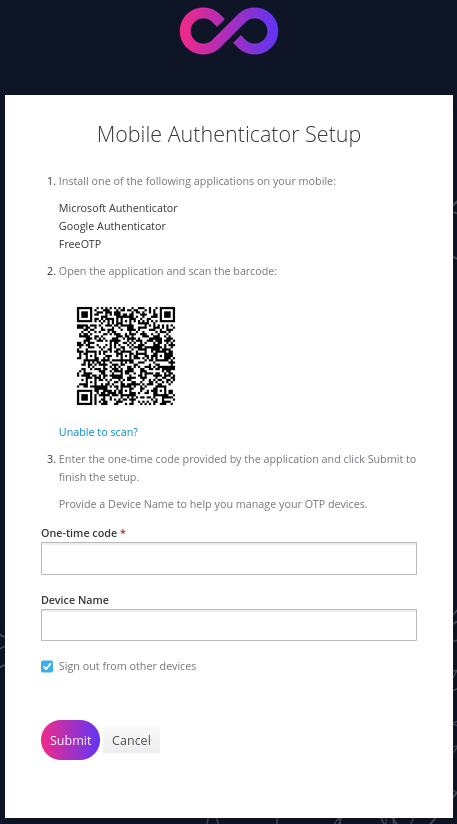
Click Unable to scan? below the QR code.
You should now see your TOTP secret in Step 2:
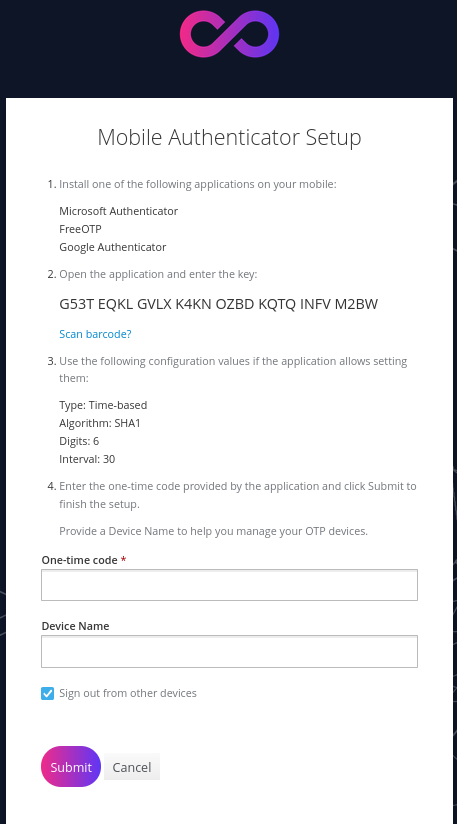
This 32-characters long string, G53T EQKL GVLX K4KN OZBD KQTQ INFV M2BW, is the TOTP secret code that we are after.
Copy it to your clipboard.
Note that if at this point you
refresh the page, or
switch between displaying secret and QR code,
the secret provided to you will change. Remember to use the one which is currently displayed in your browser window.
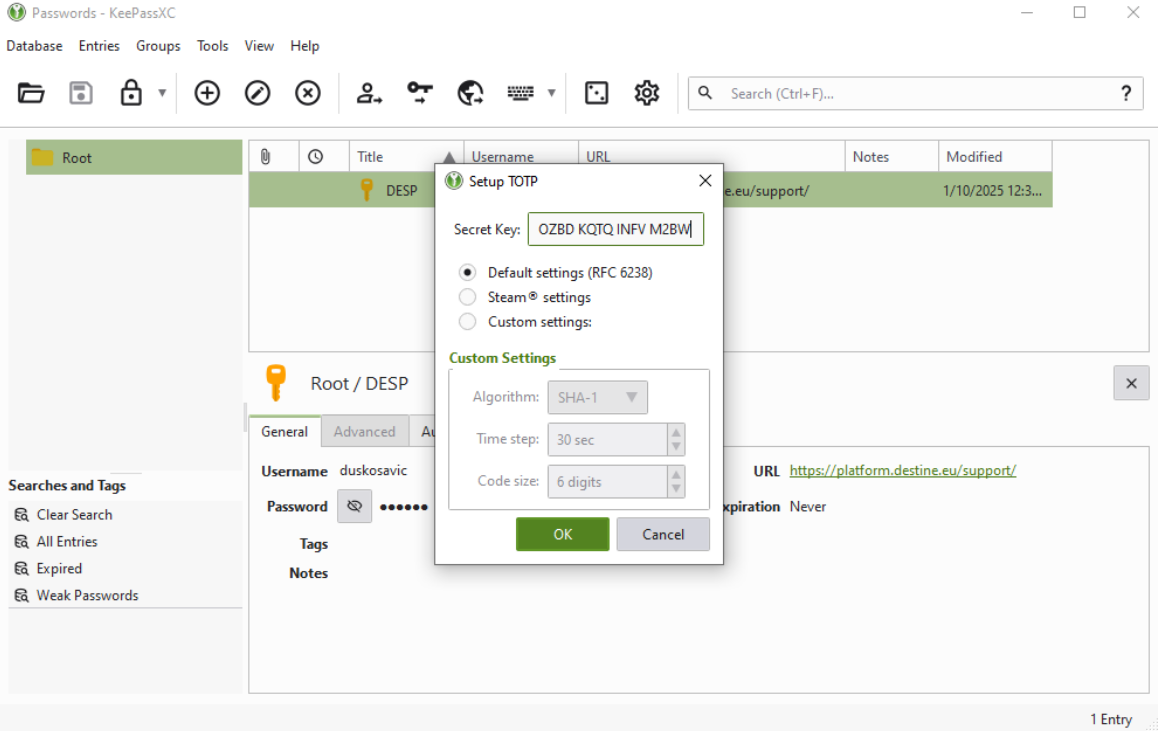
Return to your KeePassXC window. Right-click on your entry and choose TOTP -> Set up TOTP…
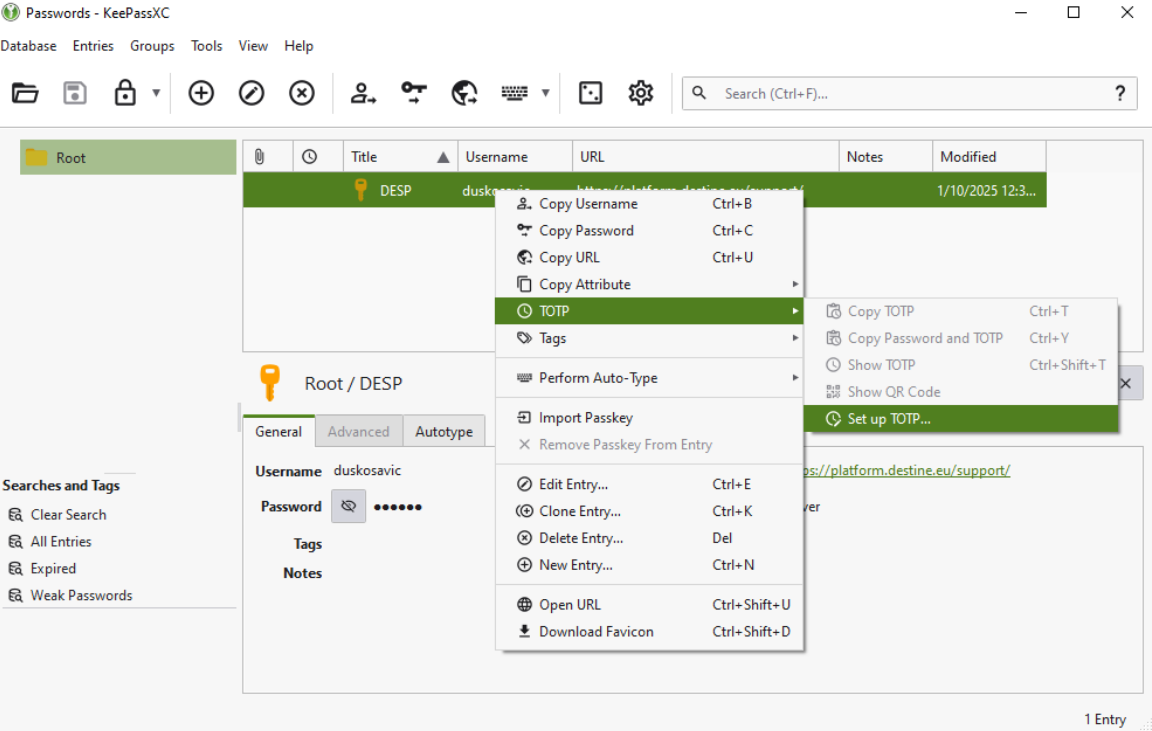
You should now see the following window:
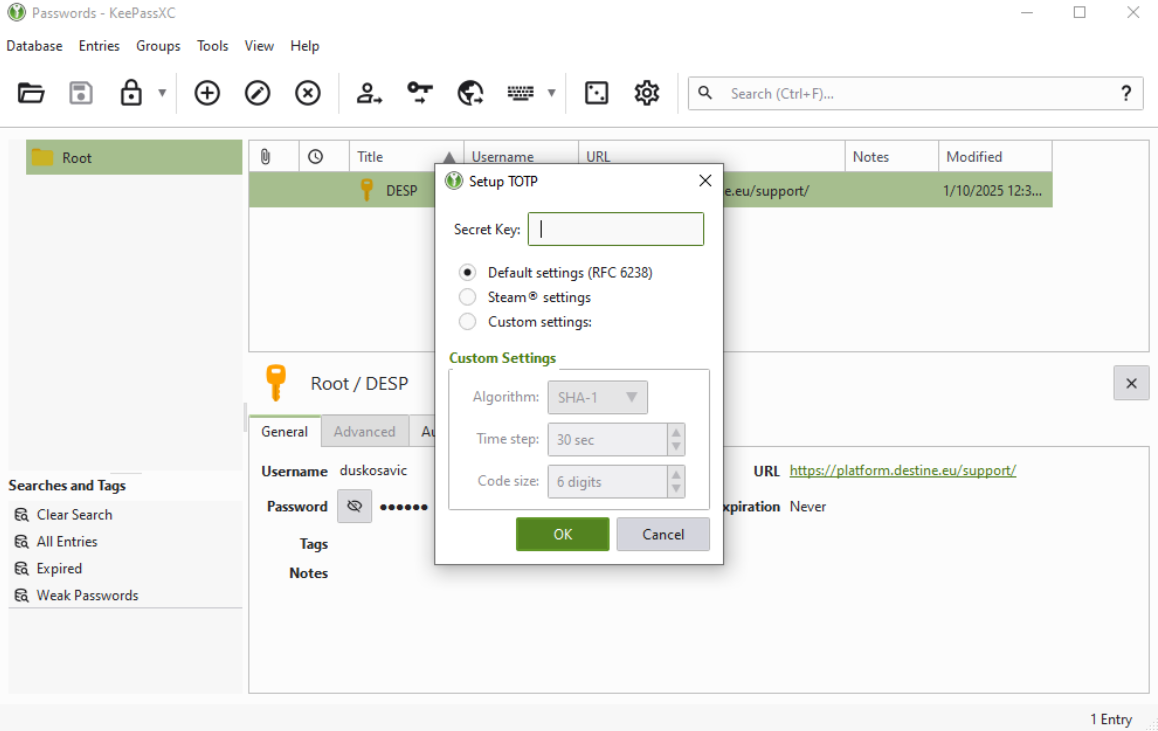
Paste the secret you previously copied to text field Secret Key: and click OK
Press CTRL+Shift+T to display 6-digit TOTP code which you will enter in your Internet browser.

Return to your Internet browser, where the Mobile Authenticator form should still be displayed. Add data to the lower part of the form:
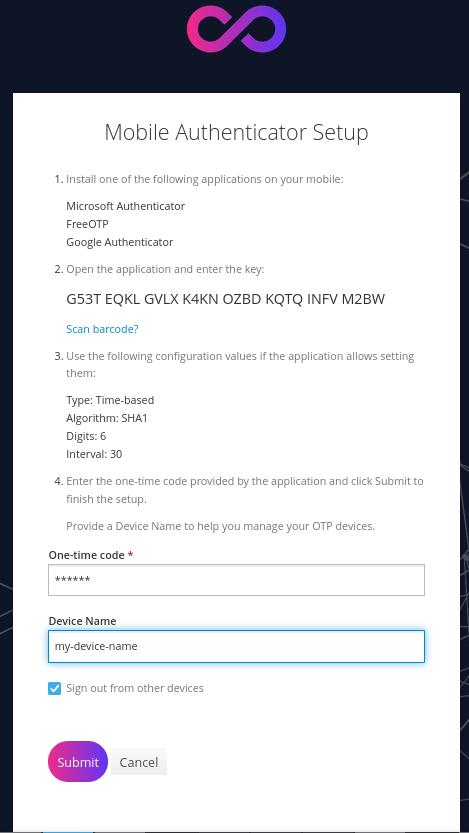
Enter name of your device in text field Device Name. This name will be later used to identify this secret.
In text field One-time code enter 6-digit code generated by KeePassXC.
Click Submit - make sure to do that before the key you provided expires. If you have too little time, wait until KeePassXC generates another code. Expired code should still work for a short time after a new one was generated.
If you didn’t perform these operations quickly enough, you will be prompted to reenter your account password. If this happens, provide your account password and click Sign In.
You will then be returned to the previous form and need to perform operations described in this step again.
If you were successful, you should be returned to page Signing in and your device should on the list. In this example, we called it my-device-name
Step 5 Login using TOTP
Each time you login, enter your credentials normally. After that you will see the following form:
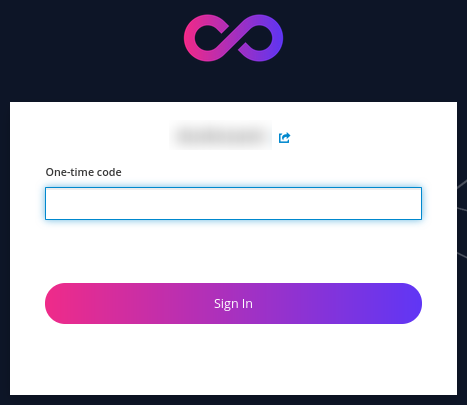
Generate your TOTP code as explained before (left-click the appropriate entry in KeePassXC and press CTRL+Shift+T) and type that code in the text field One-time code in your browser. If you want to simply copy your code to your clipboard, press CTRL+T while your entry is highlighted (remember that depending on settings it will disappear from your clipboard, so make sure that you paste it in time). Each code lasts only 30 seconds, so if you only have a few seconds remaining on your current code, you might want to wait until the new one is generated.
Click Sign In.
Now you should be signed in.
Removing TOTP secret
If you, for example, want to
stop using a generated TOTP secret because it has been compromised, or
completely stop using two-factor authentication
you can remove generated secret(s) from your account.
Navigate to page Account security as explained in Step 4 of this article.
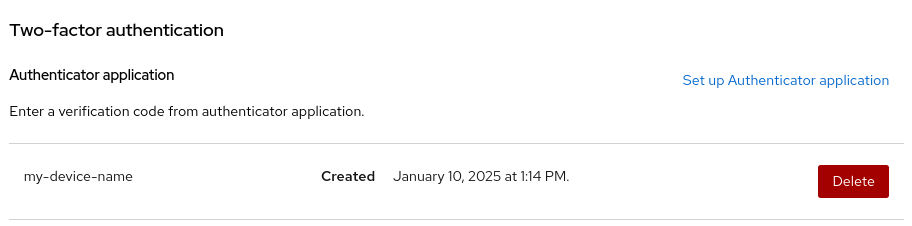
Click Delete to remove your TOTP secret:
You should be prompted to sign in:
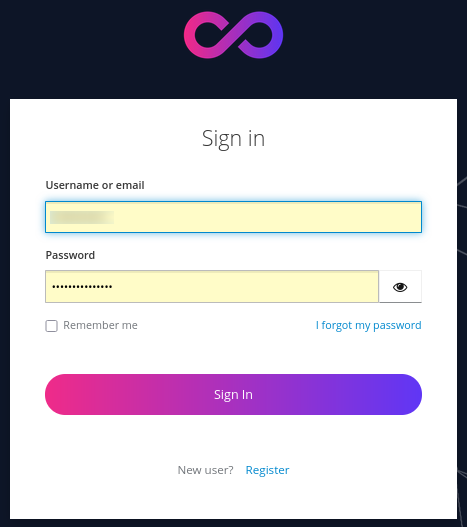
in order to enter the current TOTP 6-digit number.
After that, there will be a form to confirm the action:
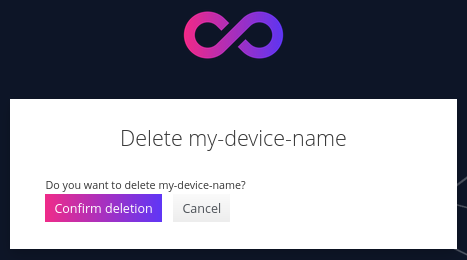
If you confirm, the secret should now be removed from the list.
Make sure that you do this operation fast enough because otherwise you might be logged out of your account during it. If it happens, login again and repeat the steps.
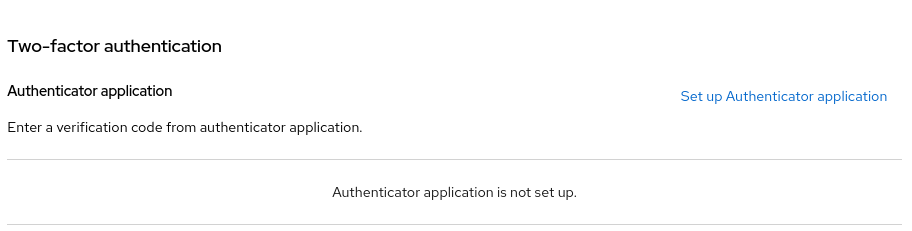
If you were successful and this was the last TOTP secret on your account, two-factor authentication should be disabled completely.
You will be back to square one – signing in only with the basic pair of credentials.
What To Do Next
You can also use a mobile app instead of KeePassXC. Learn more here: Two-Factor authentication to DestinE Platform using mobile application